Starting plants from seed is one of the most rewarding aspects of gardening. Watching tiny seedlings sprout and grow into thriving plants is magical. But if you’re new to seed starting, it’s easy to make mistakes that can lead to disappointment.
If your seeds aren’t germinating, seedlings keep dying, or plants look weak and leggy, you’re not alone. These seed starting mistakes are some of the most common problems gardeners face, and most of them are easy to fix once you know what’s going wrong.
The good news is that with a few simple adjustments, you can set yourself up for seed-starting success. This guide covers the most common seed starting mistakes and exactly how to fix each one.
This post contains affiliate links. If you use these links to buy something we may earn a commission. Thanks.
1. Using Old or Poor-Quality Seeds (A Common Seed Starting Mistake)
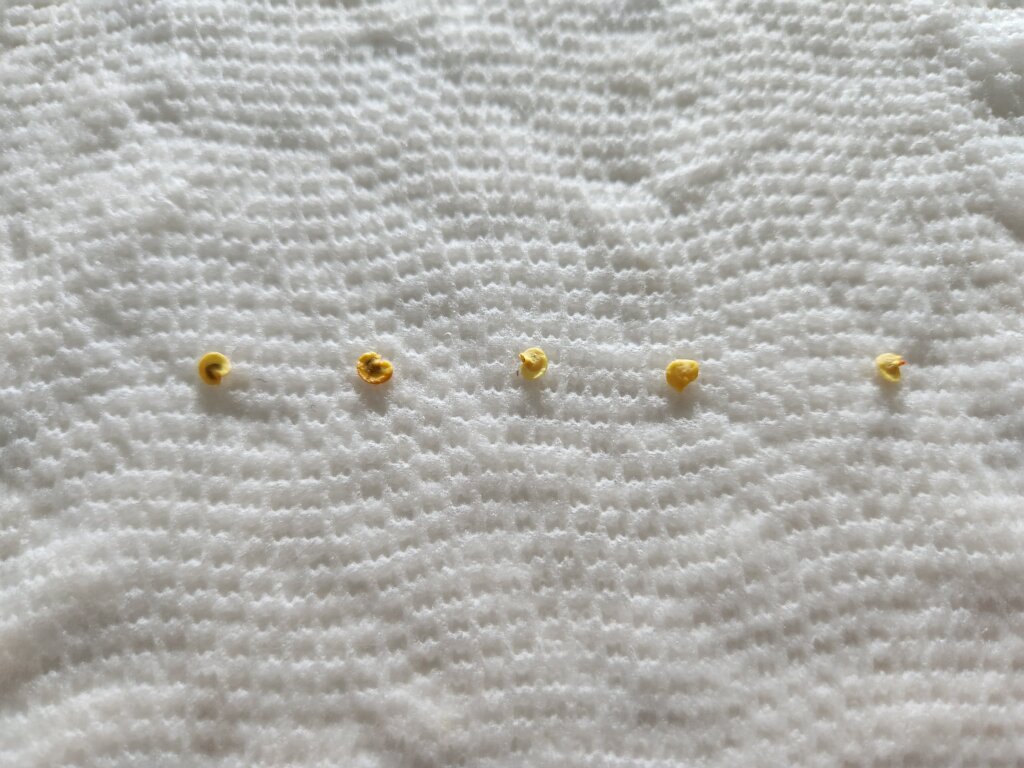
Seeds don’t last forever! If you’re using old seeds, their germination rate may have significantly decreased. Always check the seed packet for the expiration date and perform a germination test before planting. To test germination, dampen a paper towel, place a few seeds inside, fold it over, and store it in a plastic bag in a warm spot. After a few days, check to see how many have sprouted.
Invest in high-quality seeds from reputable sources for the best results. Store leftover seeds in a cool, dry place, preferably in an airtight container, to extend their viability. We like to use silica gel packets to keep our seeds dry.
If you’re unsure about your seeds’ viability, consider purchasing fresh seeds each year for critical crops to ensure success. Or, of course, try saving your own seeds from the most recent season. Check out our seed-saving guides to learn more.
2. Planting Seeds Too Deep or Too Shallow
Different seeds require different planting depths. Burying seeds too deep can prevent them from sprouting, while planting them too shallow may cause them to dry out or get washed away. A good rule of thumb is to plant seeds at a depth of about twice their size. Some tiny seeds, like lettuce and petunias, need light to germinate and should be surface-sown.
Always check the seed packet for specific recommendations. Planting depth affects moisture availability and access to oxygen, both crucial for successful germination. If seeds are buried too deep, they may use up their stored energy before breaking through the soil.
On the other hand, if they are too shallow, they may dry out too quickly or be easily disturbed by watering. Keeping the soil evenly moist during the germination period will also increase the likelihood of success.
3. Overwatering or Underwatering Seeds Indoors
Too much water can lead to damping off, a fungal disease that kills seedlings before they get a chance to thrive. On the other hand, too little water can prevent germination altogether. Keep the soil consistently moist but not soggy. Using a spray bottle or a gentle watering (or a kitchen liquid measuring cup) can help prevent overwatering. Also, make sure your seed trays have drainage holes to avoid waterlogging.
If you’re unsure when to water, touch the soil; if it feels dry to the touch, it’s time to water. Watering inconsistently can cause seeds to start germinating and then dry out, leading to failure. It’s important to strike a balance by monitoring the moisture level daily. A humidity dome can help retain moisture during germination, but it should be removed once the seedlings emerge to prevent mold growth.
If you find that seedlings are wilting, assess whether it’s due to underwatering or fungal issues from excessive moisture. Providing proper drainage, using well-aerated soil, providing air-circulation and adopting a careful watering routine will prevent many common seed-starting problems.
4. Using the Wrong Soil
Regular garden soil is too dense for seed starting and can lead to poor drainage and compaction.
Instead, use a high-quality seed-starting mix that’s light, airy, and retains moisture without getting waterlogged. Seed-starting mixes are specifically formulated to provide the right balance of nutrients and structure for delicate young plants. The ideal seed-starting soil should also be free of pathogens and weed seeds, which can compete with young seedlings. Ensuring your soil is appropriate for the type of seeds you are growing will significantly increase your success rate.
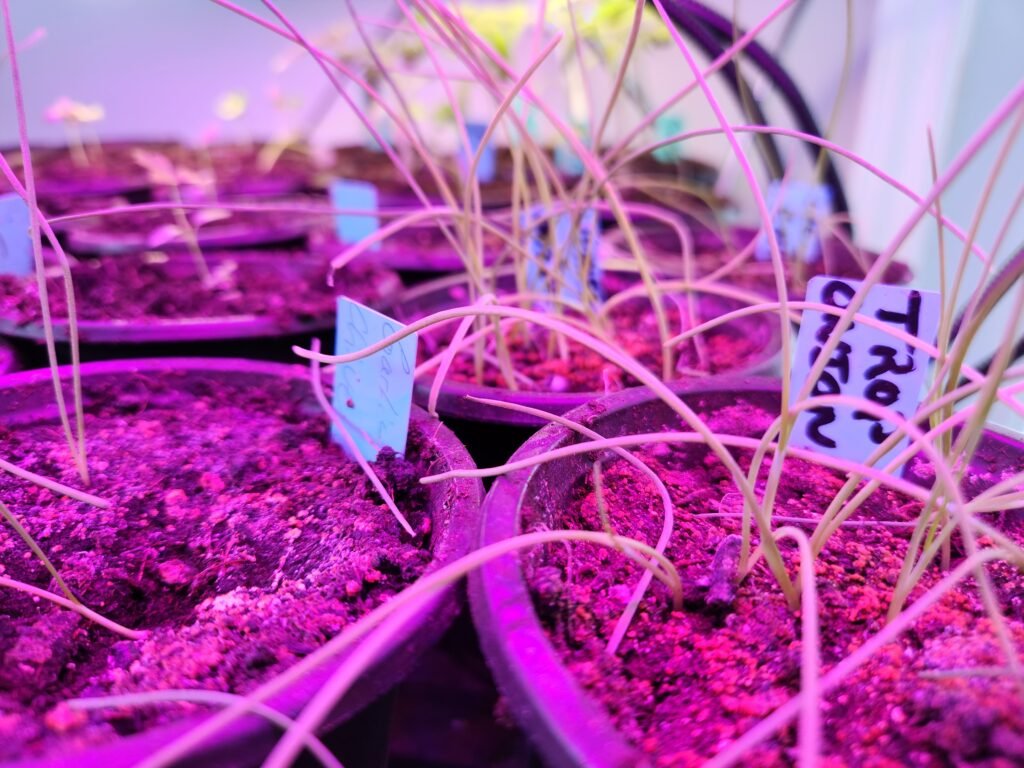
5. Skipping the Labeling Step
When you plant multiple seed varieties, it’s easy to forget what’s what – we do all the time! Always label your seed trays with plant names and dates to avoid confusion. Use reusable plant label garden sign tags for long-lasting identification. This is especially important if you’re growing multiple varieties of similar plants, like tomatoes or peppers.
A well-labeled tray will also help you keep track of germination times and plant progress. Labeling also allows you to monitor growth rates and compare different seed batches. If some seeds take longer to sprout, you can easily determine if it’s due to variety differences or environmental factors.
Consider keeping a gardening journal where you track when seeds were planted, when they germinated, and any adjustments you made along the way. This information can be invaluable for improving future seed-starting success. Having a clear system in place for labeling will help streamline your gardening process and eliminate unnecessary confusion.
6. Ignoring Temperature Requirements
Seeds need the right temperature to germinate. Some prefer cool conditions (like lettuce and spinach), while others need warmth (like tomatoes and peppers). If your house is chilly, consider using a seedling heat mat to maintain the ideal temperature for germination. A heat mat can significantly improve germination rates, especially for heat-loving plants. Once seeds have sprouted, remove the mat to prevent overheating.
Temperature plays a crucial role in seedling development. If the soil is too cold, germination will be slow or may not happen at all. Conversely, excessive heat can stress young plants. Most vegetable seeds germinate best between 65-75°F.
Use a soil tester to monitor conditions and adjust as needed. If you don’t have a heat mat, placing seed trays on top of a refrigerator or another warm spot can help encourage germination. Ensuring stable temperatures throughout the process will prevent weak or inconsistent growth, leading to more uniform seedlings ready for transplanting.
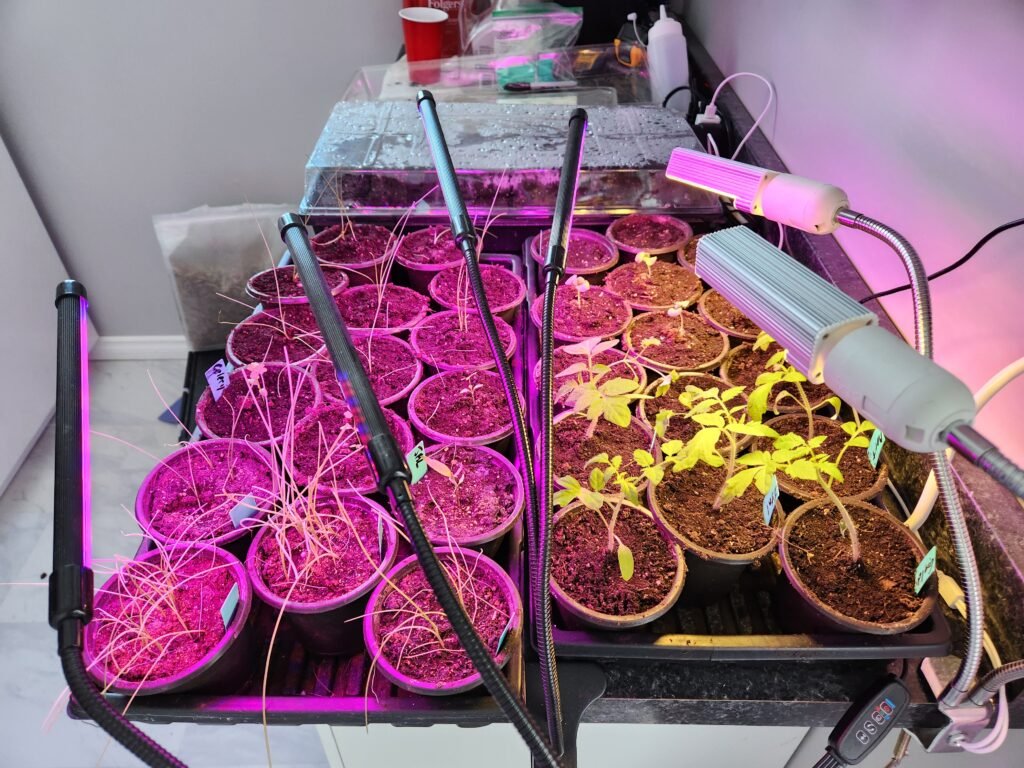
7. Not Providing Enough Light for Indoor Seedlings
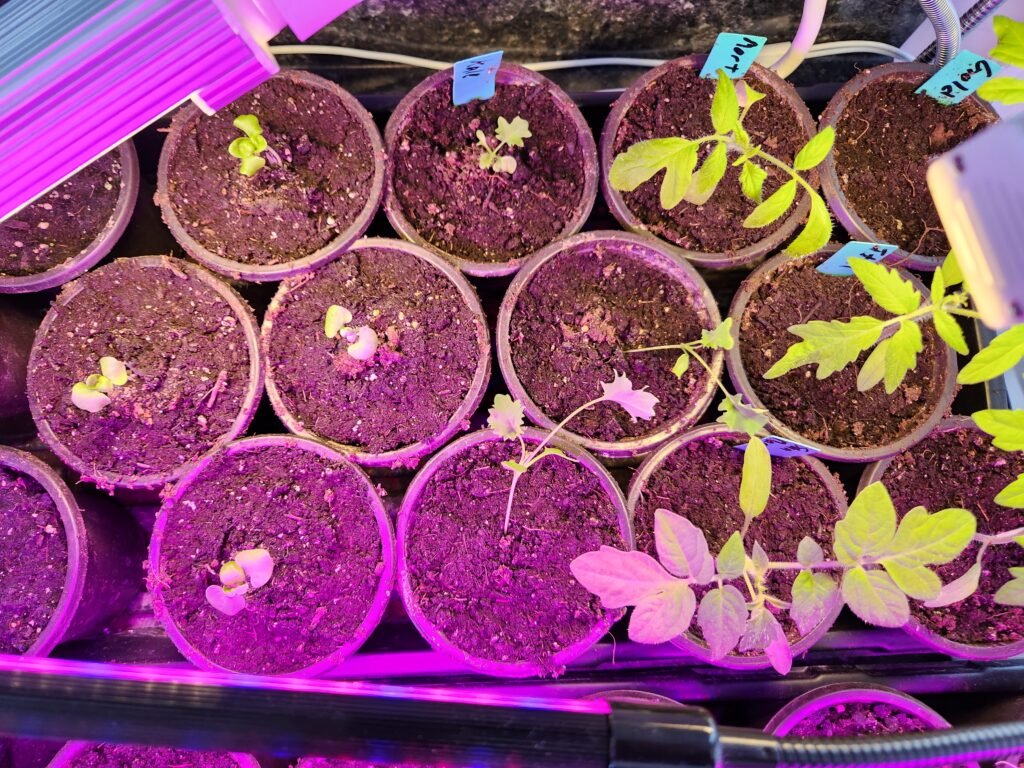
Once seeds sprout, they need plenty of light to grow strong. A sunny windowsill often isn’t enough, especially in winter. A grow light can make a huge difference, preventing leggy, weak seedlings. Keep grow lights 2-4 inches above seedlings and run them for 12-16 hours a day. If you struggle with leggy growth, our guide on leggy seedlings and proper thinning explains how to fix it step by step.
If natural light is your only option, rotate your trays regularly to ensure even growth. Investing in LED grow lights can help provide the right wavelengths for optimal growth. Without adequate light, seedlings become elongated and weak as they stretch toward the nearest light source. To maximize efficiency, set your grow lights on a timer to ensure consistency.
8. Starting Seeds Too Early Indoors
It’s tempting to get a head start, but starting seeds too early can lead to weak, spindly plants before it’s time to move them outdoors. Seed packets will provide seed starting details, such as planting dates before your last frost and the ideal soil temperature for the specific plant.
Check your local last frost date and count backwards to determine the right planting time. Overly mature seedlings can become root-bound or stressed before they’re ready for transplanting, resulting in a failed transplant.
9. Forgetting to Harden Off Seedlings
Seedlings raised indoors aren’t ready to go straight into the garden! They need to be hardened off—a process of gradually introducing them to outdoor conditions over 7-10 days. Start by placing them outside for an hour a day and slowly increase their time in the sun. Protect them from strong winds and direct midday sun initially to prevent shock.
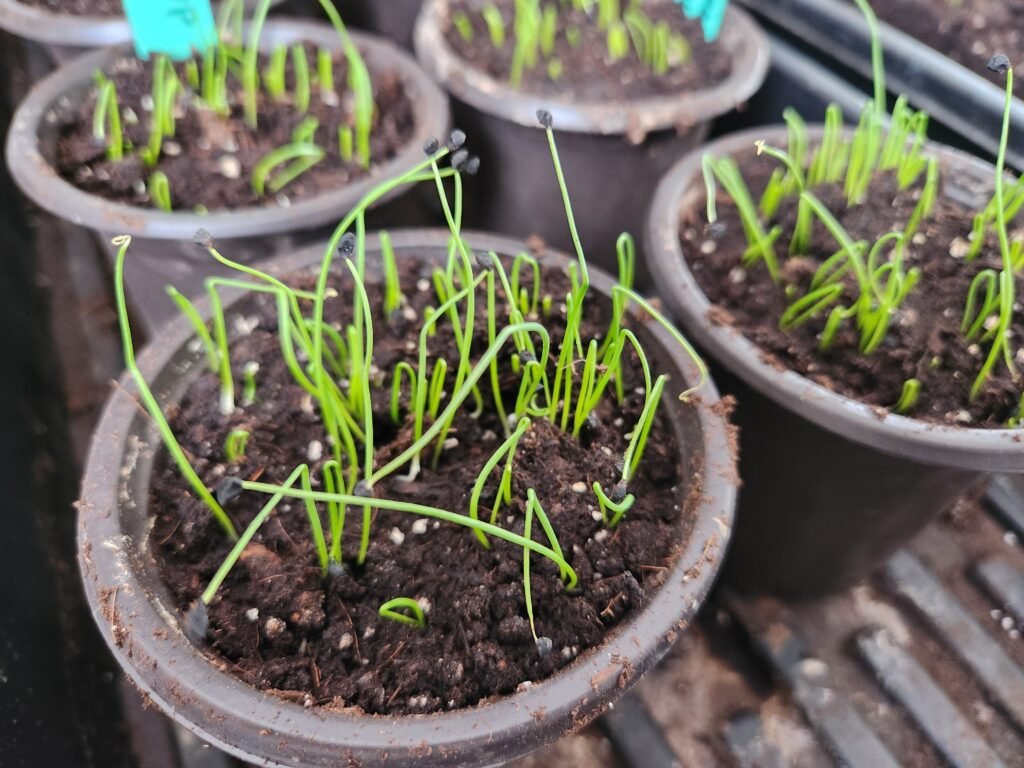
10. Crowding Too Many Seeds Together
We know the urge to want to save each and every germinated plant – been there done that! However, overcrowding leads to weak seedlings competing for light, water, and nutrients. If you plant too many seeds in a small space, thin them out by snipping weaker seedlings at the soil line to give the strongest ones room to thrive. Proper spacing ensures strong root development and reduces the risk of fungal diseases spreading between plants. Read more on the importance of thinning:
11. Neglecting Air Circulation
Good airflow prevents mold, mildew, and diseases like damping off. Place a small fan near your seedlings to improve air circulation. This also helps strengthen their stems, making them more resilient when transplanted outdoors. Stagnant air can encourage fungal issues, so keeping air moving is crucial for healthy growth.
12. Not Transplanting in Time
Seedlings left too long in small containers can become root-bound, which stunts their growth. If roots start circling the bottom of the pot or poking through drainage holes, it’s time to move them into a larger container. Larger containers give seedlings more space to grow strong roots before transplanting them into the garden.
13. Using Fertilizer Too Soon (or Too Much)
New seedlings don’t need fertilizer right away! Seed-starting mixes contain enough nutrients for the first few weeks. When true leaves appear, you can begin feeding them with a diluted 20 20 20 fertilizer every couple of weeks. However, we suggest waiting until the plants are in their final home outside before using fertilizer. Too much fertilizer too soon can burn delicate roots and stunt growth.
14. Letting Seedlings Get Leggy Due to Poor Lighting
Leggy seedlings are tall, thin, and weak due to insufficient light. To prevent this, provide an adequate grow light and keep them close to the seedlings. You can also brush your hand over the seedlings daily to mimic wind, which encourages sturdier growth. A small fan can also help by creating a gentle breeze to strengthen stems. Read more about leggy seedlings:
15. Giving Up Too Soon!
If you struggle with seed starting, don’t be discouraged. Gardening is a learning process, and every failure teaches you something valuable. Keep experimenting, adjusting, and learning from your mistakes. The more you practice, the better your success rate will be! Every gardener has had seed-starting failures—it’s all part of the journey.
We’ve shared some of our personal biggest blunders throughout our articles, not labeling, not enough grow-lights, transplanting too soon and had a late frost, the list is embarrassingly long. But this is the journey!
Bonus Tips for Seed-Starting Success!
- Pre-soak hard seeds: Some seeds, like corn, benefit from soaking in water for a few hours before planting to speed up germination.
- Use humidity domes: A clear plastic lid over your trays can help retain moisture and improve germination rates.
- Sterilize trays and tools: To prevent disease, always clean seed trays, pots, and tools before use.
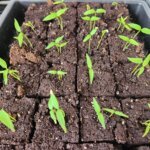
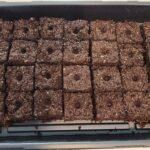
- Experiment with different methods: Try soil blocks (our preferred starting method now), plug trays, or direct sowing to see what works best for your plants and climate.
FAQ: Seed Starting Mistakes
The most common seed starting mistake is overwatering. Too much moisture leads to damping off, root rot, and weak seedlings. Soil should be consistently moist, not soggy.
Seedlings often die due to poor air circulation, overwatering, lack of light, or sudden temperature changes. Providing good airflow, strong light, and stable temperatures helps prevent early seedling failure.
Yes, old seeds can still germinate, but their success rate is usually lower. Performing a simple germination test before planting helps determine if older seeds are still viable.
Seedlings need 12–16 hours of strong light per day. A sunny window is usually not enough, especially in late winter or early spring. Grow lights placed close to seedlings prevent leggy growth.
Yes. Starting seeds too early often leads to weak, root-bound plants that struggle when transplanted. Always count backward from your local last frost date and follow the timing recommendations on seed packets.
Leggy seedlings are caused by insufficient light or lights placed too far away. Keeping grow lights 2–4 inches above seedlings and providing gentle airflow helps produce sturdy plants.
No. Seedlings don’t need fertilizer until they develop true leaves. Fertilizing too early or too heavily can burn roots and slow growth.
Final Thoughts
Seed starting can be tricky, but by avoiding these common mistakes, you’ll increase your chances of growing strong, healthy plants. Whether you’re growing vegetables, herbs, or flowers, following these simple tips will set you up for success. So grab your seeds, get your hands dirty, and enjoy the rewarding journey of growing your own plants from scratch!
We hope you enjoyed this seed starting mistakes list. If you did make sure you check out the other content on growing guides, seed saving guides, recipes, medicinal herbal guides and much more. We are growing our website with more articles all the time, and we invite you to grow with us. Whether you’re a seasoned gardener or just starting out, it can be an enriching experience. If you have any questions or want to share your seed starting mistakes, feel free to leave a comment below. Happy gardening!