Saving pumpkin seeds is an easy way to collect seeds from your own garden and use them again the following spring. Instead of buying new pumpkin seeds every year, you can save some from your harvest and store them until you’re ready to plant.
Of course, the hardest part of saving pumpkin seeds around here is wrestling a few away from my wife before she roasts them all! She loves roasted pumpkin seeds, so I always make sure to set some aside for next year’s garden.
We’ve been saving pumpkin seeds from our homegrown pumpkins for years, and the process is quite simple. All you really need is a ripe pumpkin, a colander, a towel, and somewhere to let the seeds dry.
In this guide, I’ll show you how to save pumpkin seeds for planting next year, including how I wash, dry, and store them.
Can You Save Pumpkin Seeds to Plant Next Year?
Yes! You can save seeds from a fully mature pumpkin and plant them the following growing season.
The most important things are choosing healthy, mature seeds, cleaning them properly, and making sure they are completely dry before putting them away.
One thing to remember is that pumpkin seeds don’t always produce pumpkins identical to the ones they came from. This can happen when different varieties cross-pollinate or when seeds are saved from hybrid pumpkins. I’ll explain this further below.
What You’ll Need to Save Pumpkin Seeds
You don’t need any special equipment. Here’s what I use:
- A fully ripe pumpkin
- A sharp knife
- A spoon for scooping out the seeds
- A colander
- A clean linen towel or paper towels
- A plate or baking sheet
- A paper envelope for storage
How to Save Pumpkin Seeds for Planting
Step 1: Harvest a Fully Ripe Pumpkin
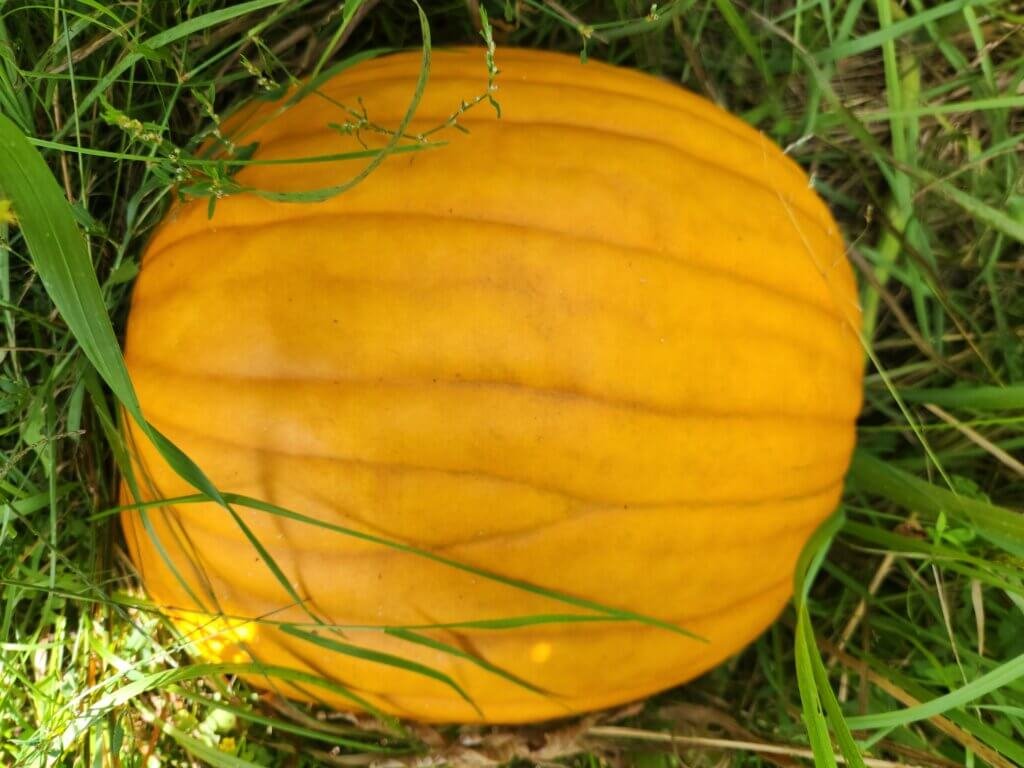
Start by choosing a healthy pumpkin that has fully ripened on the vine.
I prefer to save seeds from pumpkins that have reached their mature colour and size. A mature pumpkin will generally have a firm, hardened rind.
Allowing your pumpkin to fully mature is important because immature seeds may not germinate as well.
Step 2: Cut Open the Pumpkin and Remove the Seeds
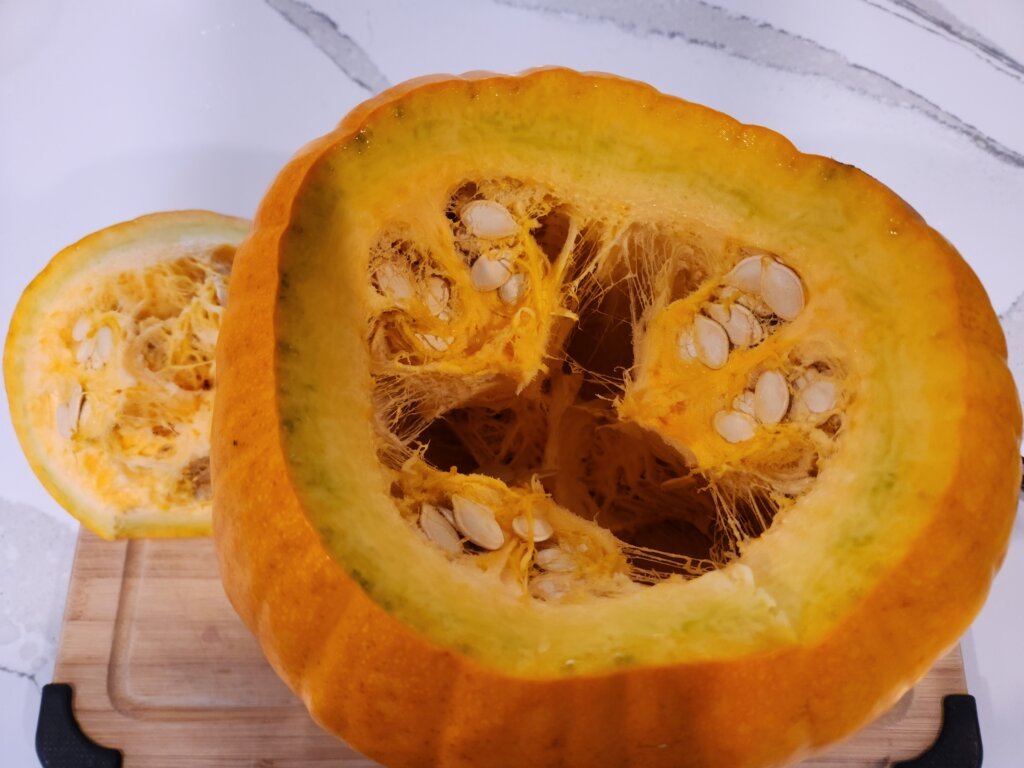
Once you’ve harvested your pumpkin, bring it inside and cut off the top using a sharp knife.
Use a spoon or your hands to scoop out the seeds along with the stringy pulp from inside the pumpkin.
I usually collect everything in a bowl or directly into a colander so I can separate the seeds from the pulp.
Step 3: Wash the Pumpkin Seeds
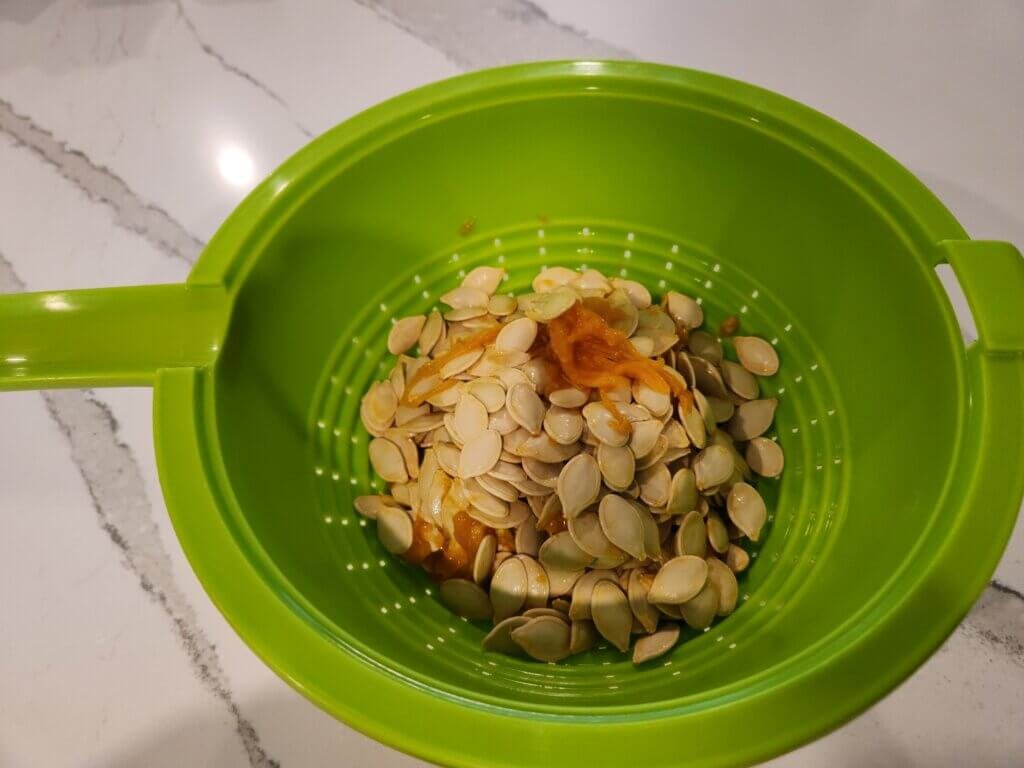
Place the seeds into a colander and rinse them under running water.
Use your hands to separate the seeds from the stringy pumpkin pulp, removing as much of the orange flesh as possible.
Continue rinsing until the seeds are clean and no longer covered in sticky pumpkin residue.
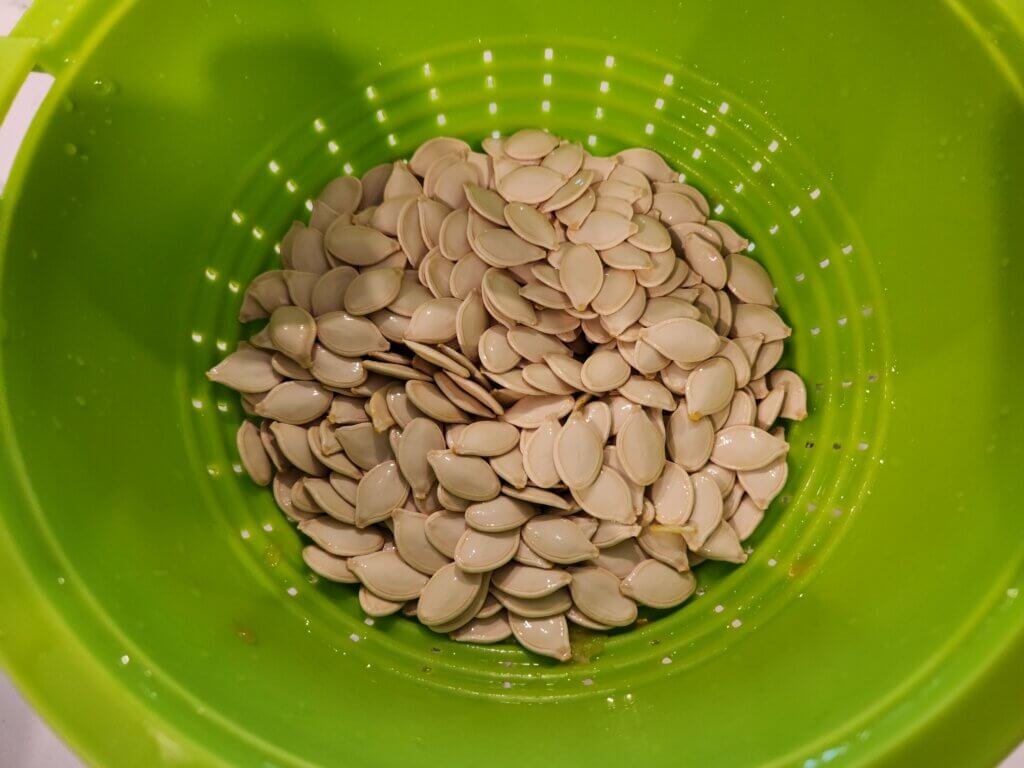
This is all I do to clean my pumpkin seeds before drying them. There’s no need to roast or cook them when you’re saving them for planting.
Step 4: Remove Excess Moisture and Select the Best Seeds
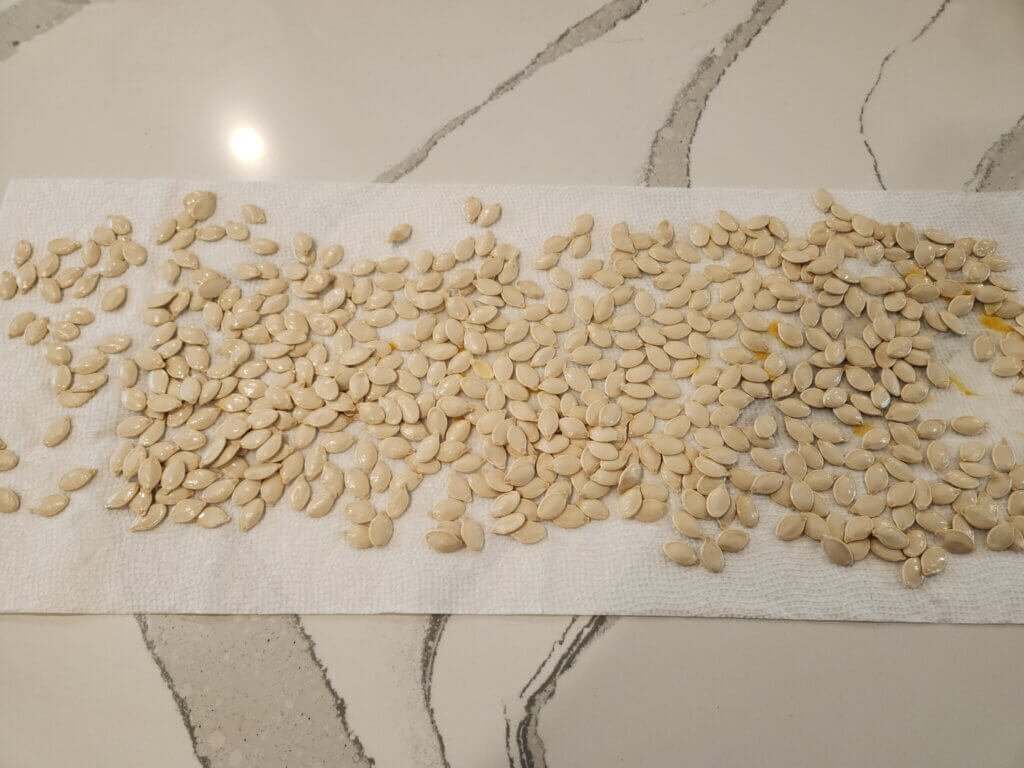
After washing, I spread the seeds onto a clean towel to remove as much surface moisture as possible.
Paper towels work well for this, although we typically use linen towels around our kitchen.
While drying the seeds, I take the opportunity to sort through them. I look for the largest, plumpest seeds and set aside any that appear flat, damaged, or poorly developed.
This is also where we separate the seeds we’re saving for planting from the ones we’re going to eat. The seeds we’re saving go onto a plate to air dry, while the rest get seasoned and roasted for snacking.
Step 5: Air Dry the Pumpkin Seeds
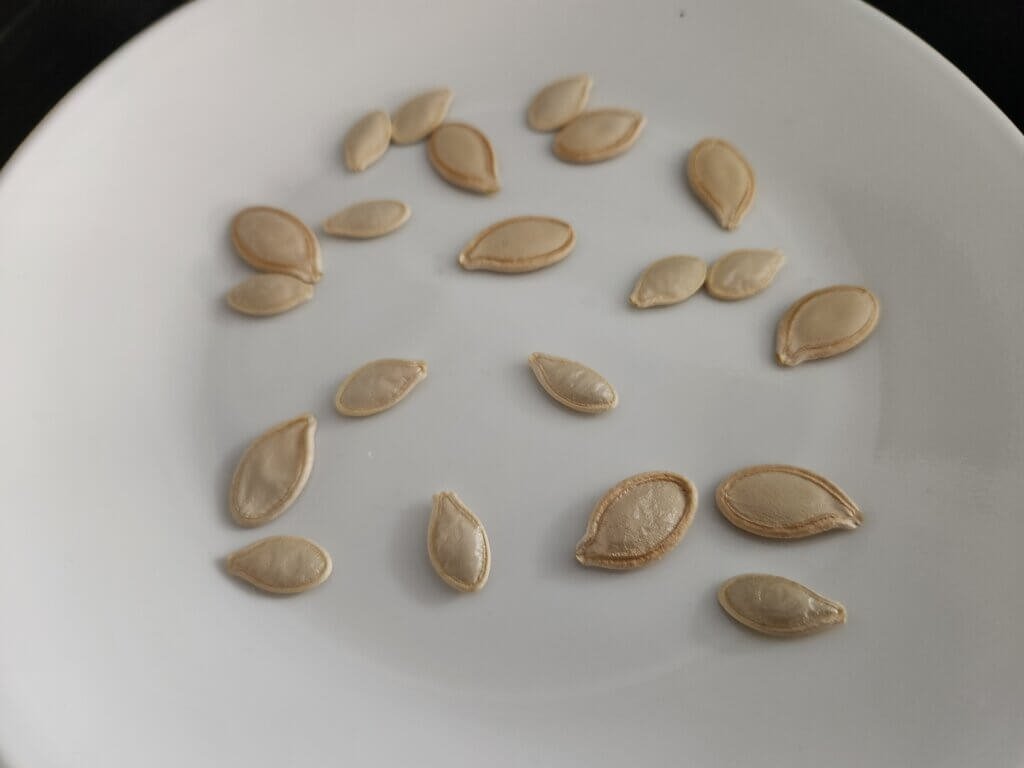
Once I’ve selected the seeds I want to keep, I spread them out onto a plate or baking sheet in a single layer.
I usually leave our pumpkin seeds to air dry indoors for at least a week, giving them plenty of time to dry completely.
Leaving them out longer won’t hurt them, provided they’re kept somewhere dry with good airflow. I prefer to give them extra drying time rather than risk putting away seeds that still contain moisture.
To check if they’re ready for storage, the seeds should feel hard and dry, without any remaining surface moisture or stickiness. You can also try snapping a spare seed in half. If it breaks cleanly rather than bending, it’s a good indication that it’s dry enough to store.
Step 6: Store the Dried Pumpkin Seeds
Once the pumpkin seeds are completely dry, I place them into a paper envelope for storage.
Paper envelopes are a simple way to keep the seeds organized until the next planting season. I recommend labeling each envelope with the pumpkin variety and the year the seeds were collected.
Store the envelopes somewhere cool, dark, and dry to help preserve the seeds until you’re ready to plant them next spring.
Will Saved Pumpkin Seeds Grow the Same Pumpkins Next Year?
This is something worth understanding before you save seeds from your pumpkin harvest.
Pumpkins can cross-pollinate with other compatible pumpkin and squash varieties growing nearby.
For example, some pumpkins and zucchini belong to the same species, Cucurbita pepo, and can cross-pollinate.
Cross-pollination won’t change the pumpkin you harvest this year. However, the seeds inside it may produce plants with different characteristics the following season.
Seeds collected from hybrid pumpkins can also produce different results from the parent plant.
If you want to grow the same pumpkin variety year after year, saving seeds from an open-pollinated or heirloom variety is generally your best option, provided you’ve prevented cross-pollination with other compatible varieties.
For our home garden, I still enjoy saving seeds, but it’s good to know that the resulting pumpkins aren’t always guaranteed to be identical.
How Long Can You Store Pumpkin Seeds for Planting?
Properly dried and stored pumpkin seeds can remain viable for several years.
Under good storage conditions, pumpkin seeds can remain viable for around five years, sometimes longer.
However, germination rates can decline as seeds get older.
For the best results, store your seeds somewhere cool and dry, away from moisture and extreme temperature changes.
If you’re storing seeds for several years, you can also place your labeled envelopes inside an airtight container once the seeds are completely dry.
Frequently Asked Questions
Yes. Pumpkin seeds need to be thoroughly dried before storage. Seeds that still contain excess moisture can develop mould or rot.
Yes, you can try saving seeds from a store-bought pumpkin. However, you may not know whether it’s a hybrid variety or whether it cross-pollinated with another compatible variety. The seeds may grow, but the resulting pumpkins aren’t guaranteed to match the original.
No. Fermenting isn’t necessary for the simple pumpkin seed-saving method I use. Washing away the pulp and drying the seeds thoroughly is sufficient.
Final Thoughts on Saving Pumpkin Seeds
Saving pumpkin seeds for planting is a simple way to make use of your harvest and prepare for next year’s garden.
My process is straightforward: harvest a ripe pumpkin, scoop out the seeds, wash them, select the healthiest-looking ones, let them air dry, and store them until spring.
With a little care during drying and storage, you can save plenty of pumpkin seeds without needing any special equipment.
And if you’re planning to grow pumpkins again next year, be sure to check out our guide to growing a pumpkin patch for more gardening tips.