If you’ve been wondering how to grow garlic in zone 5, you’re in the right place. Garlic is one of the easiest and most rewarding crops for northern gardeners, and once you’ve grown your own, you’ll never want to go back to store-bought. The secret is knowing the right timing and a few simple tricks that make all the difference in producing big, flavorful bulbs.
This post may contain affiliate links. If you use these links to buy something we may earn a commission. Thanks.
In zone 5, garlic thrives when planted in the fall and left to rest under the winter snow. By spring, those green shoots will be some of the first signs of life in your garden, giving you a head start on the growing season. With just a little preparation in the fall, you’ll be setting yourself up for a harvest that can last you all year long.
What I love most about garlic is that it practically takes care of itself once it’s in the ground. It’s low-maintenance, resilient, and doesn’t ask for much beyond good soil and a little mulch. If you’re looking for a crop that gives you maximum reward for minimal effort, garlic is a must-have in your garden plan.
Choosing The Right Garlic Variety For Zone 5
The first step to growing garlic in zone 5, or any climate for that matter, is choosing the right type. There are two main garlic varieties: hardneck and softneck. Hardneck garlic is the best choice for cold climates because it’s hardy and produces those delicious curly scapes in early summer, which are an added bonus harvest. This is what we grow in zone 5b.
Softneck varieties can grow in zone 5 too, but they’re better suited for milder climates and usually store a little longer. If you want big, flavorful bulbs and a dependable crop, stick with hardneck.
Hardneck Garlic: The Cold-Weather Champ
- Thrives in cold climates
- Produces edible scapes (a delicious bonus)
- Cloves are usually larger, easier to peel
Softneck Garlic: Longer Storage
- Prefers warmer, milder conditions
- Tends to have smaller cloves but longer shelf life
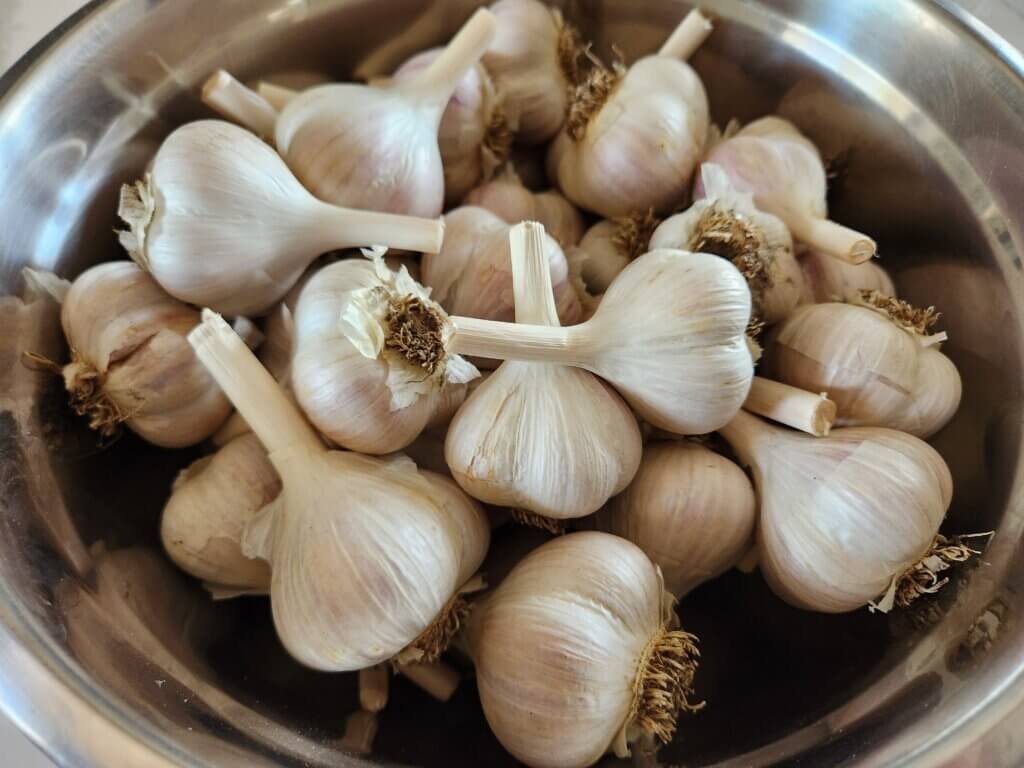
When buying seed garlic, look for healthy disease-free bulbs from reputable growers or garden centers. Avoid supermarket garlic as it’s often treated to prevent sprouting. If you’re interested in saving seeds from your own crops, check out our seed saving guides
When To Plant Garlic In Zone 5
Timing is everything when it comes to garlic. In zone 5, the ideal time to plant is in mid to late fall, usually October, before the ground freezes solid. This will be slightly different if you’re in zone 5a or zone 5b.
Planting Garlic Timing In Zone 5A
Since it gets a little colder a little earlier in this growing zone the best time to plant your garlic would be at the end of October. A week or two before the end of the month.
Planting Garlic Timing In Zone 5B
We are in zone 5b and use Halloween as our indicator for when to plant garlic. The Vampires come out for Halloween and we plant our garlic to ward them off.
We plant our garlic as close to October 31st as we can and it has worked perfectly. Planting at this time allows the cloves to establish strong roots before going dormant for the winter.
While spring planting is possible, the bulbs usually turn out much smaller and less impressive. Fall planting is the secret to big, beautiful bulbs.
Preparing The Soil To Plant Garlic
Great garlic begins with great soil. Choose a spot with full sun, garlic needs at least 6-8 hours a day. Well-drained, loose soil prevents rot and allows roots to grow deep. Raised beds work wonders for garlic in zone 5, keeping bulbs warm and dry during winter. Here’s how we built the best cheap garden hoop house.
Steps to Prep Your Bed
- Clear the area: Remove weeds and debris.
- Loosen soil: Dig down at least 12in, breaking up any clumps.
- Add compost: Garlic loves organic matter. Mix in 2-3in of compost or well-aged manure.
- Adjust pH: Garlic prefers slightly acidic to neutral soil (pH 6.0–7.0). Test your soil and add amendments if needed.
If your soil is clay-heavy, add sand or leaf mold to lighten it up. Poor drainage is the enemy of garlic; wet roots lead to rot, so never plant in a soggy spot. We have very clay heavy soil on our homestead so we use raised garden beds for our garlic.
How To Plant Garlic In Zone 5
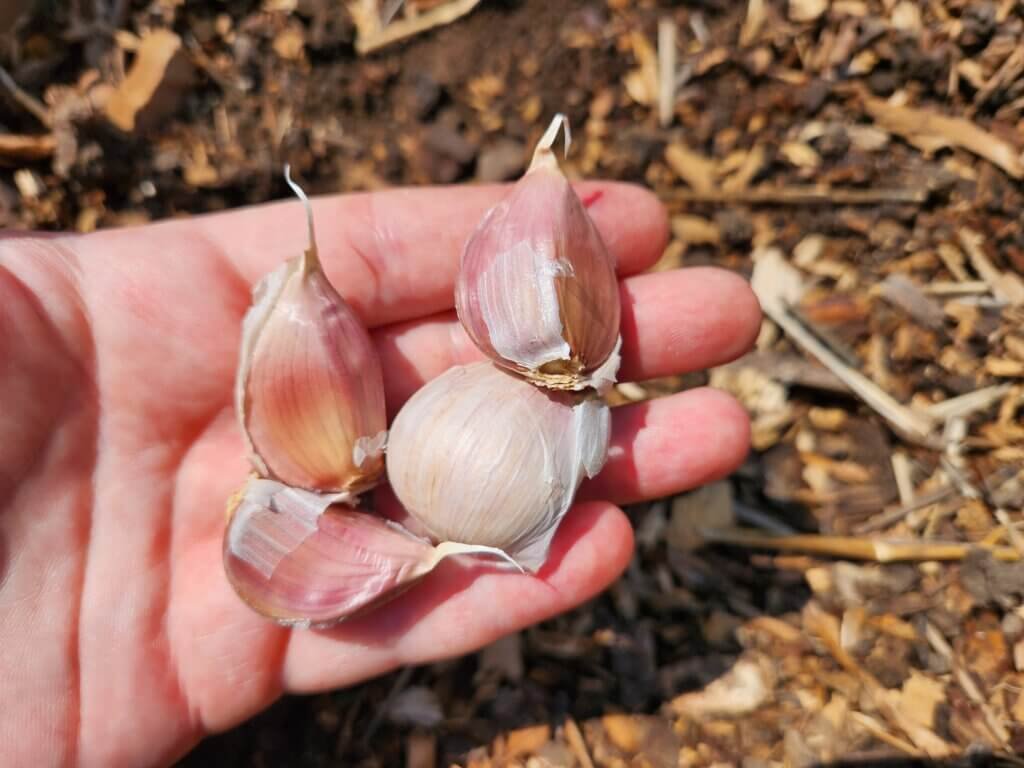
When it is time to plant, separate your garlic bulbs into individual cloves. Do NOT remove the papery skin that is on them. Plant each garlic with the pointed end up about 2-3 inches deep. Spacing each clove about 6 inches apart.
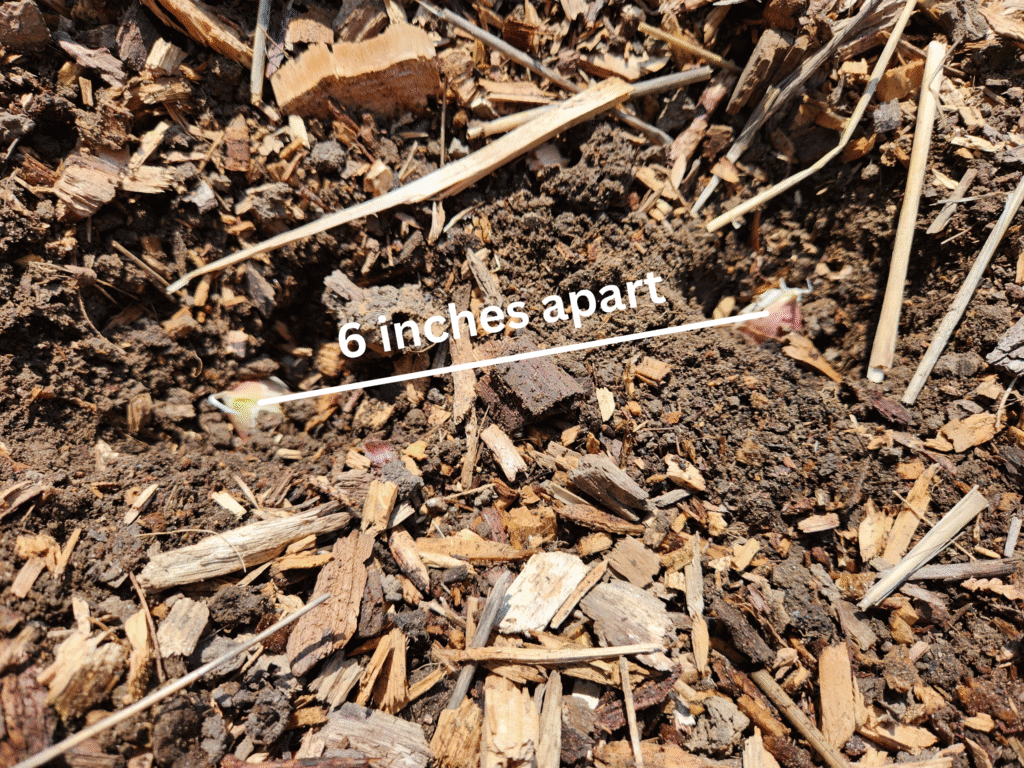
Conventional planting guides say to separate each row by 12 inches, but in a home garden setting 6 inches is more than enough.
Mulching for Winter Protection
Mulching isn’t optional in zone 5, it is essential. Cover your planted garlic with a thick layer of mulch. Mulched leaves work great for this as it is the same time of year when the leaves fall of the trees. Grass clippings, wood chips, or straw will also work well.
Make sure your mulch is 4-6 inches deep as winters in zone 5 can be frigged and this will help regulate soil temperatures. Mulching also helps retain moisture in the spring and prevents weeds from competing with your garlic. We use the same method when growing tomatoes in zone 5
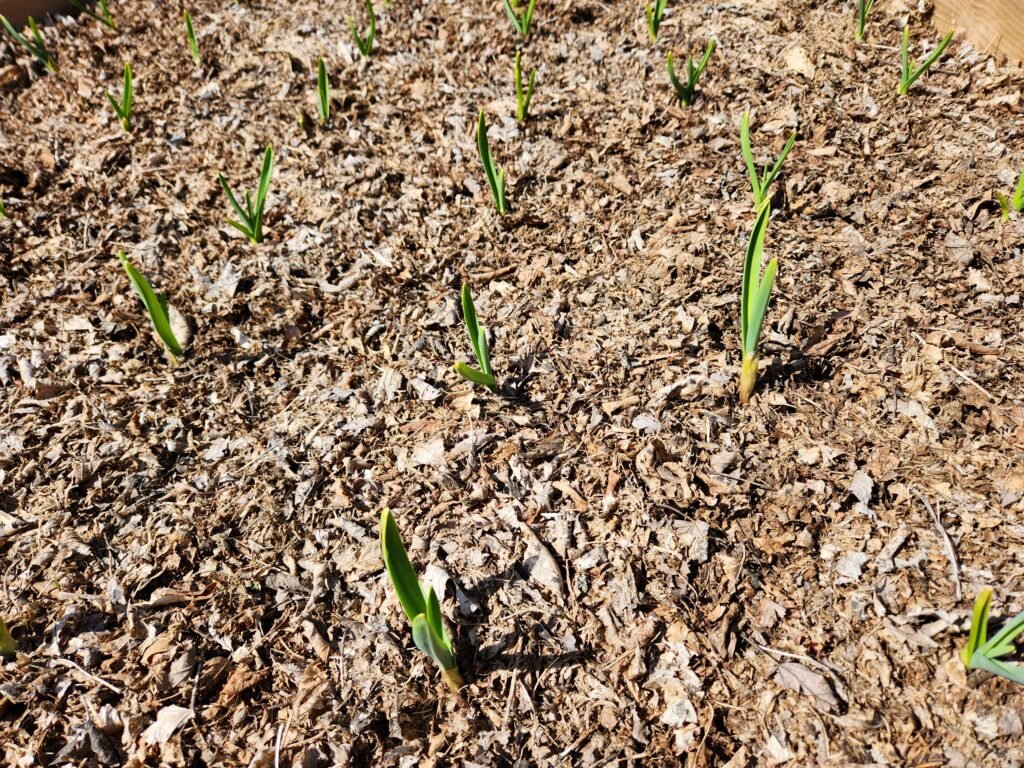
Caring for Garlic in Spring
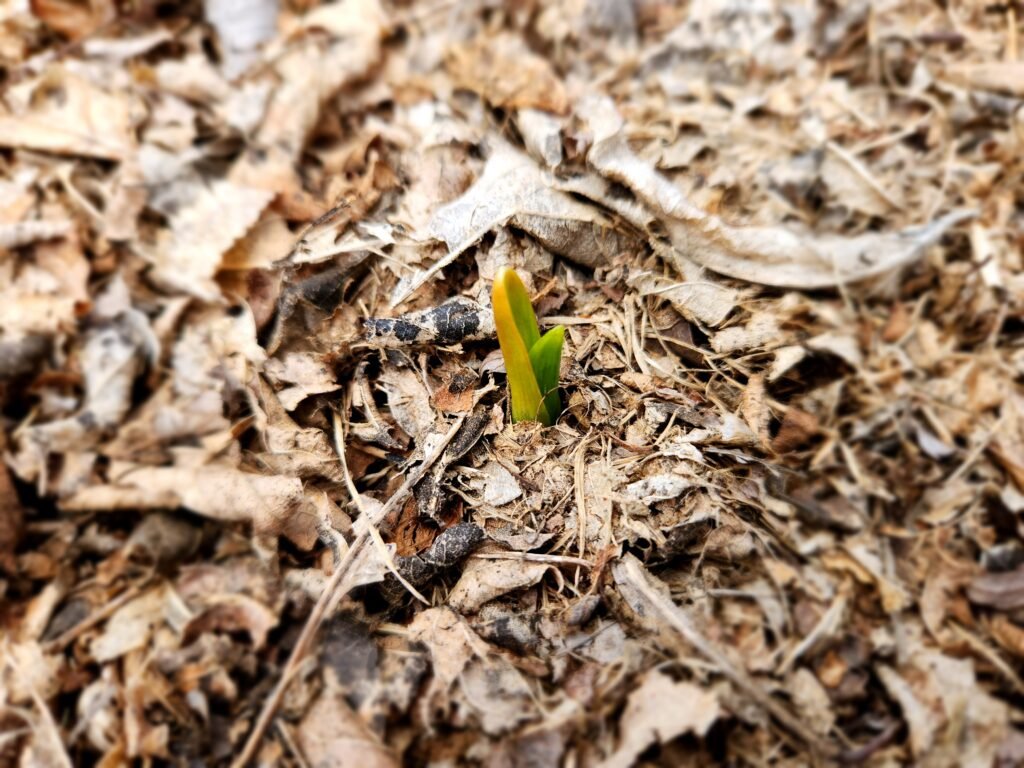
Garlic shoots will emerge early in the gardening season. In zone 5, by mid April, you should have shoots emerging from the soil surface. If you notice some have sprouted but others haven’t, remove a little bit of much to help the young plant reach daylight.
Keep the garlic growing space as weed free as possible. Garlic is a heavy feeder and hates competition for nutrients.
Water consistently if your spring weather is dry keeping the soil evenly moist. Slow down on watering as the garlic matures and gets closer to harvest time. Fertilize using a balanced fertilizer that is high in nitrogen to promote strong growth.
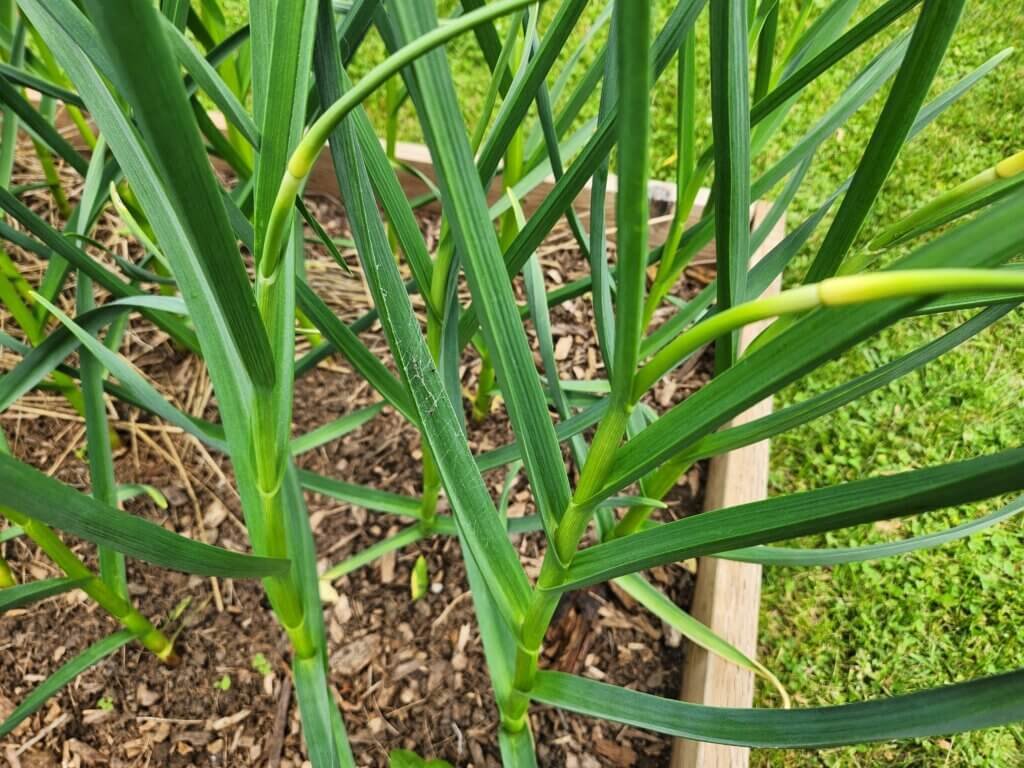
By the middle of June, if you’re growing hardneck garlic, you should start to see garlic scapes growing from the center of your garlic plants. These should be removed once they are large enough to help put more energy back into growing a large garlic bulb.
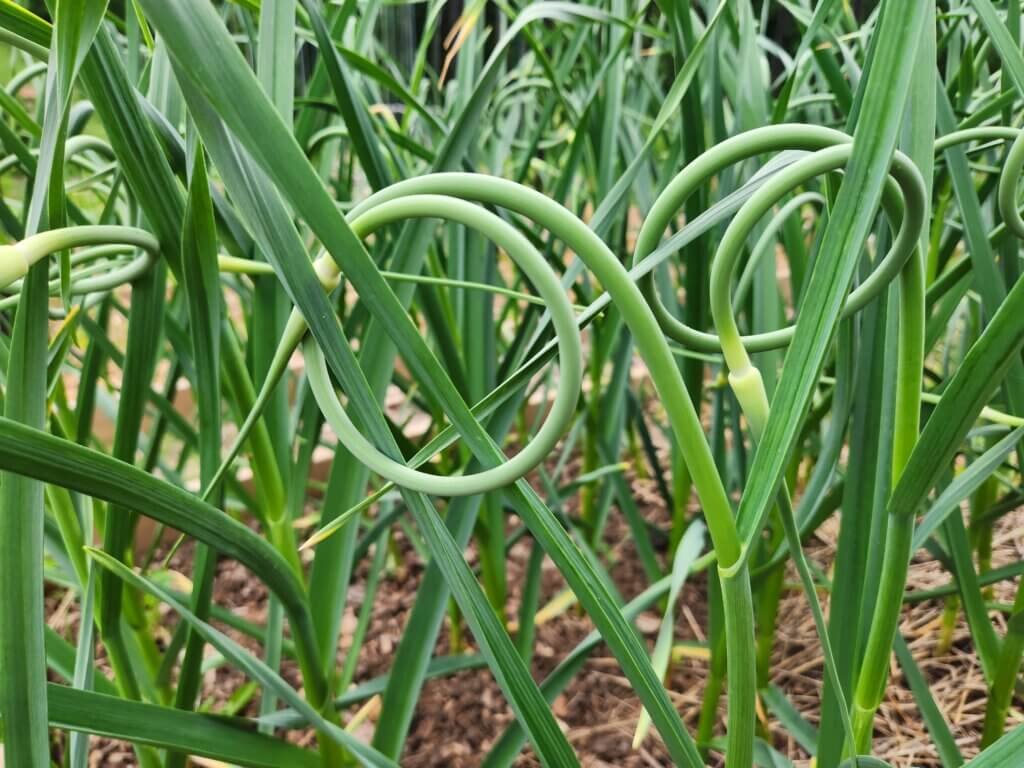
When Should You Harvest Garlic Scapes?
Garlic scapes should be left to grow until they are curled one complete time around, like in the picture below. At this point, harvest the garlic scapes at the base of the scape right were it emerges from the main plant.
These garlic scapes are great for adding a mild garlic flavor to dishes. Used in dips or sauces. Or our favourite, blending into a paste and added to our homemade pesto recipe.
What happens If You Don’t Harvest Garlic Scapes?
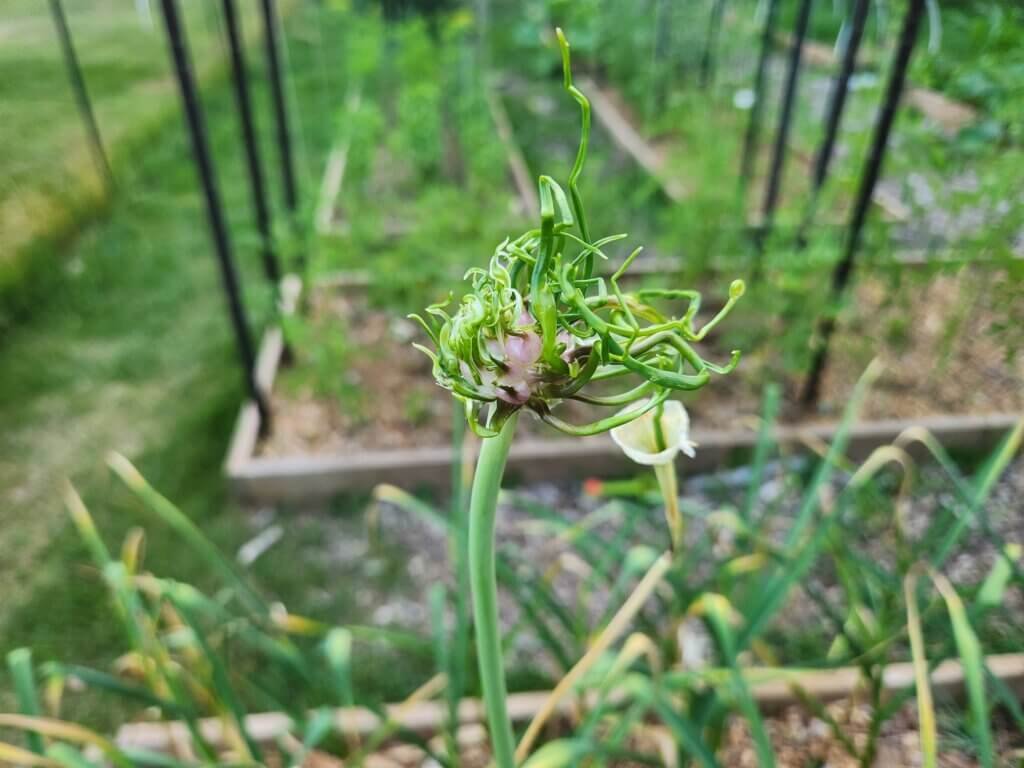
The garlic scape will “flower” and go to seed if left on he plant. It won’t form a traditional flower but it will open up and eventually will form seeds called bulbils. These bulbils are clones of the original plant and not true seeds.
Bulbils can be planted and will grow into an entire new garlic plant. Growing garlic from bulbils is a slower process though, taking up to 3 years to grow a full garlic bulb.
Letting the garlic scape stay on the plant to get bulbils will take energy away from forming the main garlic bulb which will cause the bulb to be smaller than if the scape was removed.
Harvesting Garlic
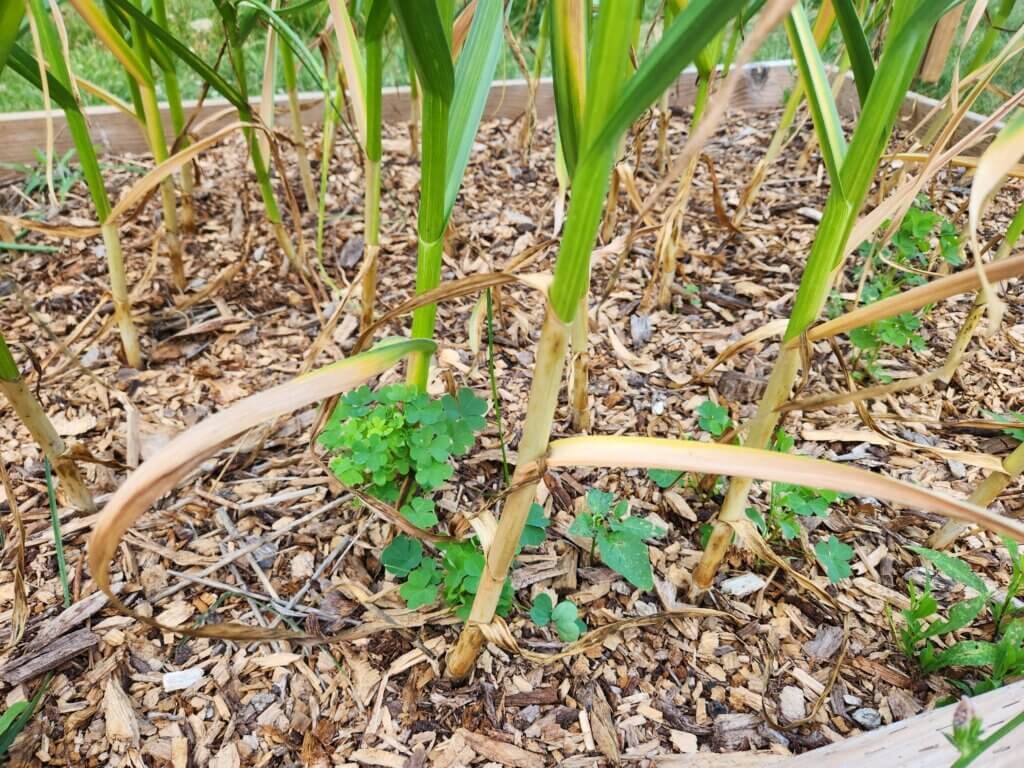
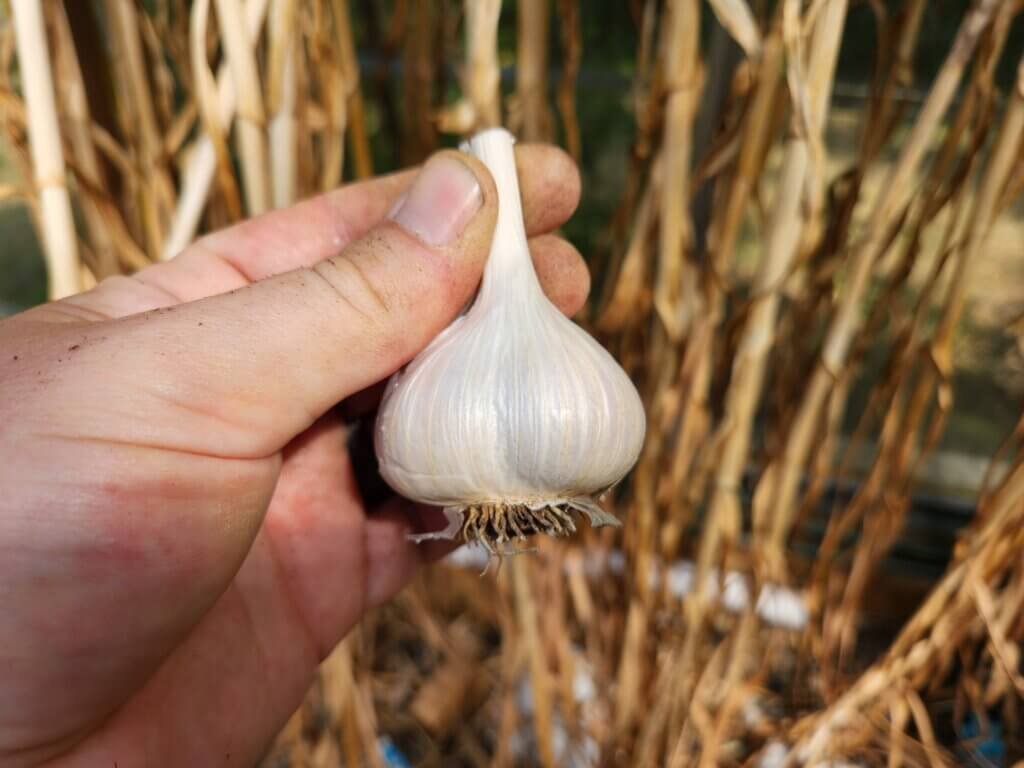
In zone 5, by the middle of July, your garlic should be about ready for harvesting. Garlic is ready to be harvested when the bottom 3 leaves of the garlic plant are brown, dry, and crunchy when squeezed.
To harvest garlic, do not just pull the plant up with your hands. This could cause the stem of the garlic plant to break leaving he bulb buried in the soil. Instead, use a small trowel to gently lift the garlic bulb from underneath as you pull it up.
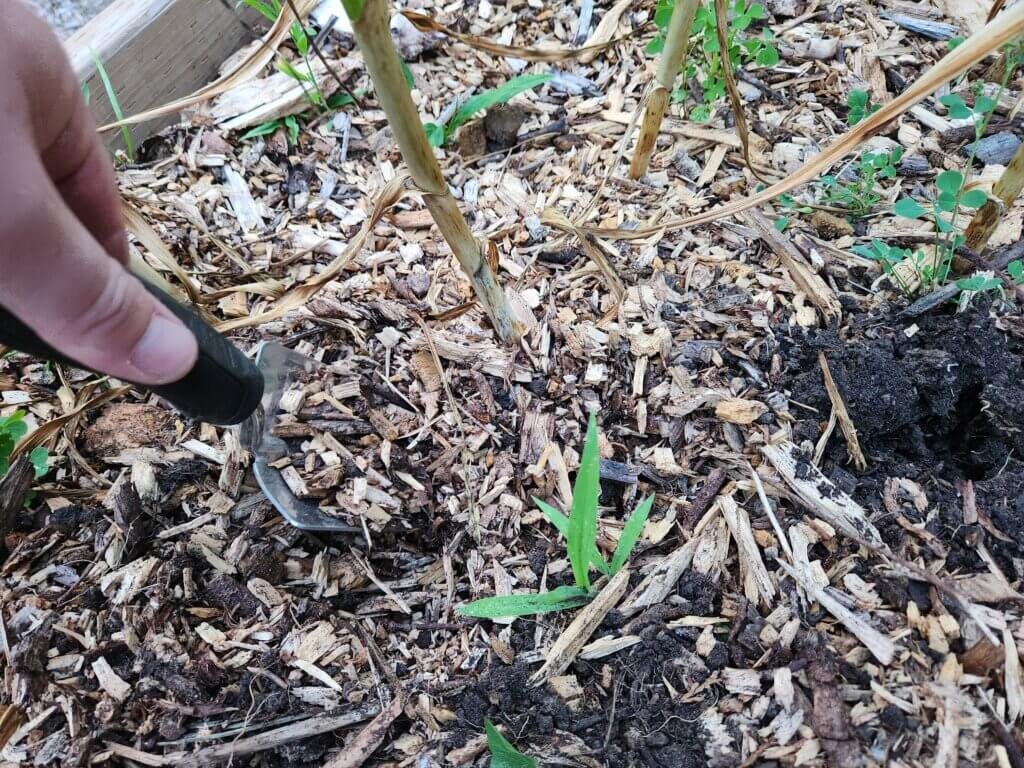
Insert the trowel 6 inches deep a few inches away from the garlic stem. Grab the stem of the garlic and gently pull up and you push down on the trowel lifting the garlic. If the garlic stem breaks it won’t cure properly and should be used within the next few weeks.
Curing and Storing Garlic
Curing garlic is a relatively straight forward process. Once you’ve got all your garlic harvested you’ll need to find a warm dry area out of direct sunlight to hang them.
I use some string tied under the bench in our greenhouse to hang our garlic up.
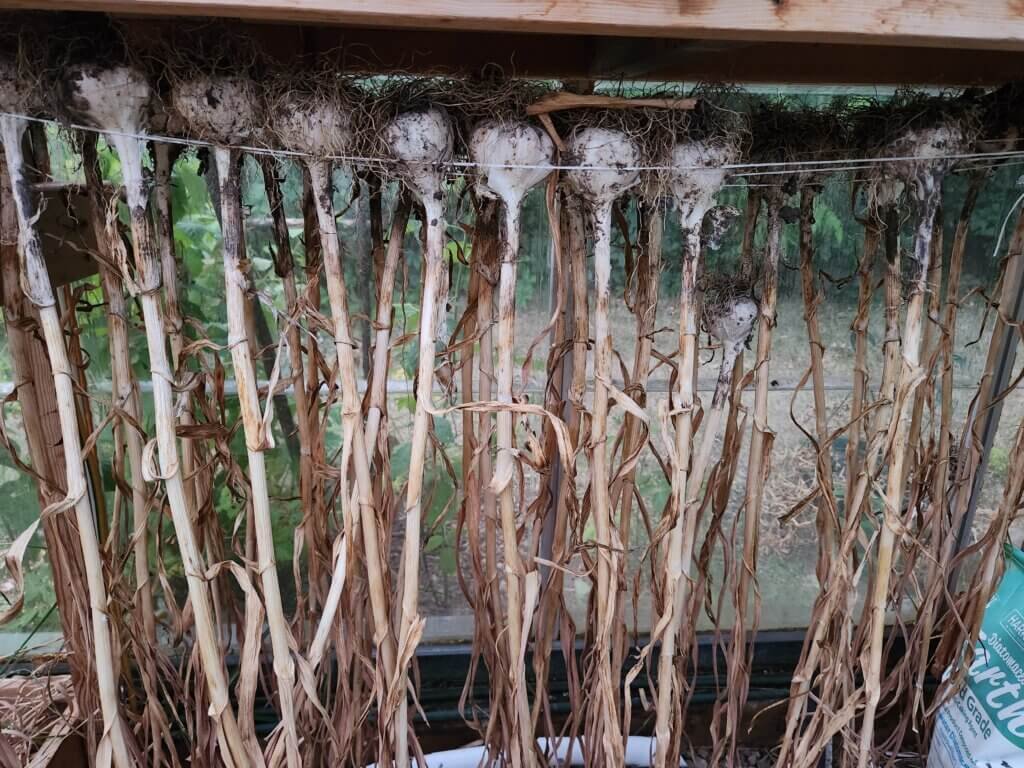
Let the garlic hang to dry for 2-3 weeks until all the colour has left he leaves and they are brown and crispy to the touch. Once they reach that point it is time to clean them up and get them ready for storage.
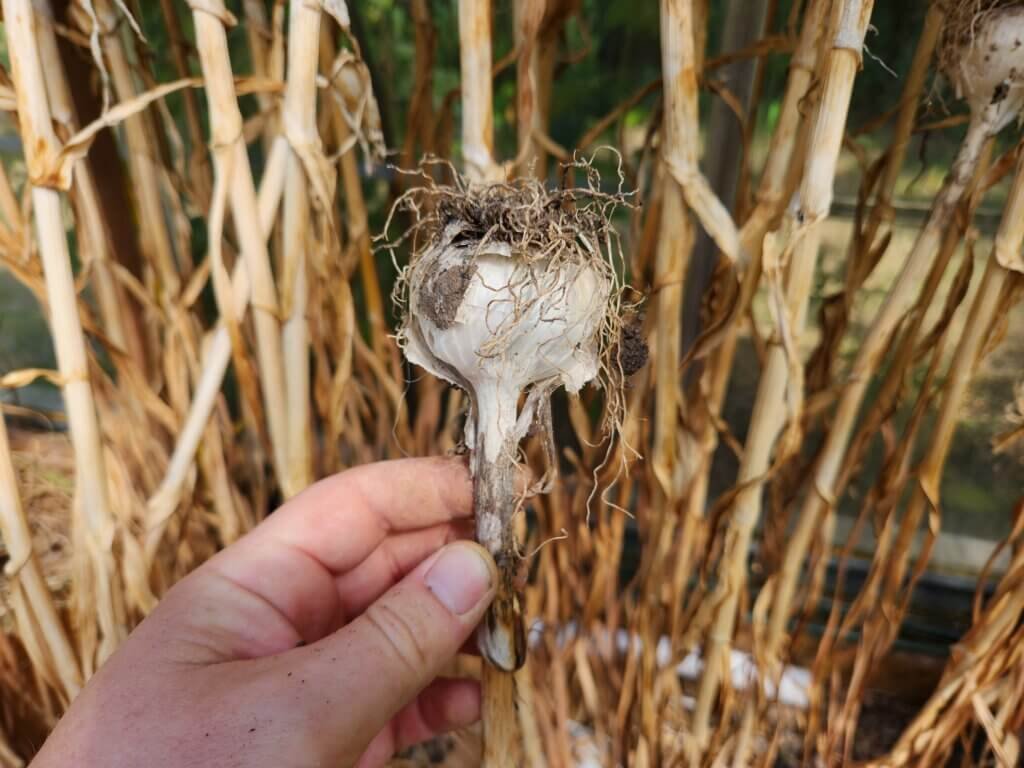
To clean up garlic, trim the roots to a few millimeters long and cut the stem off so its 1-2 inches long. Rub off any dried on dirt but leave the paper skin on the garlic.
Once your garlic is all cleaned up store it in a bowl or basket in a cool dark place and it will stay fresh up to 4-8 months.
Health Benefits Of Garlic
For thousands of years, people around the world have turned to garlic not just as food, but as medicine. Modern research is now confirming what ancient healers already seemed to know: garlic supports heart health, strengthens immunity, and may even help the body fight off infections.
To learn more check out our Garlic for Health article, and our Garlic Tincture Recipe.
FAQs About Growing Garlic in Zone 5
Yes, you can plant garlic in spring, but the bulbs will be smaller because they don’t get that long period of cold that encourages proper bulb formation. Fall planting is always the best choice in this zone.
Hardneck varieties like Music, German Extra Hardy, and Rocambole do especially well in cold climates. They’re hardy, flavorful, and provide bonus garlic scapes in early summer.
That depends on how much you use! Each clove you plant will turn into a full bulb, so plan accordingly. A family that uses garlic regularly might plant 20–30 cloves to have enough for the year. Keep in mind if you want to grow more for next year you need to grow extra for planting.
Yes — garlic is a heavy feeder. Adding compost at planting time helps, but you can also give it a boost in spring with a nitrogen-rich fertilizer to encourage strong growth.
Absolutely! With proper mulching, garlic handles zone 5 winters with no problem. In fact, the cold weather is what helps the cloves divide and form large bulbs by summer.
Final Thoughts
Learning how to grow garlic in zone 5 is one of the most rewarding gardening skills you can add to your homestead. With just a little effort in the fall, you’ll be rewarded with fresh garlic, tasty scapes, and a harvest that can last you all year long. Garlic practically grows itself, making it perfect for both beginners and experienced gardeners alike. If you haven’t tried it yet, this year is the perfect time to start — your garden (and your kitchen) will thank you.
We hope you enjoyed this growing guide. If you did make sure you check out the other growing guides, seed saving guides and our recipes. We are growing our website with more articles all the time, and we invite you to grow with us. If you have any questions about garlic or would like to share some of your knowledge with us please leave a comment below.