If you’re trying to grow peas in Zone 5, timing is everything.
Plant too late, and the heat will shut your plants down before they produce. Plant early, and you’ll get a fast, sweet harvest before summer hits.
In this guide, I’ll show you exactly when to plant peas in Zone 5, how we grow them here in Ontario, and how to get a bigger harvest from every row.
If you’re planning your full spring garden, follow our Zone 5 planting schedule here: Zone 5b Planting Schedule: What To Plant, Start, and Do From Spring to Fall
Quick Answer: When to Plant Peas in Zone 5
In Zone 5, plant peas as soon as the soil can be worked in early spring. Usually late March to early April. Peas tolerate frost and grow best in cool weather. For a fall crop, plant again 8–10 weeks before your first fall frost.
Pick The Right Type Of Peas
Before planting peas, decide what kind you want to grow. There are three main types.
- Garden Peas (Shelling Peas): These are the classic peas you pop out of the pod. You do not eat the pod.
- Snap Peas (Sugar Snap Peas): Snap peas have thick pods. You can eat the whole pod and the peas inside.
- Snow Peas (Chinese Pea Pods): Snow peas have flat pods. You eat the whole pod while the peas inside are still tiny.
All of these are great choices for pea growing at home.
When To Plant Peas In Zone 5 (Best Timing For A Strong Harvest)
Peas love cool weather. They do not like heat. That’s why the best way to grow peas is to plant them early in spring.
Peas germinate best when soil temperatures are between 4°C and 18°C (40–65°F). In Zone 5, this usually lines up with early April, even if there is still frost at night.
This lines up with our full planting timeline in Zone 5, you can see what else to plant at the same time here: What To Plant in April in Zone 5b.
Peas can handle light frost. Some peas can tolerate temps down to about -6°C (21°F). Once your weather stays above 21°C (70°F), pea plants may slow down or stop making pods.
If your garden gets hot fast, plant peas where they get morning sun and afternoon shade.
How To Plant Peas (Step-By-Step)
Many gardeners ask, how do you plant peas or how to plant peas from seed.
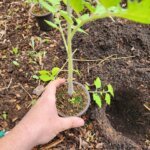
The answer is simple. Most peas grow best when you direct sow them outside. That means you plant the seeds right in the garden.
Peas do not love being transplanted. Their roots are tender. Moving them can slow them down.
If you’re working on your whole spring planting schedule, start here: How to Start Seeds Indoors
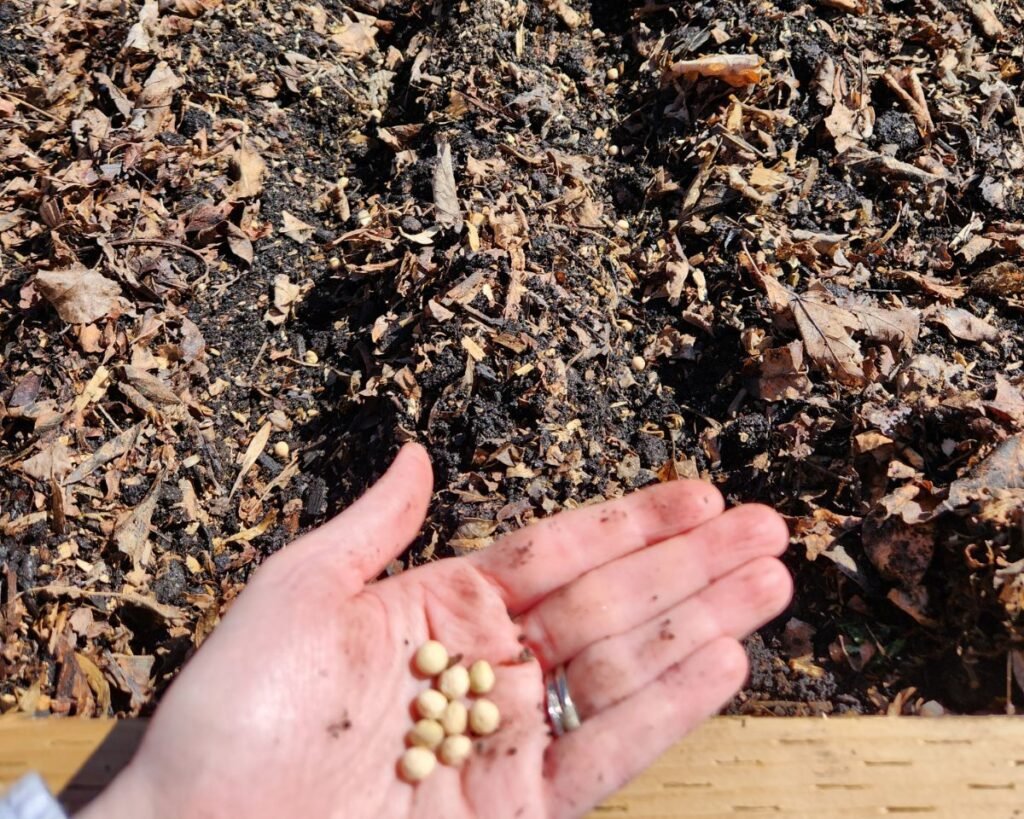
How To Sow Peas
Here is how to plant pea seeds the easy way:
- Pick a sunny spot with good drainage
- Loosen the soil and remove rocks
- Make a row or small trench
- Plant the seeds and cover them
If you’re starting other plants at the same time, you might love this method too: Soil Blocking for Seed Starting
How Deep To Plant Peas In Zone 5
Plant pea seeds about 1 inch deep.
A lot of people search how deep do you plant peas and this is the sweet spot.
Pea Plant Spacing For Zone 5 Gardens
Space pea seeds about 2 inches apart. You can plant peas close together. Most of the plant grows straight up.
For rows, aim for about 12 to 18 inches between rows. This gives you room to water, weed, and harvest.
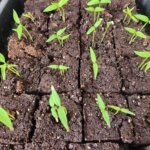
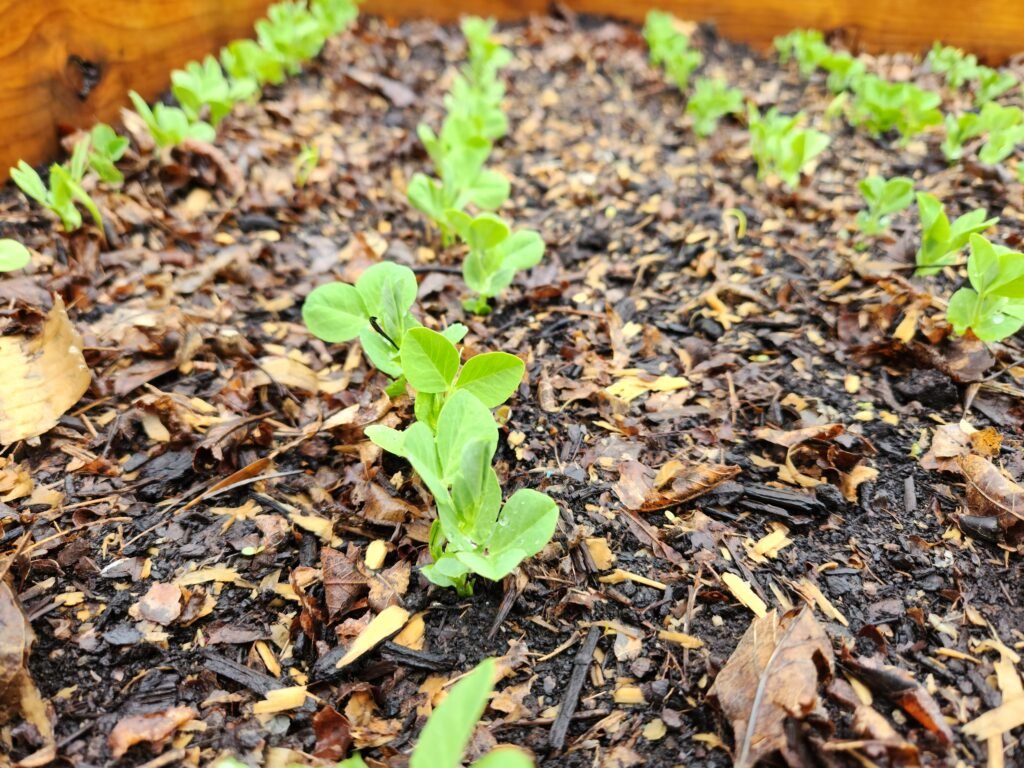
How Long Do Peas Take To Sprout In Zone 5?
Most peas pop up in about 7 to 10 days. Cold soil can slow them down. That’s normal.
If you like growing in cool weather, you may also want to try Winter Sowing
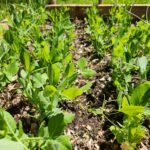
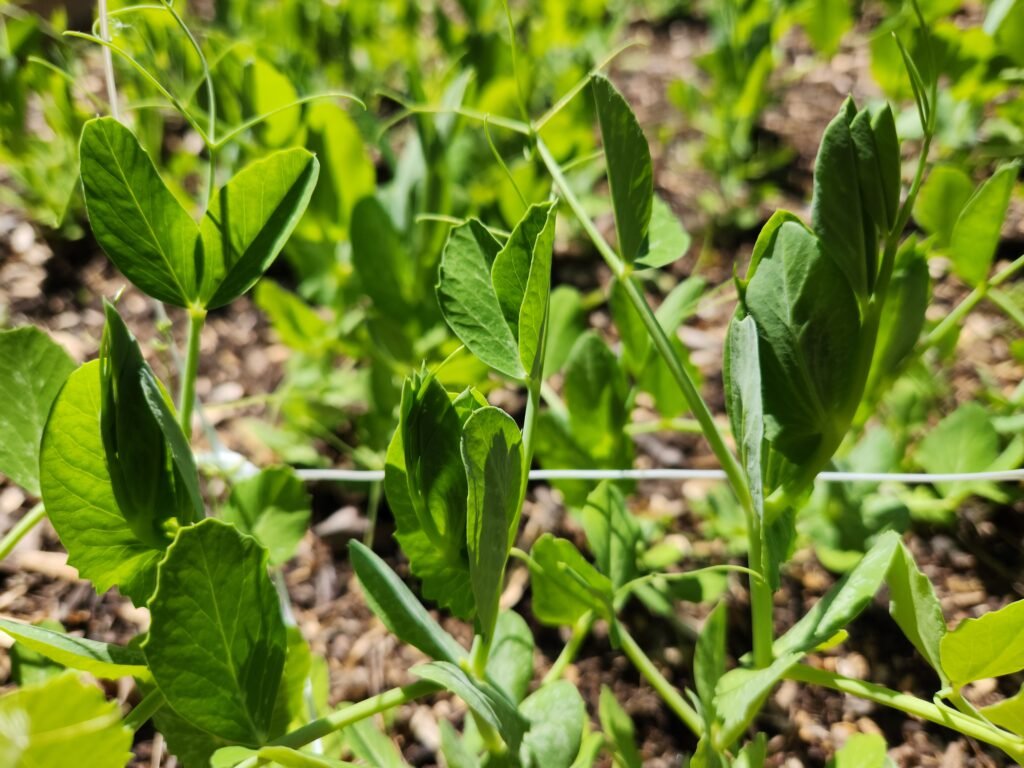
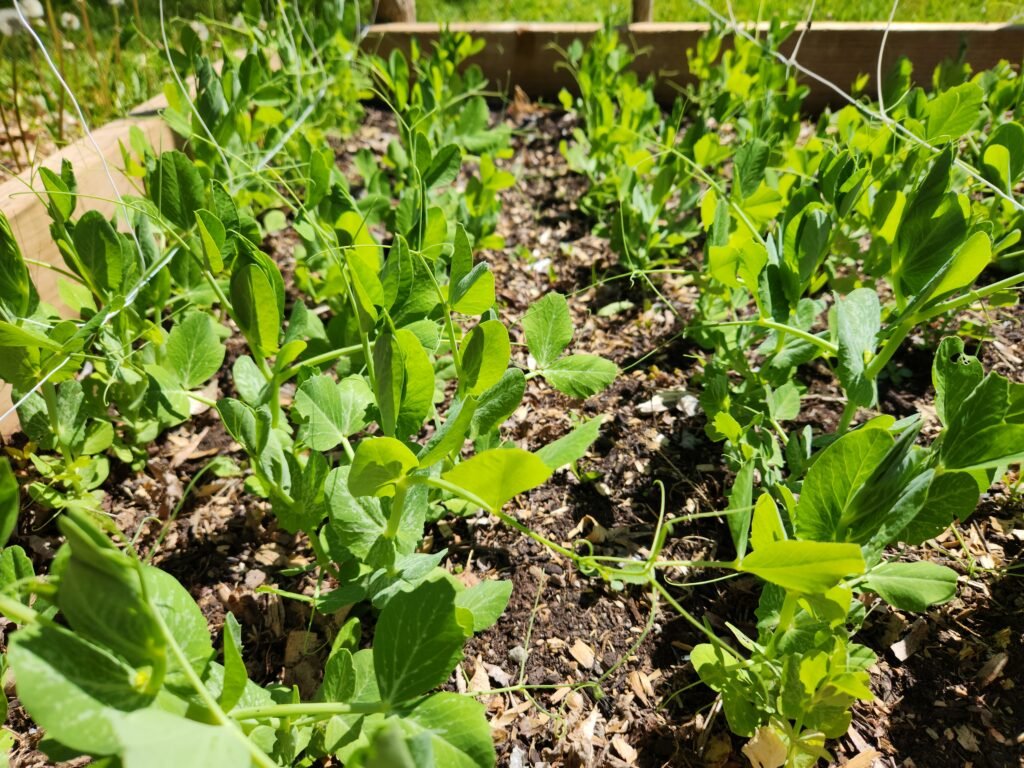
How Do Peas Grow?
If you’re new to gardening, you may wonder how peas grow.
First the seed sprouts. Then the plant grows stems and leaves. Soon it starts to climb or stand tall. Next it flowers. After the flowers, pods form. The peas swell inside the pods as they mature.
Peas grow fastest in cool weather with moist soil.
Growing Pea Plants: Simple Care Tips
Once your seeds sprout, you’re officially growing pea plants.
Pea plant care is easy. You just need water, support, and a little attention.
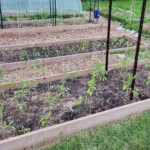
Give Pea Plants A Trellis
Many pea plants climb. A trellis keeps the vines off the ground. That means fewer problems, cleaner pods, and easier picking.
Your trellis can be simple. Use sticks and string, garden netting, or a tomato cage. Most pea trellises should be 3 to 6 feet tall, depending on the variety.
If you’re growing in a protected space, these tips help a lot: Greenhouse Gardening Tips
Watering Pea Plants
Peas like steady moisture. Give your peas about 1 inch of water per week.
If it does not rain, water deeply once or twice a week.
Try not to soak the soil every day. Wet soil can cause root problems.
Mulch helps a lot. It holds moisture and keeps roots cool.
If you’ve ever had weak plants early in the season, this guide will help: Leggy Seedlings and Proper Thinning
Fertilizing Peas
Peas do not need heavy feeding. For the best results:
- Mix compost into the soil before planting
- If your soil is poor, use a low-nitrogen fertilizer
Too much nitrogen can cause lots of leaves but fewer pods.
Common Pea Pests And Diseases
Most years, peas grow with few problems. But pests can show up.
Common Pea Pests
- Aphids: Tiny bugs that suck plant juice
- Pea weevils: Can damage seeds and pods
A strong spray of water can knock off aphids. You can also use insecticidal soap if needed.
Common Pea Diseases
- Powdery mildew: White powder on leaves
- Root rot: Happens in soggy soil
To help prevent problems, water at the base of the plant and keep vines off the ground. Rotate crops each year if you can. If a plant gets sick, pull it out and throw it away so it does not spread.
When To Harvest Peas In Zone 5
Harvesting is one of the best parts of growing peas. Pick often. The more you harvest, the more peas you get.
To pick peas, hold the vine with one hand. Pull the pod off with the other hand. Be gentle.
When To Harvest Garden Peas
Pick garden peas when pods look full and firm. Do not wait too long. Old pods turn tough and starchy.
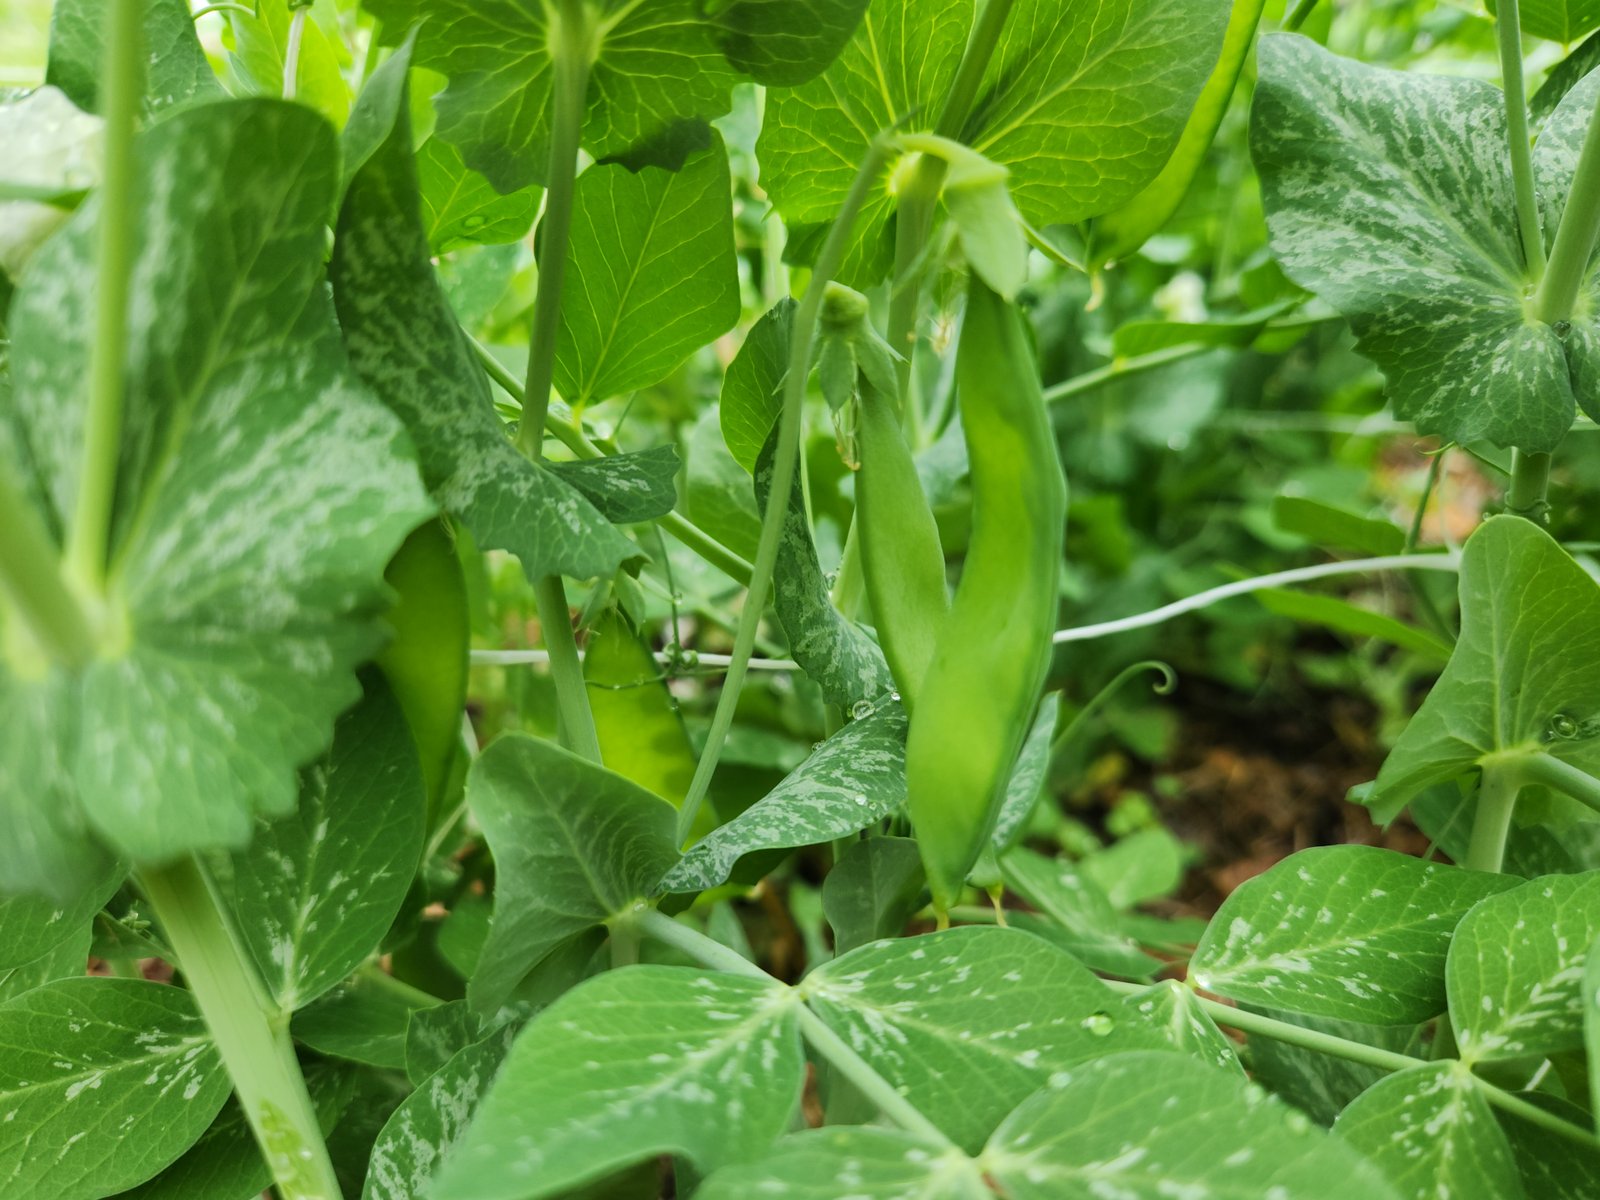
When To Harvest Snap Peas
Pick snap peas when pods are plump and crisp. They should snap clean when bent.
When To Harvest Snow Peas
Pick snow peas while pods are flat and tender. The peas inside should still be small.
How To Grow Peas Longer (Get A Bigger Harvest)
Want peas for more weeks? Try these simple tricks.
Succession Planting Peas
Plant more pea seeds every 2 to 3 weeks in early spring. This gives you a steady harvest instead of one big harvest.
Shade And Mulch
When the weather warms up, peas struggle. Mulch helps cool the soil. Afternoon shade can help too.
Fall Planting Peas
Some gardeners can grow peas again in late summer for a fall crop. This works best in places with a long, mild fall.
Choose faster varieties if your frost comes early.
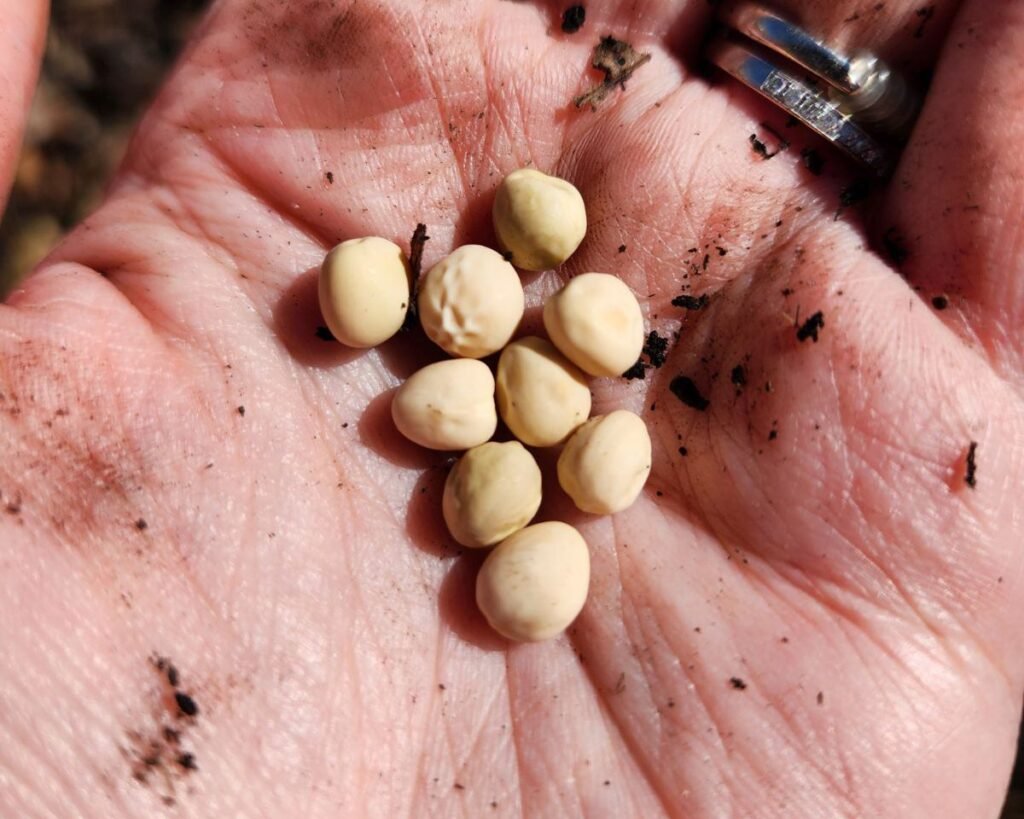
Saving Pea Seeds
Saving seeds is a fun next step once you learn how to grow peas in the garden.
Peas are self-pollinating. That means they usually grow true from saved seed.
If you want to take this a step further, here’s our full step-by-step guide: How To Save Pea Seeds
You can also explore our full collection of seed saving guides here: Vegetable Seed Saving
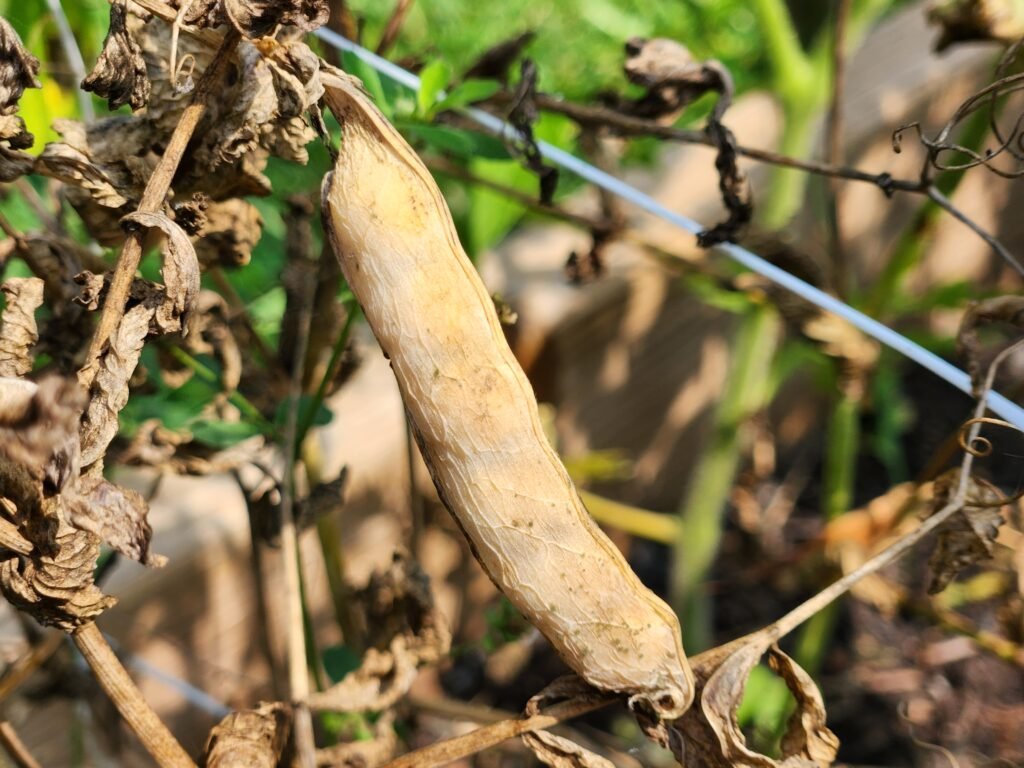
To save pea seeds:
- Leave a few pods on the plant
- Let them dry fully on the vine
- Pick the pods and shell the peas
- Store the dry peas in a cool, dry place
Use an envelope or a jar with a lid.
Companion Planting For Peas
Companion planting means growing helpful plants together.
Some plants grow well with peas. Others do not.
Best Companion Plants For Peas
Carrots, radishes, lettuce, and spinach all grow well near peas.
They use space well and do not fight peas for sunlight.
Beets and turnips can also work well.
What Not To Plant Near Peas
Avoid planting peas near:
- onions
- garlic
- shallots
These can slow down pea growth.
Potatoes can also compete for space and nutrients.
Preserving Your Pea Harvest
If you grow a lot of peas, you can save them for later.
Freezing Peas
Freezing is the easiest way to store peas.
For garden peas, shell them first. Blanch them for about 90 seconds, then cool them in ice water. Drain well and freeze in bags.
For snap peas and snow peas, blanch for about 2 minutes. Cool, drain, and freeze.
Pickling Peas
You can pickle snap peas and snow peas for a crunchy snack.
Use a simple fridge pickle recipe.
Drying Peas
You can dry mature peas for soups.
Let pods dry on the plant. Shell them and store them in a cool, dark spot.
Frequently Asked Questions
Most peas take about 60 to 70 days from planting to harvest. Some types grow faster. Some take longer.
Peas grow best with 6 to 8 hours of sun each day. In warm areas, afternoon shade can help peas last longer.
You can soak pea seeds for 8 to 12 hours to speed up sprouting. But you do not have to. Peas often sprout fine without soaking.
It depends on the type. Some pea plants stay around 2 to 3 feet tall. Climbing peas can grow 5 to 6 feet tall with a trellis.
Yes. You can grow peas in a pot. Use a container that is at least 8 to 10 inches deep. Make sure it drains well. Add a small trellis too.
Pea leaves can turn yellow from cold soil, wet soil, poor drainage, or weak nitrogen fixing (not enough root nodules). Let the soil dry a bit between waterings. Add compost. Make sure extra water can drain away.
Peas do not need much fertilizer. Compost is usually enough. If your soil is poor, use a low-nitrogen fertilizer at planting. Avoid high nitrogen. It can cause leafy plants with fewer pods.
The best way to grow peas is simple: plant early, direct sow seeds, keep soil moist, use a trellis, harvest often.
Conclusion:
If you’re building out your full garden this season, don’t stop at peas.
Start with your full plan here: Zone 5b Planting Schedule
Then map your beds here: Free Garden Layout Planner
And if you’re growing more cool-weather crops, don’t miss:
Happy gardening!