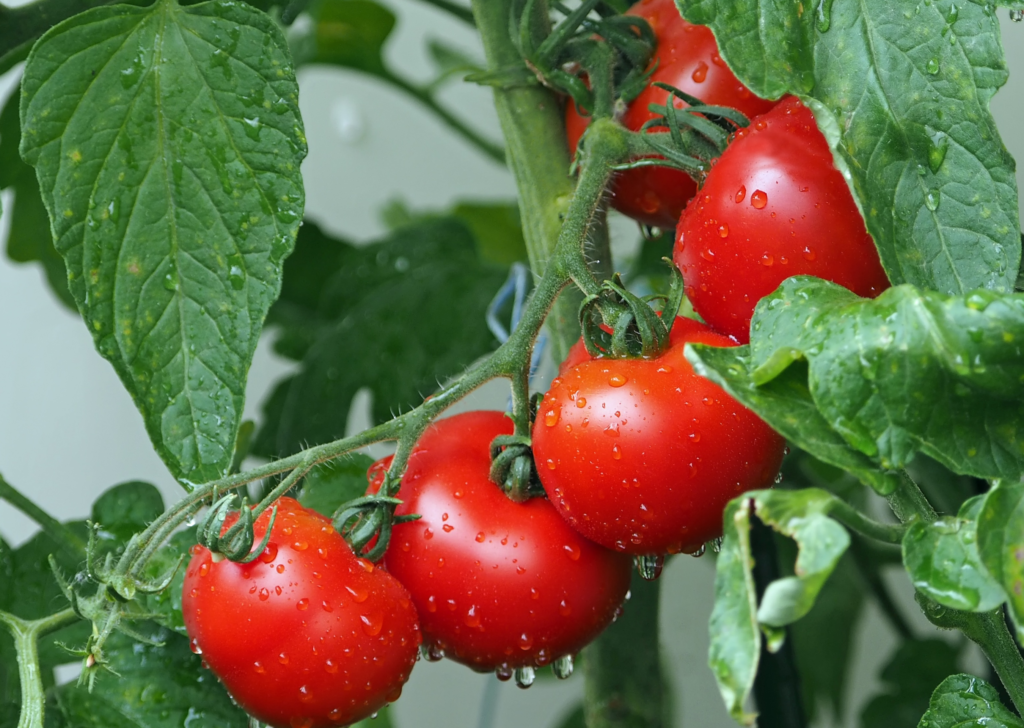
Fresh tomatoes are a staple of many summer meals especially when they are fresh and homegrown. Tomatoes are one of the easiest and most rewarding crops to grow. Whether you grow them only to eat them fresh, or if you plan to can or freeze. Growing tomatoes from seed is a rewarding experience that can provide you with fresh, juicy tomatoes all season long.
This post contains affiliate links. If you use these links to buy something we may earn a commission. Thanks.
Whether you’re a seasoned gardener, a beginner, have a large garden or just a balcony to grow tomatoes on, this guide will tell you everything you need to know to grow the best tasting tomatoes you’ve ever had.
Choosing Your Tomato Seeds

The first step in growing tomatoes from seed is to choose the right variety of tomato seeds. There are hundreds of different tomato varieties to choose from, each with its own unique flavor, texture, and growing requirements. Consider factors such as determinate vs indeterminate, the size of the plant, the colour and size of the fruit, the expected harvest quantity, and the time to maturity when selecting your tomato seeds.
We grow a wide variety of tomatoes at our house. We have 2 varieties of determinate, but most are the indeterminate variety. I personally like indeterminate tomatoes the best because they will keep growing until the weather gets to cold for them. I’ll go through the benefits of both:
- Determinate: Have a predetermined size and will grow to that size and stop. Our 2 determinate varieties are Roma (for making pasta sauce with) and a new variety this year called Bonsai cherry tomato. The benefit of determinate and the reason we have that variety for making sauce with is that the fruits will all ripen at approximately the same time. Making it much easier to harvest and use them when making big batches of canned goods.
- Indeterminate: Like I said above will keep producing new fruit until the weather gets to cold that it kills the plant. Last year we grew tomatoes in our greenhouse from the end of March to mid November. Another benefit of indeterminate tomatoes is the opposite of determinate, the fruit doesn’t ripen all at once. We like this because it creates a steady stream of constantly ripening tomatoes all season long.
When you find a variety of tomatoes you enjoy it’s a simple process to save tomato seeds so you can grow them again next year.
Starting Your Tomato Seeds

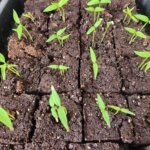
To start your tomato seeds, you will need a few basic supplies, including seed-starting trays or pots, and a sterile seed-starting mix. Optional items are a soil blocker and a heat mat. Fill your trays or pots with the seed-starting mix, and then sow your seeds according to the package instructions. Cover the seeds with a thin layer of soil, and then water them lightly.
Place the trays or pots on a heat mat or in a warm, sunny location to encourage germination. Keep the soil moist but not saturated, and monitor the seedlings closely for signs of growth. To help with germination a humidity dome can also be used to help keep the soil moist. If you do use a dome make sure as soon as you see germination you remove the dome to prevent mold.
Transplanting Your Seedlings

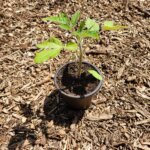
Seedlings can be transplanted outside once the danger of frost in your location has past, typically called the last frost date. For us in zone 5b that is May 7th. But we typically wait an extra week or two and watch the weather to make sure it’s safe to transplant. Once your tomato seedlings have grown to about 3-5 inches in height, they are ready to be transplanted into larger pots or outside in the garden.
For a more in depth look at transplanting tomato seedlings read our article “When and How to Transplant Tomato Seedlings“.
Hardening Off Tomato Plants
Before transplanting your tomato seedlings into the garden, it’s essential to harden them off—a process that gradually acclimates your indoor-grown plants to outdoor conditions. Hardening off helps reduce transplant shock and strengthens the plants for the rigors of full sun, wind, and fluctuating temperatures.
How to Harden Off Your Tomato Plants:
- Start Gradually: About 7–10 days before transplanting, begin by placing your seedlings outside in a sheltered, partially shaded spot for a few hours. Avoid direct sunlight at first; the goal is to gently expose the plants to outdoor elements.
- Increase Exposure Slowly: Each day, gradually extend the time your seedlings spend outdoors. Start with 2–3 hours and work up to most of the daylight hours by the end of the week. If the weather is cooler or overcast, you can afford a bit more exposure initially, but be cautious if temperatures are high.
- Protect from Harsh Conditions: During the hardening off period, shield your seedlings from strong winds and extreme sun. A spot with morning sun and afternoon shade works well. Consider using a light cover or even an overturned plastic container during the hottest part of the day to prevent sunburn.
- Monitor and Adjust: Keep an eye on your plants for signs of stress, such as wilting or leaf scorch. If you notice these signs, reduce the exposure time until your plants adjust. Remember, the goal is to build resilience without overwhelming the young plants.
- Final Preparation: By the end of the hardening off period, your tomato plants should be well-adjusted to the outdoor environment. They will be sturdier and better prepared to thrive once transplanted into your garden.
Taking the time to properly harden off your tomato seedlings can make a significant difference in their overall health and productivity, ensuring a robust start for a bountiful harvest.

Planting Tomato Seedlings
When planting tomato seedlings, it’s best to bury most of the plant’s stem to take advantage of its natural ability to form roots along the buried portion. Typically, aim to plant the tomatoes so that about two-thirds to three-quarters of the seedling is under the soil surface, leaving just the top set of leaves exposed.
This deep planting encourages the development of a more extensive root system, which not only boosts nutrient and water uptake but also strengthens the plant’s stability as it grows. This method results in a more robust, drought-tolerant plant that is better equipped to support a bountiful harvest.
Companion planting can enhance tomato growth and deter pests.
Caring for Tomatoes
As your tomato plants continue to grow, they will need proper care and maintenance. Be sure to water your plants regularly, keeping the soil evenly moist but not waterlogged. Tomatoes are heavy feeders and will benefit from regular applications of a high-quality tomato fertilizer.
Additionally, you may need to provide support for your tomato plants as they grow taller. Staking, trellising, or using cages are all effective methods of supporting tomato plants and preventing them from toppling over. Indeterminate varieties can get very tall and heavy. We’ve had some of ours get to about 10 feet tall. I use T posts hammered into the garden soil and use the weave method to keep my plants upright.
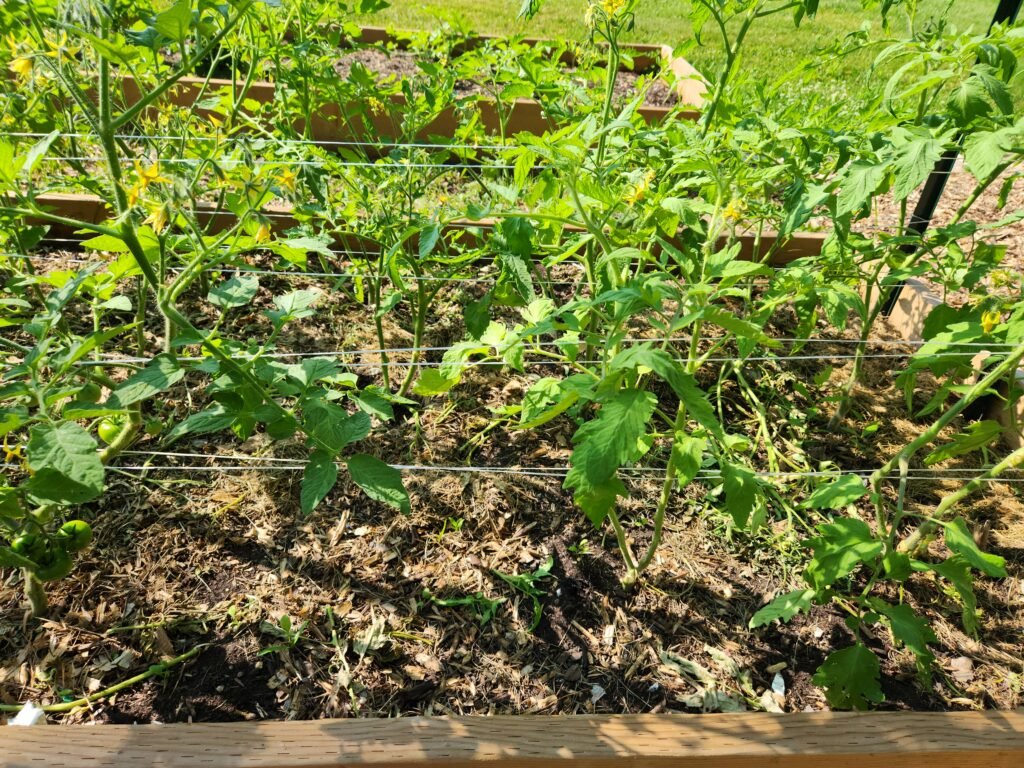
The Florida Weave method consists of using string or twine to weave in and out between your tomato plants. Going all the way down from one side of the garden to the other and then back again. Pulling the string taught so that it’s rigid. As the plant grows you add another string a little farther up the posts near the top of the plants and repeat.
As well as support, your tomato plants will also need to be pruned on a regular basis to promote the best yield from each plant. There are 2 types of pruning you will need to do. Removing suckers, and removing leaves.

- Why and how to remove suckers: Suckers are new branches that form at the cross section of the main stem and leaf branches. Each sucker is basically an entire new tomato plant. If left to grow the sucker will grow like the main stem and form flowers, leaves, and even more suckers. We remove these to let the plant focus its energy on the main stem and fruit production. To remove them use clean pruning shears or simply pinch them off with your thumb.
- Why and how to remove leaves: The entire idea about removing leaves from the tomato plant is to provide better airflow. Airflow is essential to prevent mold and also because tomatoes self pollinate from the wind. So the more airflow the easier they will pollinate. I don’t prune any leaves until the plant has its first set of flowers, or if any leaves are touching the ground. Then I use clean shears and simply cut the leaf branch off close to the main stem being careful not to damage the plant.
Using these pruning techniques once every week or two will help the fruit production and overall health of your tomato plants.
Harvesting Tomatoes
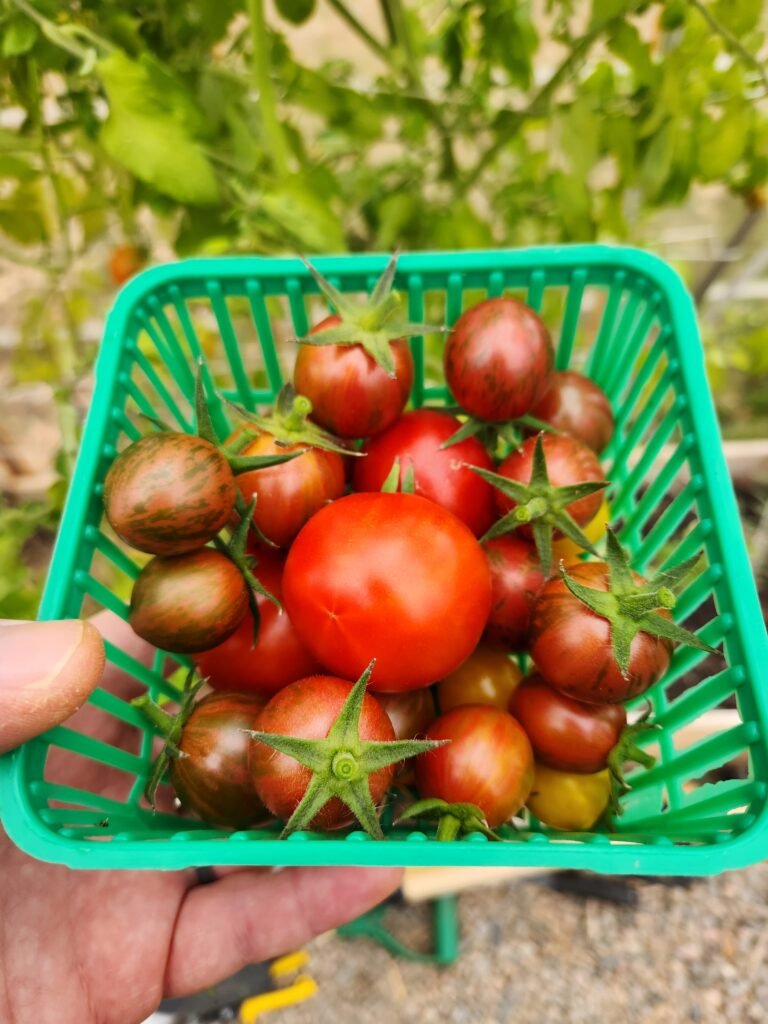
As your tomato plants mature, you will start to see ripe, juicy tomatoes forming on the vine. Tomatoes can be harvested at any point once they start changing colour. The sooner your pick the tomato, the longer it will stay fresh when stored. Simply twist or cut the stem at the base of the tomato, and it will come off the vine easily.
Saving seeds from your best-performing tomato plants ensures a bountiful harvest next season.
Tomatoes can continue to ripen off the vine, so you can leave them at room temperature to ripen further. However, be sure to keep an eye on them to prevent over-ripening or spoilage.
Helpful Articles About Tomatoes:
- Tomatoes: A Weed or Invasive Species?
- Common Tomato Diseases And How To Fix Them
- When and How to Transplant Tomato Seedlings
- The 3 Best Companion Plants For Tomatoes
Tomato Frequently Asked Questions:
Tomato plants are susceptible to various pests, including aphids, tomato hornworms, and whiteflies. Implementing integrated pest management strategies, such as introducing beneficial insects, using physical barriers, and applying organic insecticides, can help control these pests.
Tomatoes are prone to diseases like early blight, septoria leaf spot, and fusarium wilt. Practices such as crop rotation, ensuring proper spacing for airflow, mulching, and selecting disease-resistant varieties can reduce disease incidence. If diseases occur, removing affected foliage and applying appropriate fungicides may be necessary. Encountering problems with your tomato plants? Here’s how to identify and solve common issues.
Yellowing leaves can result from various factors, including nutrient deficiencies (such as nitrogen), overwatering, underwatering, or diseases. Assessing watering practices, inspecting for pests or diseases, and conducting soil tests can help determine the cause and guide corrective actions.
While tomatoes are self-pollinating, factors like high temperatures, humidity, and lack of airflow can hinder pollination. Gently shaking plants, ensuring adequate spacing, and encouraging pollinators can enhance fruit set.
Consistent watering is crucial for tomato health. It’s recommended to water deeply and infrequently, allowing the soil to dry slightly between watering sessions. Mulching can help retain soil moisture and regulate soil temperature.
The short answer is no. We dive deep into how tomatoes could be a weed or invasive in this article.
Conclusion:
We hope you enjoyed this growing guide. If you did make sure you check out the other growing guides, seed saving guides and our recipes. We are growing our website with more articles all the time, and we invite you to grow with us. Whether you’re a seasoned gardener or just starting out, growing tomatoes from seed can be an enriching experience. If you have any questions or want to share your tomato-growing journey, feel free to leave a comment below. Happy gardening!