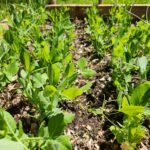
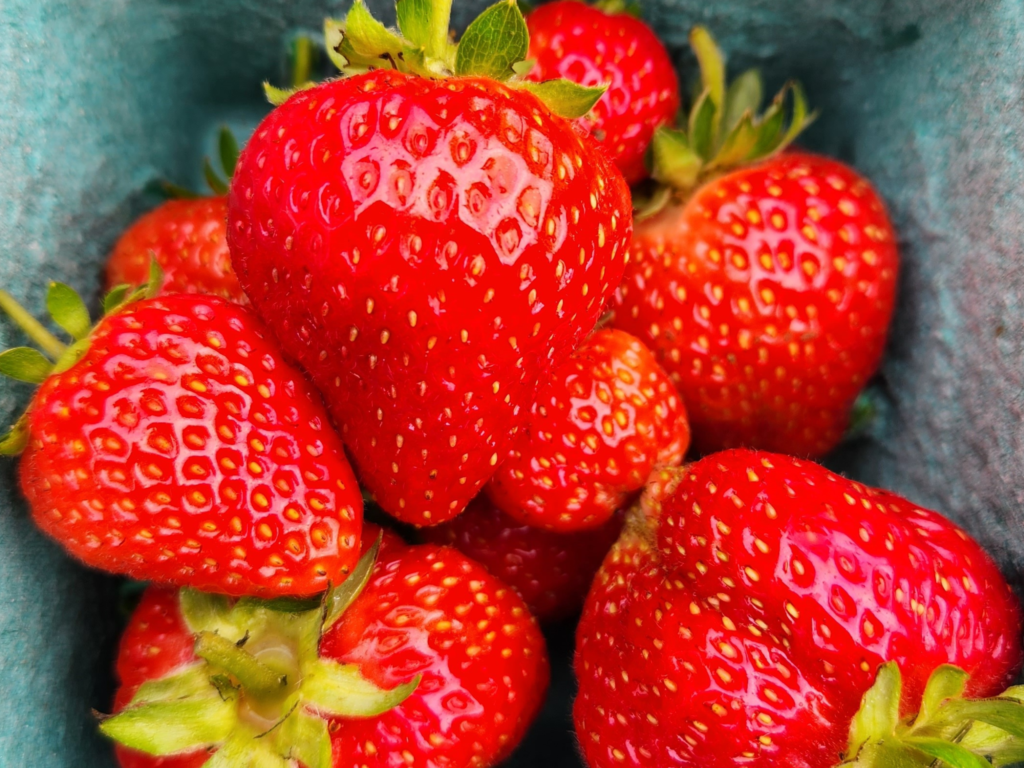
As the nights lengthen and light frosts are upon us, prepping your strawberry bed in late autumn can mean the difference between a slim harvest and one that bursts into berries next June. On our little homestead in Ontario (Zone 5-6), I’ve walked the path of cracked crowns, hungry deer, and over-winter losses – and I’m going to guide you step-by-step through how I prep my strawberry bed for winter, so you can wake up in spring to happy, healthy plants rather than scrambling to revive struggling crowns.
This post contains affiliate links. If you use these links to buy something we may earn a commission. Thanks.

Why Winter Prep Matters For Your Strawberry Patch
- Strawberries have very shallow roots, making them vulnerable in freeze-thaw conditions, especially in zones like ours.
- It prevents ‘heaving’ – uprooting caused by soil shifts during freezing and thawing of the ground.
- A proper mulch and cleanup routine protects crowns, reduces disease, and gives your plants the best jump on spring growth.
- Mulching also helps retain moisture in the soil to prevent the roots from drying out overwinter.
- Skipping this care often leads to thin, weak plants next year, or in worst cases, lost patches altogether.
When to Start Prepping in Zone 5-6
- Wait until after your last major frost and once the nights regularly drop to the mid-to-low negatives (°C).
- Aim for late October to early November for the bulk of the work – even though in milder years you may stretch a bit later.
- A good rule: when the leaves begin yellowing and the plant slows production, it’s time to shift into winter-prep mode.
Step-by-Step: How I Prep My Strawberry Bed for Winter
Step 1: Clean & Trim
- Remove any old leaves or dead runners using clean garden pruners and cut back no more than two inches above the crown – the main plan stem. (In the past and this year, I don’t aggressively cut it back that much, just a simple clean up of the leaves and runners – it’s totally up to you how much pruning you want to do on your bed!)
- Remove any debris laying on the bed. This helps reduce mold and pests next spring.
- If your patch is over-crowded (older than 3-4 years), thin weak plants or cut back runners to preserve energy for the main crowns.
- Lightly feed with a low-nitrogen organic fertilizer or compost to support root health (we use a little bit of our 20 20 20 fertilizer rather than heavy feeding this late in the season).
Tip: Any leaves that are damaged, diseased or pest-infested need to be put in the trash – do not compost as that will ruin your compost.
Step 2: Weed & Edge
- Pull any visible weeds – they’ll get a head-start in spring and compete with your strawberry plants (especially if they’re protected too!)
- Re-edge the bed if needed – clean lines help with airflow and moisture management.
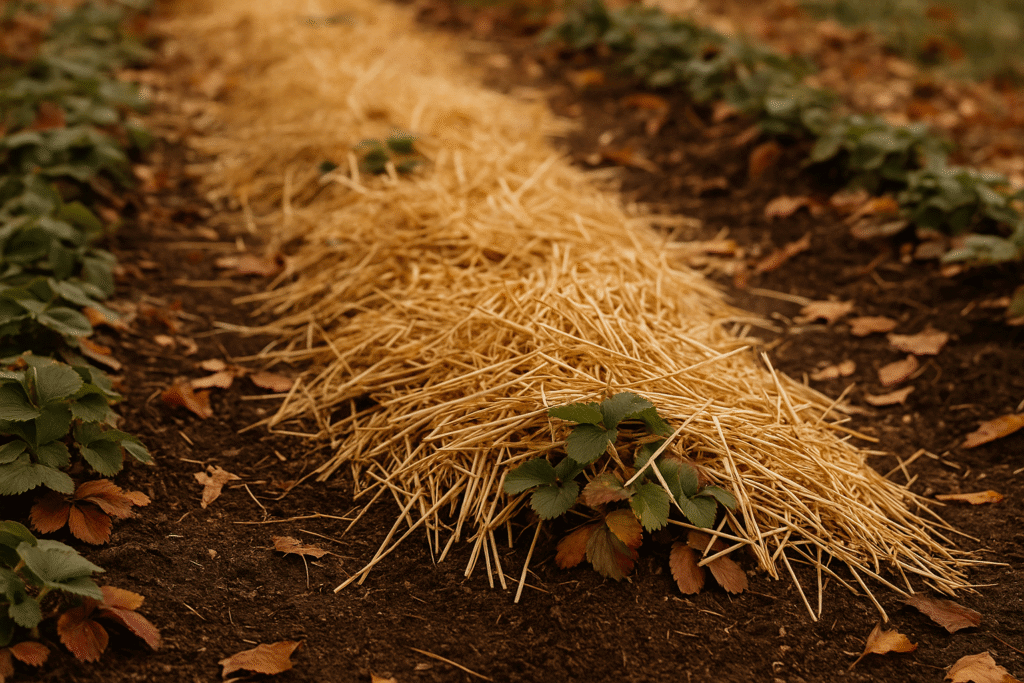
Step 3: Mulch with Straw (or Equivalent)
Mulching provides a layer of insulation, retains the moisture in the soil for spring, keeps the soil temperature more regulated, prevents weeds from finding a place to overwinter or rise up in the spring. However, depending on your location and zone, providing mulch too early can do some damage to your beds!
Mice or other unwanted rodents that are seeking their winter shelter might find the mulch in your bed to be a warm and cozy place to rest. Needless to say that’s not exactly what you want to see in the spring. Mulch retains moisture which is why it’s used and loved by gardeners in the spring and summer – however in the winter it can trap too much moisture causing damage to your strawberry plants root system.
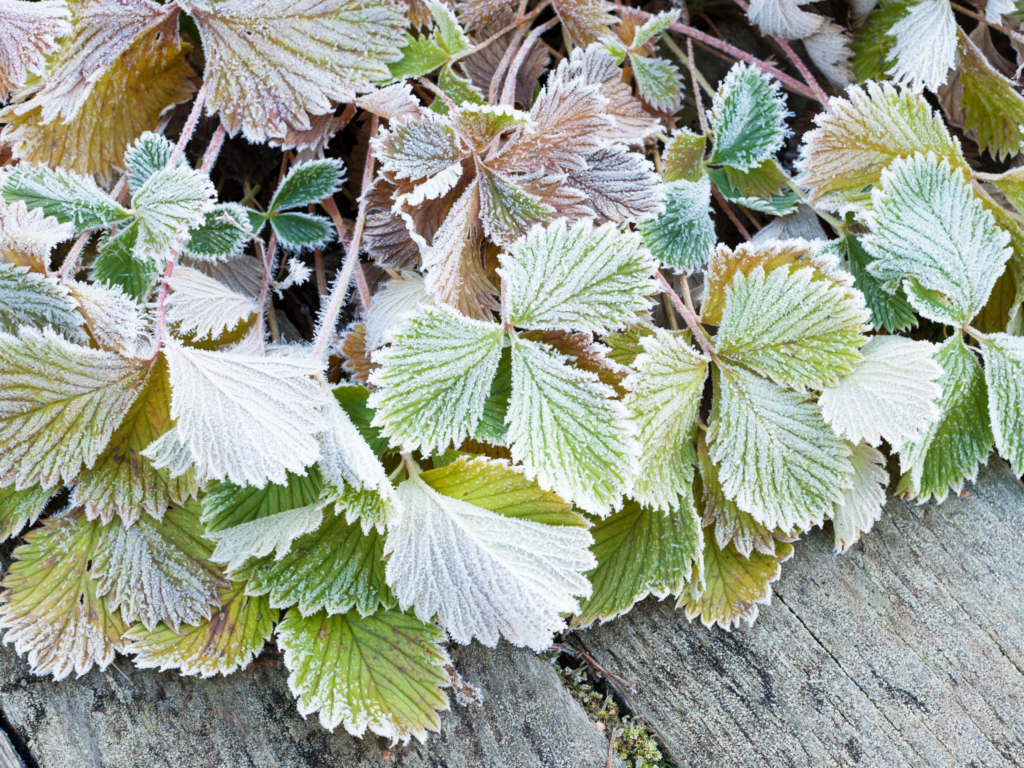
You should mulch at the perfect time – when the foliage is brown and floppy! This will be after your first frost date sometime in November depending on your zone. Here’s a mulching best practices article to get you primed on mulching.
- Apply a 6-8 inch layer of clean straw over the crowns once the plants are fully dormant.
- or 3-5 inches if your patch is in the ground.
- Never use hay with seeds – it will sprout unwanted weeds.
- Make sure the straw is loose and fluffy (not matted).
- Wait until after the first hard freeze so the plants have shut down – this prevents mold and premature growth.
- We use wood chips as our mulch of choice. Our bed is already covered in these chips and we just top it up over the winter to help protect the plants.
Step 4: Optional Covering / Protection
- In harsher winters (sub-Zone 5 or exposed beds), you may want to add a light fabric cover or anchor the mulch with a mesh to prevent wind blow-away.
- Make sure there is still some airflow – sealed covers can trap moisture and cause crown rot.
Step 5: Spring Check-Up
Once winter passes you should start to see little green shoots from the crown (main stem) of your plants. At this point you should remove the excess mulch and let the sun shine through to your little sprouts! Be sure to leave some mulch, as mulch is still important for plants. You can use the excess mulch in your compost or if it’s still intact, re-purpose it for another aspect of your garden.
- As soil warms (when daily temps rise consistently above ~5 °C), gently part the mulch and check crowns for fresh growth.
- Remove straw gradually (or rake it aside) to encourage air circulation and reduce slug/snail issues.
- Deeply inspect for old, weak plants and replace if necessary.

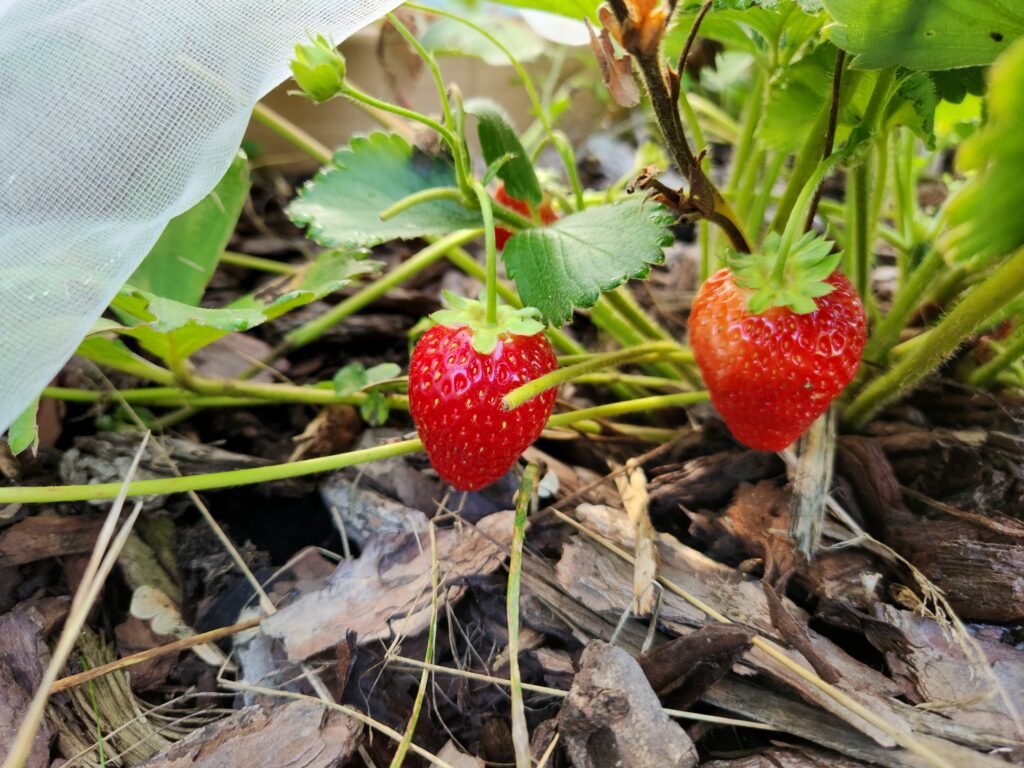
Do I Need to Water The Dormant Strawberry Plants?
Watering your strawberry plants is important to keep them growing and in good condition while the season runs out. Since they’re not actually producing anything they won’t need the same amount of water as a fruit bearing plant would. Once a week or so if there’s no rain.
Once the frost hits and the start of winter approaches, the plants become dormant and will not require watering. If you past your first frost date and want to know if they should still be watered – you are good to hold off on watering.
What Not To Do/Common Mistakes to Avoid
- Don’t apply heavy mulch too early when plants are still active – this invites disease.
- Avoid hay/unclean mulch that contains weed seeds.
- Don’t neglect thinning your bed: an overcrowded patch in spring = smaller berries.
- Don’t skip the spring check – if you leave mulch too long you run risk of delayed growth or pest issues.
Further Reading:
- Mulching Garden Beds Best Practices Guide
- How To Protect My Strawberries From Pests
- Strawberries or Raspberries – Which Is the Better Fruit To Grow?
Strawberry Overwintering FAQ
It’s always better to do overwintering before your last frost date. If you don’t get to it before that date, cleaning the bed is still important to do. But if you missed that first frost date or winter has hit your area early, you can skip fertilizing and watering.
Yes – but they’ll do much better if cleaned up, trimmed, and mulched. Without prep, crowns may suffer frost‐heaving damage or disease.
It’s one of the best options – light, weed-free, breathable. Other good options include pine-needles, shredded leaves, or wood shavings – as long as they’re clean and loose.
Only lightly. Avoid heavy nitrogen in late fall – that keeps plants active when you want them to go dormant. A light compost-top-dress is fine.
Remove or rake back the straw once soil begins warming and daily temps stay above ~5 °C. This promotes new growth while still offering light protection.
Final Thoughts On How to Prep Your Strawberry Patch for Winter
Winter is often seen as a “resting time” in the garden – but with a little prep now, your strawberry patch won’t just rest: it will gear up for its best year yet. Do the work now … and when May arrives, those sweet red gems will be ready for you.
We also have plenty of medicinal herbal guides, growing guides, seed saving guides and our recipes. We are growing our website with more articles all the time, and we invite you to grow with us. If you have any questions about garlic tinctures or would like to share some of your knowledge with us please leave a comment below. Happy Gardening!