Dreaming of homegrown tomatoes, fresh basil, or sweet strawberries? Me too. And it all starts with one thing: your seedlings.
As winter slowly gives way to spring, it becomes the perfect time to plan your garden (my favourite gardening season!). And the first step in that process is learning how to start seeds indoors. Indoor seed starting doesn’t just give you a head start on the season, it also lets you choose unique varieties and grow healthier, stronger plants from day one. No more relying on store-bought seedlings… at least not when we can help it.
Here’s everything you need to know to successfully start seedlings indoors this year.
This post contains affiliate links. If you use these links to buy something we may earn a commission. Thanks.
Why Start Seeds Indoors?
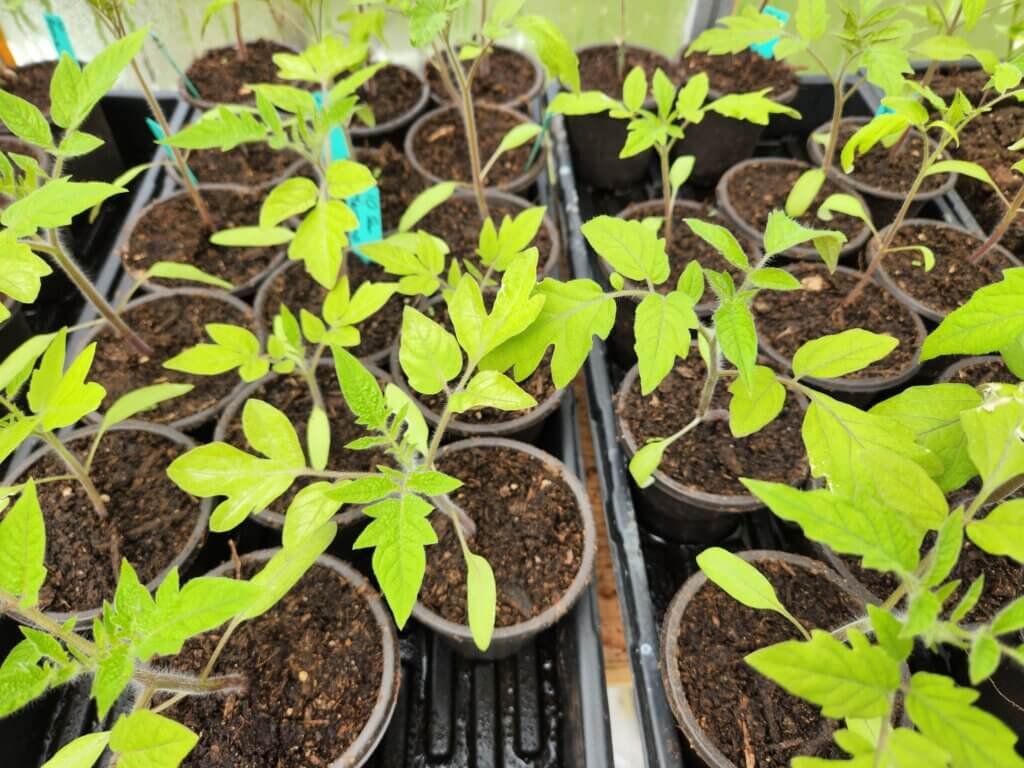
Certain crops, especially warm-season vegetables like tomatoes, peppers, and onions, need a longer growing season than your local climate may allow. Starting these seeds indoors gives them a strong, healthy start before they move outside to your garden beds.
Once seedlings are established, applying proven greenhouse gardening tips can help protect young plants and extend your growing season even further.
When you start seeds indoors, you:
- Get earlier, stronger harvests
- Save money (seed packets go a long way!)
- Grow unique, heirloom, or organic varieties
- Control soil quality, moisture, and germination conditions
- Avoid relying on whatever seedlings your local garden center happens to stock
If you’re looking for more gardening guides or seed-saving resources, be sure to explore the Growing Guides and Seed Saving sections on our website.
Choosing The Right Seeds for Your Area
An important step to consider is your gardening zone. Your zone is part of a predetermined map that tells you your ‘hardiness’ for growing. The map highlights any unique challenges you may face, growing season length, humidity, and first and last frost dates.
You can view the United States map here, and the Canadian map here.
As a Zone 5B resident, we have to utilize a greenhouse and indoor seed starting because we have a little bit of a shorter season than someone in Zone 8 or 9.
Common Indoor Seed Starting Mistakes
There are many common seed starting mistakes that are made – even by us sometimes. This includes things like planting depth, the quality of your seeds, overwatering, underwatering, type of soil used. The list is long and there are details to pay attention to. Don’t worry. We made a whole article about it. Check out our 15 seed starting mistakes and how to fix them article to go more in depth.
What You’ll Need to Start Seeds Indoors
Before you get started, gather these basic supplies:
- Seed packets (Choose high-quality seeds suited to your climate and tastes)
- Seed-starting 1020 Trays, soil blocker, or small container (with drainage holes)
- Seed-starting mix (lighter and finer than regular potting soil)
- grow light (or a bright south-facing window)
- Water mister or gentle watering can (or my favorite, a kitchen liquid measuring cup)
- humidity domes or clear plastic wrap (optional, but helps retain moisture)
- heat mat (helps germinate and seedlings grow in warmer soil)
Reminder – Order your seeds early. Like yesterday. Popular varieties sell out fast in the spring!
How to Start Seeds Indoors: Step-By-Step
Step 1: Timing is Everything
Check the seed packets for the recommended indoor start date — typically 6 to 8 weeks before your area’s last expected frost. For most gardeners, this means starting seeds in March if you plan to transplant outdoors in May.
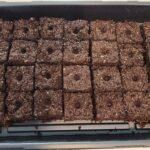
Step 2: Prep Your Containers
Fill seed trays or container with moist seed-starting mix — avoid garden soil, as it’s too heavy and can harbor diseases. See our article on preventing early-season pests and diseases on your garden. Lightly tamp down the soil to remove air pockets.
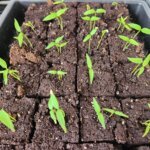
Step 3: Plant and Cover
Plant seeds at the depth recommended on the packet (usually about twice the seed’s width). Cover lightly with soil and gently mist with water. If using a humidity domes, place it over the trays to hold in moisture while they germinate.
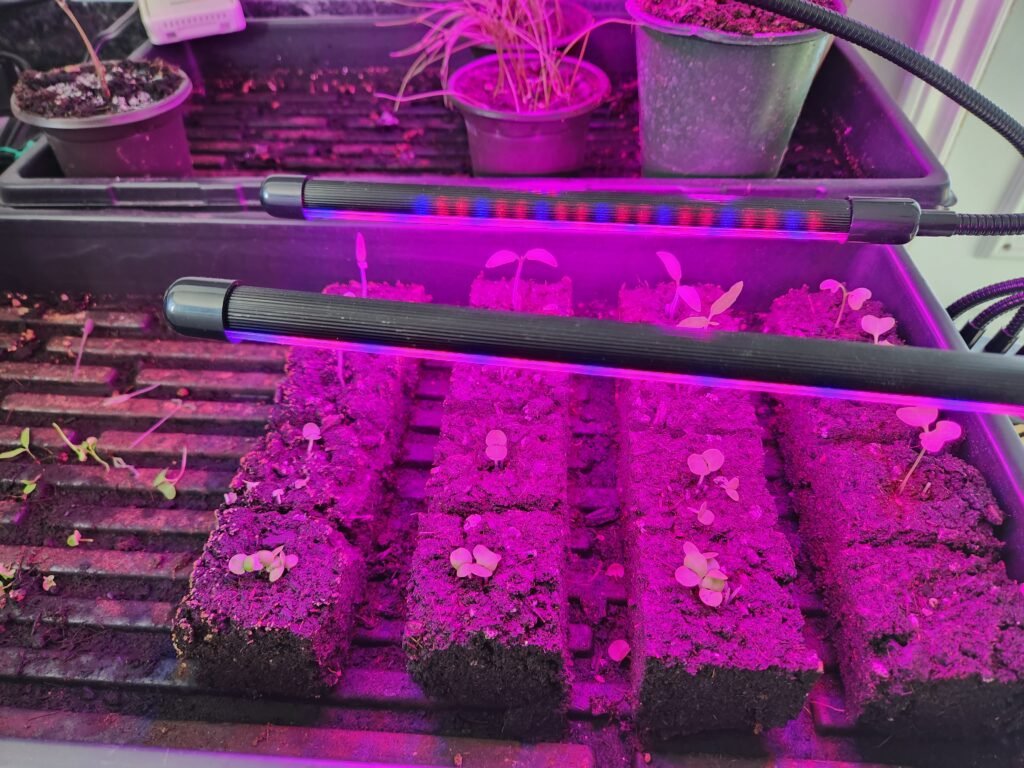
Step 4: Provide Warmth and Light
Most seeds germinate best at 65-75°F, so place trays in a warm spot, or use your heat mat.
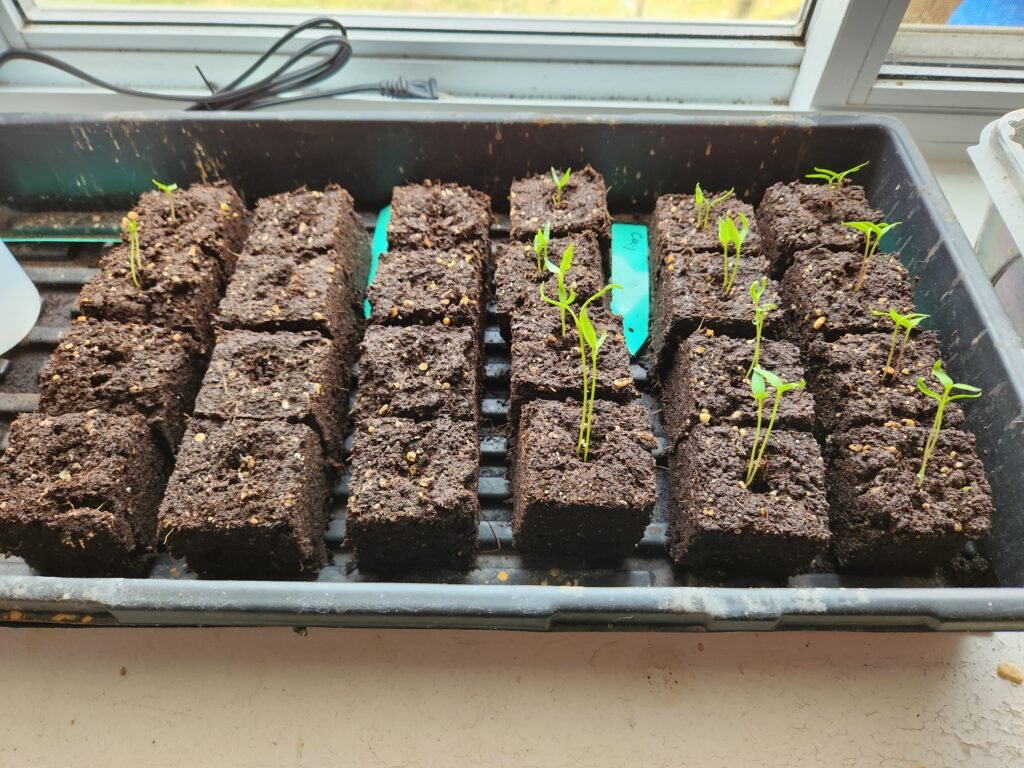
Once seeds sprout, they need 12-16 hours of light daily. If using a grow light, position them just a few inches above the plants and raise them as the seedlings grow. Lack of light is the #1 cause of weak, leggy seedlings.
Step 5: Water Gently
Keep the soil consistently moist but not waterlogged. Bottom watering (adding water to the tray beneath the pots) helps prevent disturbing delicate roots. But again, not too much watering otherwise you could suffer from seedling rot/damping off.
Step 6: Air Circulation
As your young seedlings are starting to break through and grow, it’s important to have a small fan near your plants to provide circulation and prevent fungi from taking root.
Step 6: Thin and Transplant
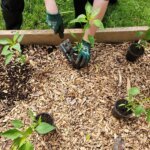
Once seedlings develop their first set of true leaves, thin them by snipping the weaker seedlings at soil level. This gives the strongest plants room to thrive. When outdoor conditions are right, begin hardening off the seedlings — gradually exposing them to outdoor weather over 7-10 days before transplanting.
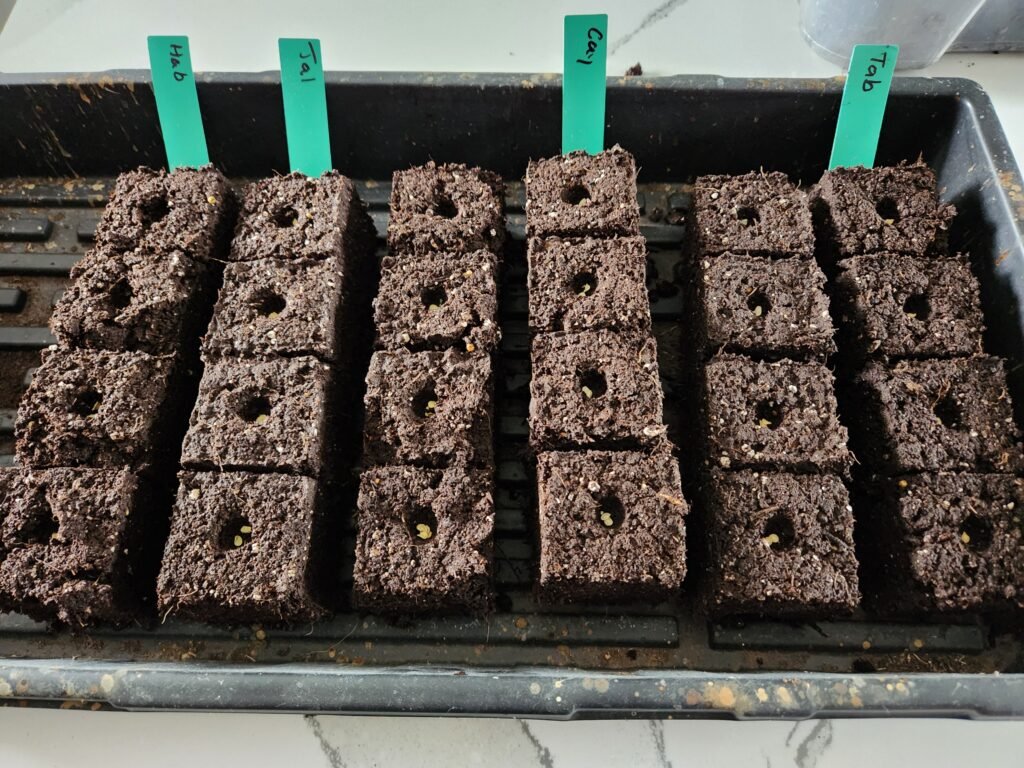
Don’t Forget to Label Your Seedlings
One of the most overlooked gardening tasks is labeling. We still do it every year, even though we know better. We think we’ll remember – but we never do.
Always label each seed you plant. You’ll thank yourself in the long run. Labeling is as simple as using a specific stick you chose for your tomato plants if you don’t have a plastic plant label garden sign.
How to Start Seeds Indoors on a Budget
When you’re new to gardening, sometimes the idea of all these tools and set up items can seem daunting. There are so many cheap and easy ways to garden, you don’t need all the fancy tools. Remember, at the end of the day, all you really need is the soil, seeds from food and water.
Outside of those things, you can reuse materials like yogurt cups, coffee tins, or egg cartons to start your seedlings. It is better to buy seeds your first year to ensure you’re getting organic, freshly stored seeds. But after that first year, you can start seed saving from the plants you grew. We have plenty of seed-saving articles at DBS Farm Wilson.
Seasonal Growing Calendar
Tracking your gardening is key to a successful crop. We definitely recommend the gardening journal, but if you don’t want to keep track of all the gardening possibilities and details – we recommend at least keeping track of your plant starting dates, transplant dates, etc.
For example, in Zone 5B, we start our tomatoes in mid-March then transplant in mid-May a week or so after our last frost date. Use pen and paper, use excel spreadsheet, whatever works best.
If you want a full breakdown of when to start seeds and transplant crops in a cold climate, our Zone 5b planting schedule walks through what to plant and when throughout the growing season.
Keep a Gardening Journal
At DBS Farm Wilson, we always recommend keeping a garden journal to track your seed starting dates, germination rates, and successes (or challenges) each year. It’s a great way to fine-tune your process and plan even better for next season.
Frequently Asked Questions (FAQ)
A bright south-facing window may work, but grow lights provide the best results. Seedlings need 12-16 hours of light per day, and natural light is often not strong enough in early spring.
Not at first! Seed-starting mix has little to no nutrients, but seeds contain enough stored energy to sprout. You can start fertilizing with a diluted 20 20 20 fertilizer once the first true leaves appear, but I would wait until they’ve been transplanted outdoors for the final time.
This usually means they aren’t getting enough light. Move grow lights closer to the seedlings (2-4 inches above the plants) and ensure they’re getting at least 12-16 hours of light per day.
Seedlings are ready for transplanting when they have at least two sets of true leaves and strong stems. Your seed packet will tell you when they should be planted outdoors.Most definitely wait until you’re WELL PAST YOUR LAST FROST DATE. Before planting them outside, harden them off by gradually introducing them to outdoor conditions over 7-10 days.
Beginner-friendly seeds include tomatoes, peppers, basil, marigolds, lettuce, and zinnias. These germinate easily and adapt well to transplanting.
Yes, but they should be thoroughly cleaned and disinfected first. Soak them in a 1:10 bleach-to-water solution for 10 minutes, then rinse and dry to prevent disease.
Yes, but only if you provide grow lights and warmth (not a heat mat). Without them, seedlings will struggle due to lack of light and low temperatures.
Yes! Once your seedlings have sprouted, remove the heat mat to prevent them from becoming weak and leggy.
Ready to Grow?
We are! I hope this encourages you to start your gardening journey this year, and if you’re already a seasoned gardener, perhaps you learned something new here!
We hope you enjoyed this growing guide. If you did make sure you check out the other growing guides, seed saving guides and our recipes. We are growing our website with more articles all the time, and we invite you to grow with us. If you have any questions about starting seedlings or would like to share some of your knowledge with us please leave a comment below.