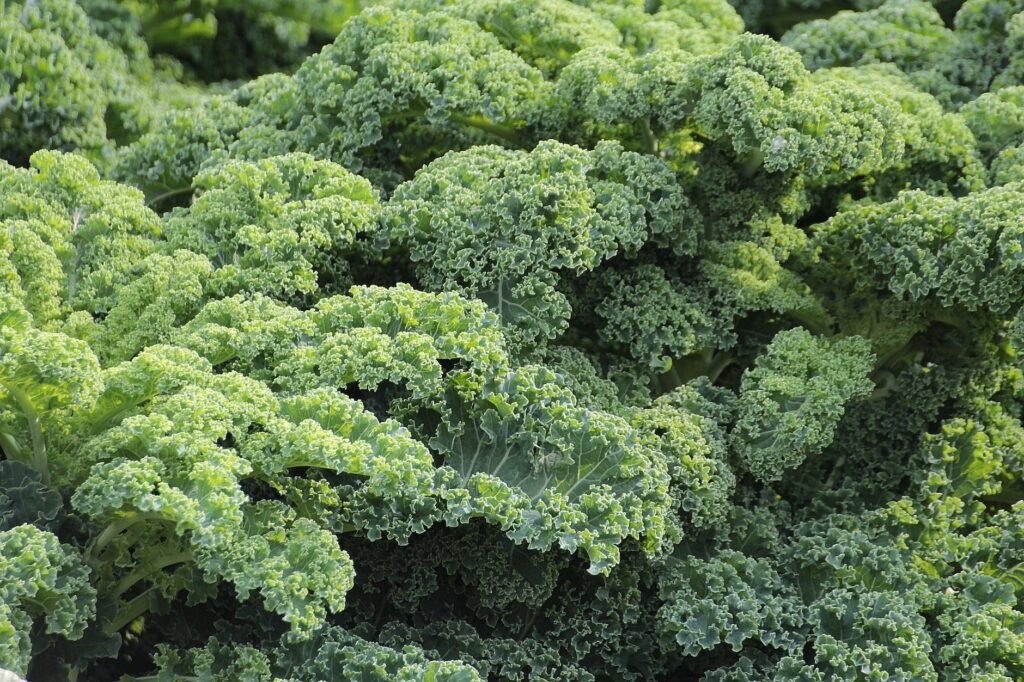
Learning how to grow kale should be top priority for any gardener. Kale is a nutrient-packed leafy green vegetable that has become increasingly popular in recent years due to its many health benefits. It’s a cool-season crop that can be grown from seed to harvest in a relatively short period of time, making it an ideal choice for home gardeners who want to try their hand at growing their own vegetables.
This post contains affiliate links. If you use these links to buy something we may earn a commission. Thanks.
In this blog post, we’ll walk you through the process of growing kale from seed to harvest, including tips for planting, caring for, and harvesting your kale plants.
Choosing The Right Kale Seeds
The first step in growing kale is selecting the right seeds. Look for varieties labeled as “cold-tolerant” or “hardy,” as these are more likely to thrive in cooler temperatures. Some of the most popular types of kale include:
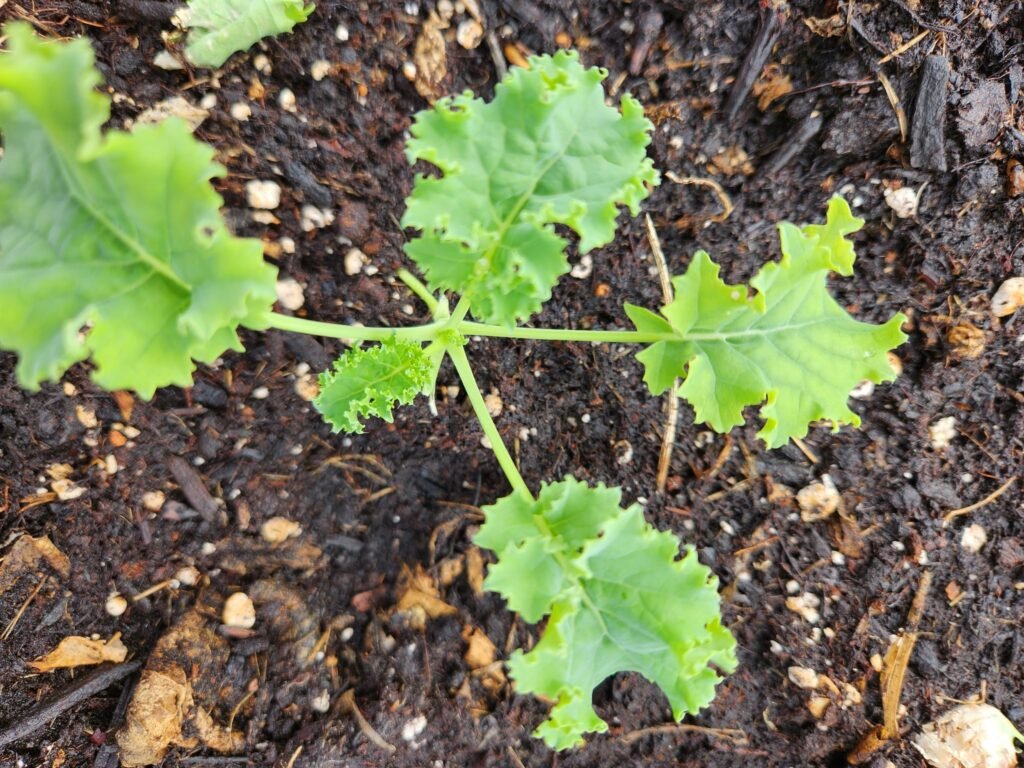
- Curly Kale – Known for its ruffled leaves and slightly peppery taste.
- Tuscan Kale (Lacinato or Dinosaur Kale) – Dark green, bumpy leaves with a mild, slightly sweet flavor.
- Red Russian Kale – Tender, flat leaves with reddish veins and a sweeter taste.
- Siberian Kale – Extremely cold-hardy with large, smooth leaves.
Each variety has its own unique taste and texture, so choose the one that best suits your preferences and growing conditions.
Starting Your Seeds
To get a head start on the growing season, start your kale seeds indoors 6-8 weeks before your last expected frost date. Here’s how:
- Use seed-starting trays or small pots filled with a high-quality potting mix.
- Sow the seeds ¼ inch deep and lightly cover them with soil.
- Keep the soil moist but not waterlogged by misting with a spray bottle.
- Place the trays in a warm area with consistent temperatures between 65-75°F (18-24°C). Using a heat mat can help to speed up germination.
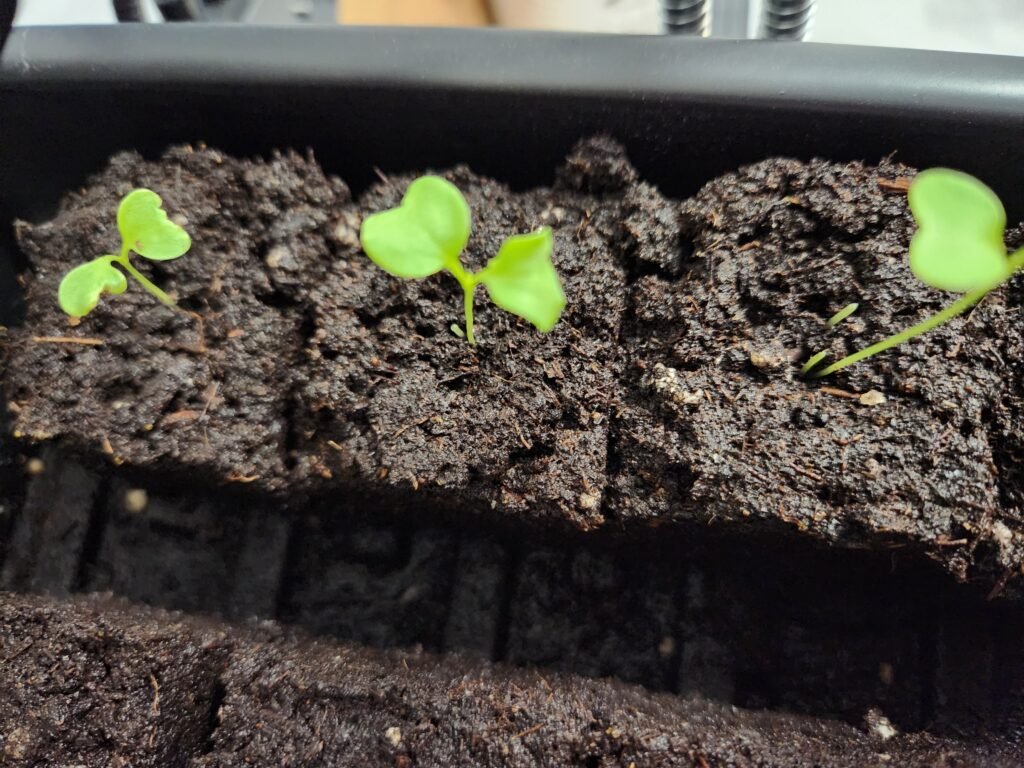
- Once seedlings emerge, ensure they receive 12-16 hours of light daily using grow lights or a sunny windowsill.
After the seedlings develop their first true leaves, they can be transplanted into larger containers or prepared for outdoor planting.
For more tips and mistakes to avoid while starting seeds check out these 15 seed starting mistakes and how to fix them.
Hardening Off Your Kale Seedlings
Before moving your young kale plants outdoors, they need to be hardened off to adjust to outdoor conditions. This process strengthens the plants and reduces transplant shock.
- Start 7-10 days before transplanting.
- Place seedlings outside in a sheltered location for a few hours a day, gradually increasing exposure to sunlight and outdoor temperatures.
- Avoid extreme weather conditions like heavy rain or strong winds.
- By the end of the hardening-off period, the seedlings should be able to handle full days outdoors.
Preparing Your Soil To Grow Kale
Kale thrives in well-draining, fertile soil rich in organic matter. To prepare your garden bed:
- Loosen the soil to a depth of at least 12 inches.
- Work in compost or aged manure to improve texture and fertility.
- Aim for a soil pH of 6.0-7.5 (use a soil tester to check and adjust if necessary).
- If your soil is heavy clay or sandy, consider adding organic matter to improve drainage and nutrient retention.
Planting Your Kale
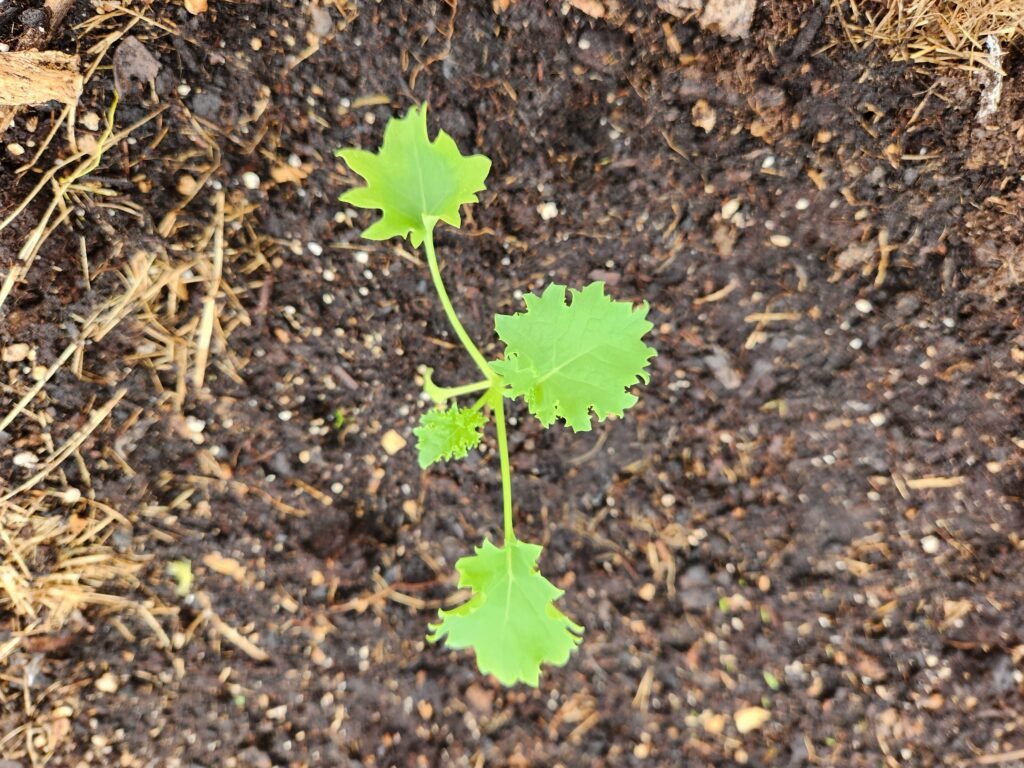
Once your seedlings are about 3-4 inches tall, they are ready to be transplanted outdoors:
- Space the plants 12-18 inches apart to allow ample room for growth.
- Plant in full sun or partial shade (in hot climates, choose a spot with morning sun and afternoon shade).
- Water the plants well after transplanting to help them establish strong roots.
Caring For Your Kale Plants
Watering
Kale prefers consistent moisture. Water deeply once a week, ensuring the soil stays evenly moist. During hot weather, more frequent watering may be necessary.
Mulching
Apply a 2-3 inch layer of mulch around your plants to:
- Retain soil moisture
- Suppress weeds
- Regulate soil temperature
Learn all about how to mulch here.
Fertilizing
Feed your kale every 4-6 weeks with a balanced fertilizer that is high in nitrogen for leafy growth. Organic options include:
- Compost tea
- Fish emulsion
- Aged manure
Pest And Disease Management
Kale can be affected by pests such as aphids, flea beetles, and cabbage worms. Keep an eye out for damage and try these methods:
- Hand-pick pests when you see them.
- Use floating row covers to protect young plants.
- Spray neem oil or insecticidal soap if infestations occur.
Harvesting Your Kale
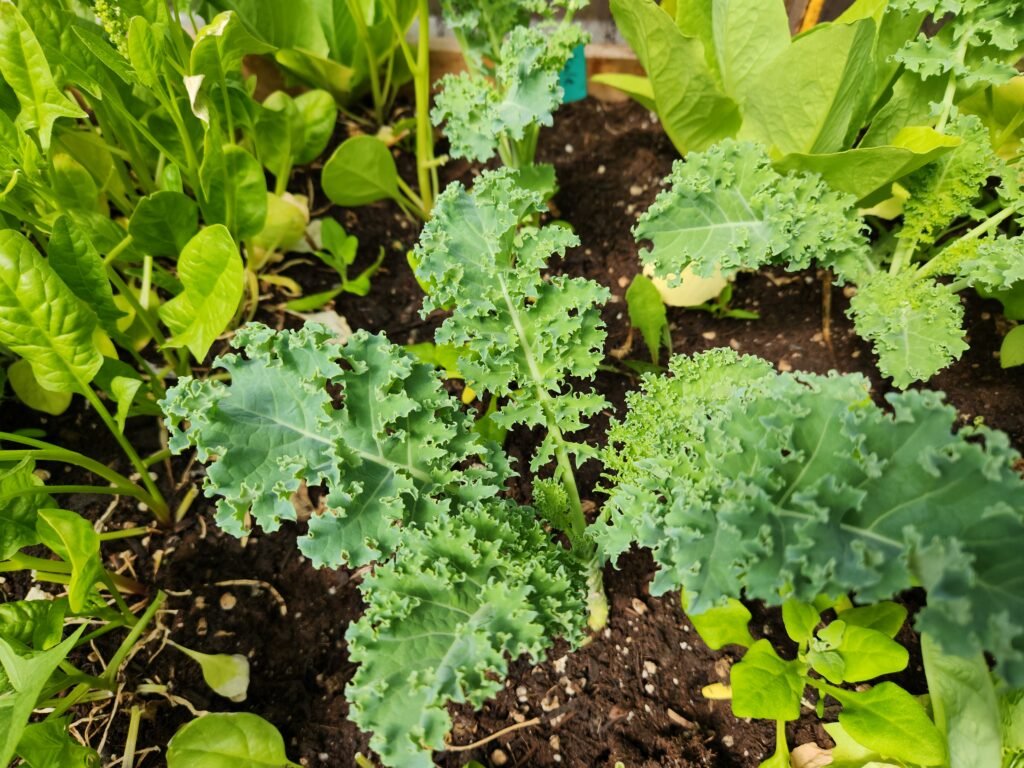
You can start harvesting kale when the leaves are large enough to use, typically about 6-8 weeks after planting.
- Pick outer leaves first, allowing the plant’s central growth tip to continue producing.
- Regular harvesting encourages continuous growth throughout the season.
- If you prefer baby kale, you can harvest leaves when they are still small and tender.
Kale becomes sweeter after a light frost, so if you’re growing into the colder months, expect a more flavorful harvest.
Frequently Asked Questions About Growing Kale
Kale typically takes 6-8 weeks from seed to harvest, depending on the variety and growing conditions.
Yes! Kale is cold-hardy and can tolerate frost, which can even improve its flavor by making the leaves sweeter.
Kale grows best in full sun (6+ hours per day) but can also tolerate partial shade (especially in hot climates).
Yellowing leaves may indicate over watering, nutrient deficiency, or pest issues. Check the soil moisture and consider adding nitrogen-rich fertilizer.
Yes! Kale can be grown indoors in containers with sufficient light from a sunny window or grow lights.
For a fall harvest, plant kale in mid-to-late summer, about 6-8 weeks before the first expected frost.
Store fresh kale in the refrigerator in a plastic bag with a paper towel to absorb moisture. It stays fresh for up to a week. You can also blanch and freeze kale for longer storage.
Conclusion
By following these steps, you’ll be able to grow a thriving kale crop and enjoy fresh, homegrown greens throughout the season. Whether eaten raw in salads, blended into smoothies, or sautéed with garlic, kale is a versatile and nutritious addition to any garden.
We hope you enjoyed this growing guide. If you did make sure you check out the other growing guides, seed saving guides and our recipes. We are growing our website with more articles all the time, and we invite you to grow with us. Whether you’re a seasoned gardener or just starting out, growing kale from seed can be an enriching experience. If you have any questions or want to share your kale-growing journey, feel free to leave a comment below. Happy gardening!