There is no single “right” way to start seeds for a garden. Gardeners have been using everything from egg cartons to plastic cell trays to yogurt cups, and some even skip the seed starting process altogether by direct sowing right into the garden.
This post contains affiliate links. If you use these links to buy something we may earn a commission. Thanks.
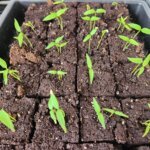
I’ve experimented with all kinds of seed starting methods. I’ve used store-bought 4-inch pots, old containers, and even cardboard boxes. But over the last couple of years, I discovered soil blocking, and it’s quickly becoming my favorite way to start seeds. Not only does it produce healthier seedlings, but it’s also eco-friendly, space-saving, and cost-effective.
What Is Soil Blocking?
Soil blocking is a seed starting method where you grow seedlings in free-standing cubes of soil instead of traditional seed trays or plastic containers. Each block acts as its own mini-container with a small divot at the top where your seed fits perfectly.
Gardeners love it because it eliminates plastic waste, reduces transplant shock, and encourages strong seedling roots that are ready to spread into the garden soil as soon as you transplant them.
Everything You Need To Make Soil Blocks:
- Potting mix (either home made or purchased will work)
- Fresh Water
- A soil blocker tool (sometimes called a soil block maker)
- A container with a flat bottom to combine the potting mix with water. Large enough to fit your soil blocker. I use a 22″x15″ storage container I bought from my local hardware store.
- Trays to put your soil blocks in when made. 1020 Trays are a readily available item that are very popular for soil blocking.
- Humidity domes to cover the soil blocks to retain moisture and speed germination time.
How Do You Make Soil Blocks?
Making soil blocks is straightforward once you get the hang of it. Here’s a simple step-by-step (with pictures):
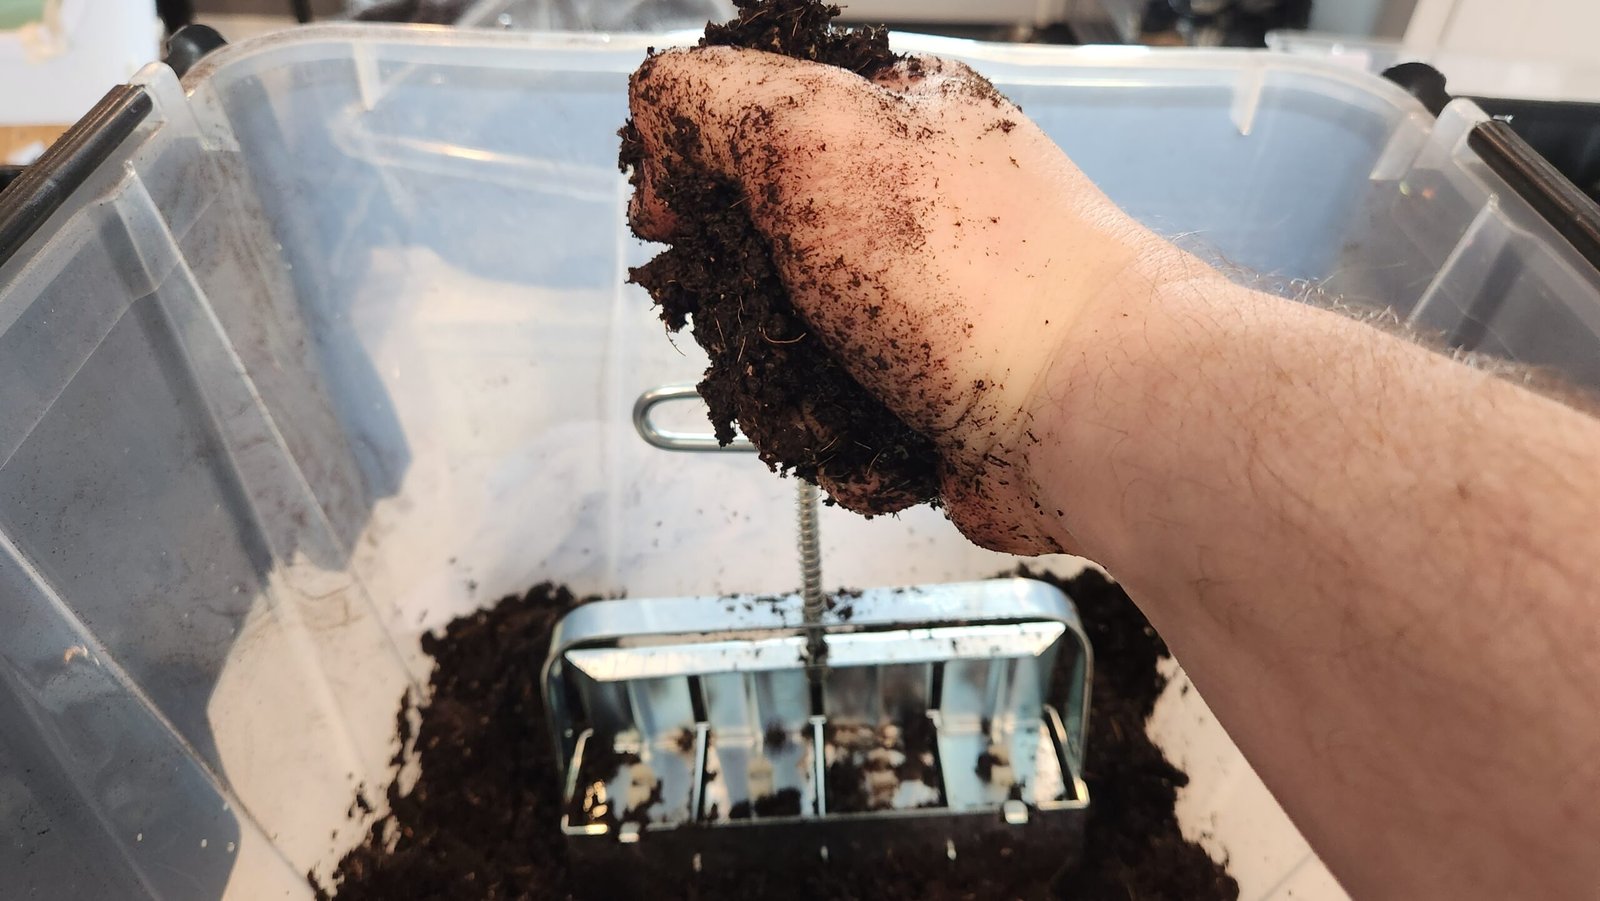
Mix the soil — Combine potting mix with water until it’s evenly moist. Test it by squeezing a handful: you want a few drops to come out, but not a soggy handful.
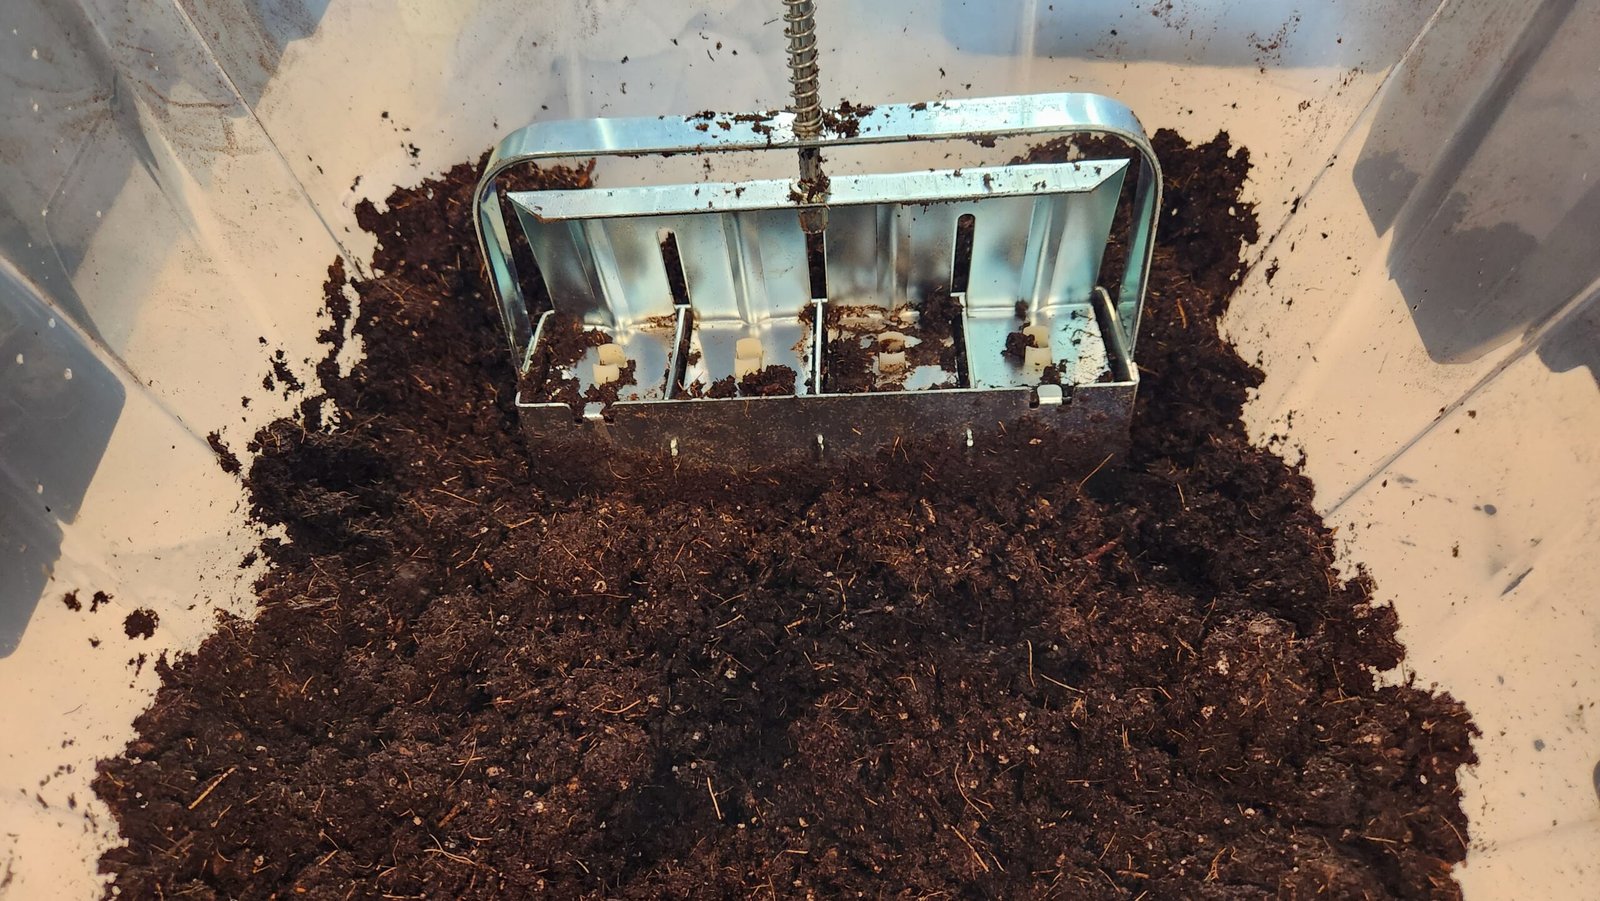
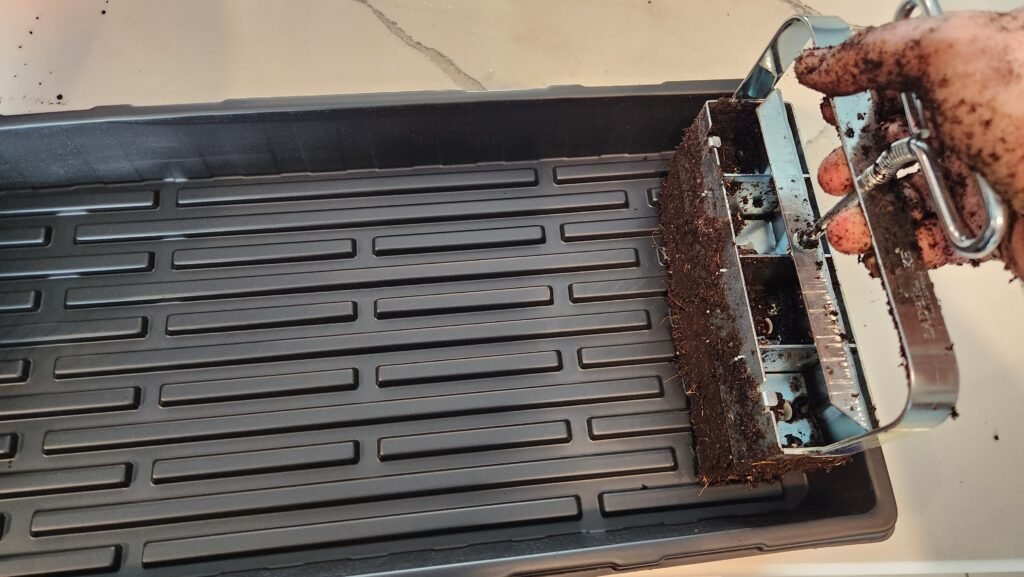
Fill the soil blocker — Press your soil block maker firmly into the mix, twisting slightly to make sure the cavities are tightly packed.
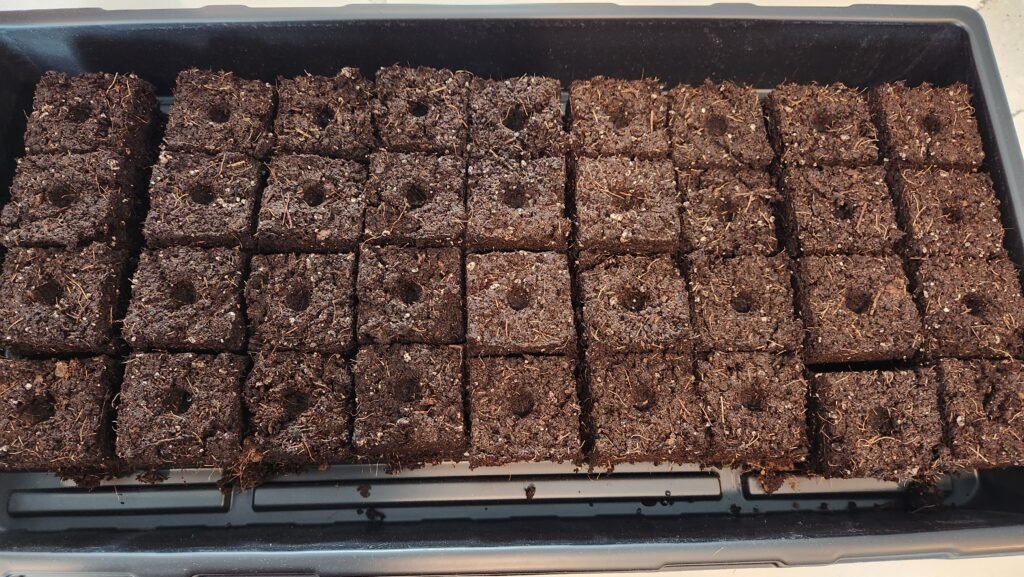
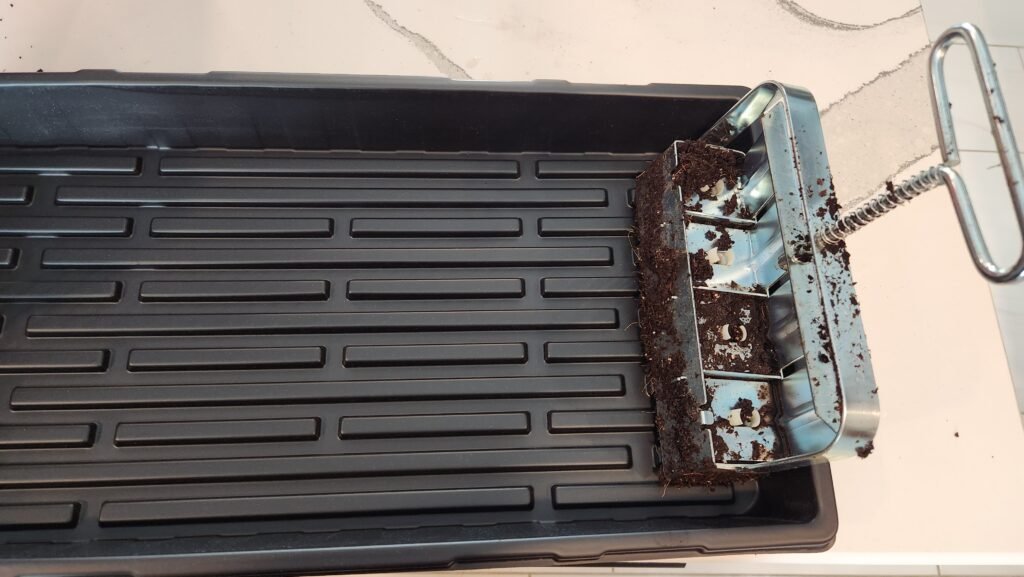
Release the blocks — Move your tool over to your seed tray and push the handle to release. Wiggle lightly if needed to get clean blocks.
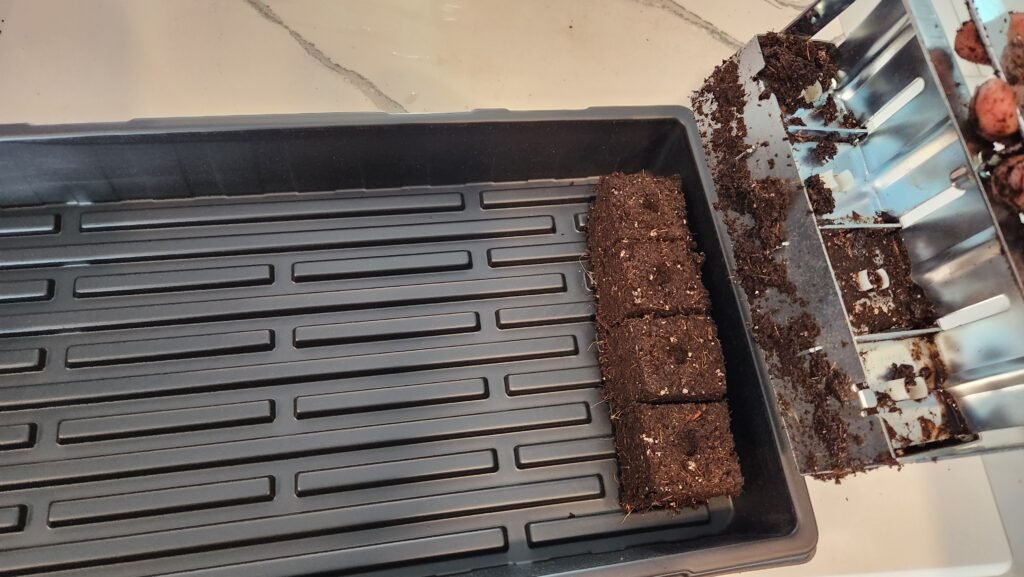
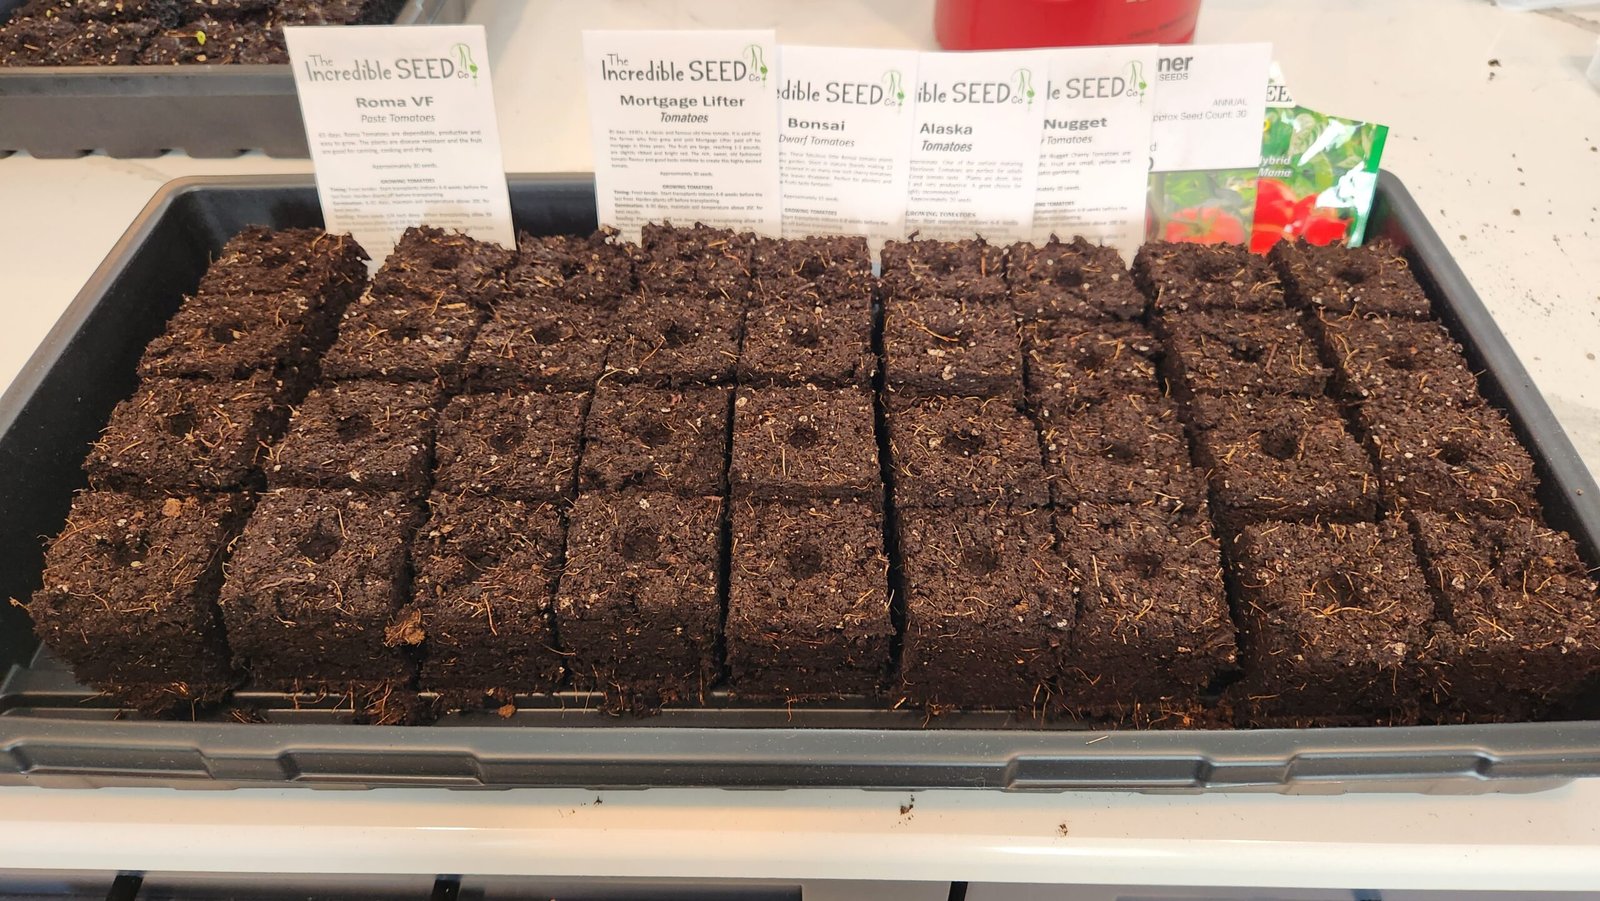
Plant your seeds — Each block already has a perfectly sized divot. Drop in a seed, cover lightly with soil if needed, and water gently.
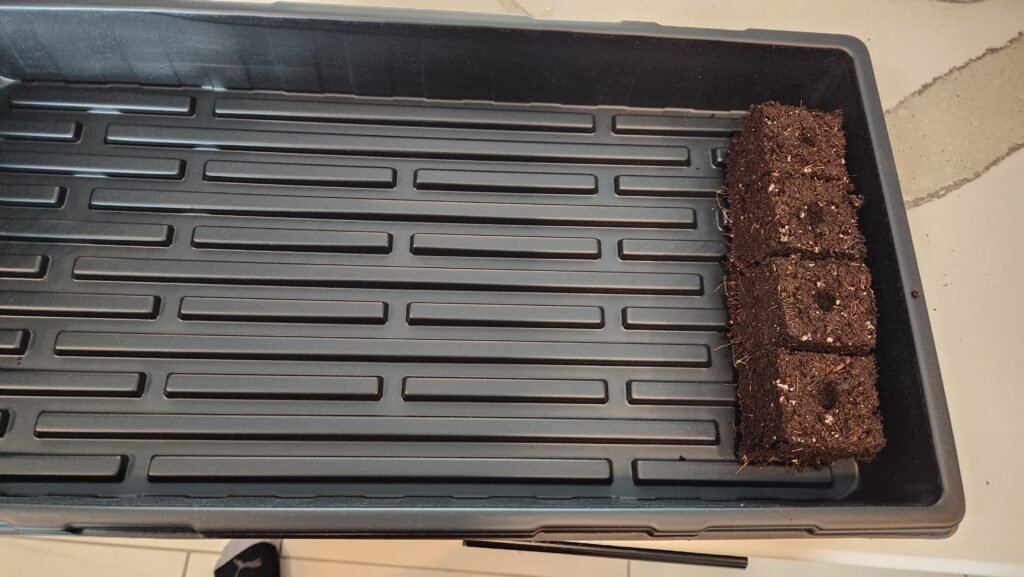
The blocks won’t all look identical, but that’s okay. As long as they’re compact and sturdy enough to stand on their own, they’ll work beautifully.
Why Is Soil Blocking Better For My Plants?
There are many advantages to soil blocking when compared to seed trays or containers.
Transplanting Soil Blocks Is Easier And Less Stressful For Your Plants.
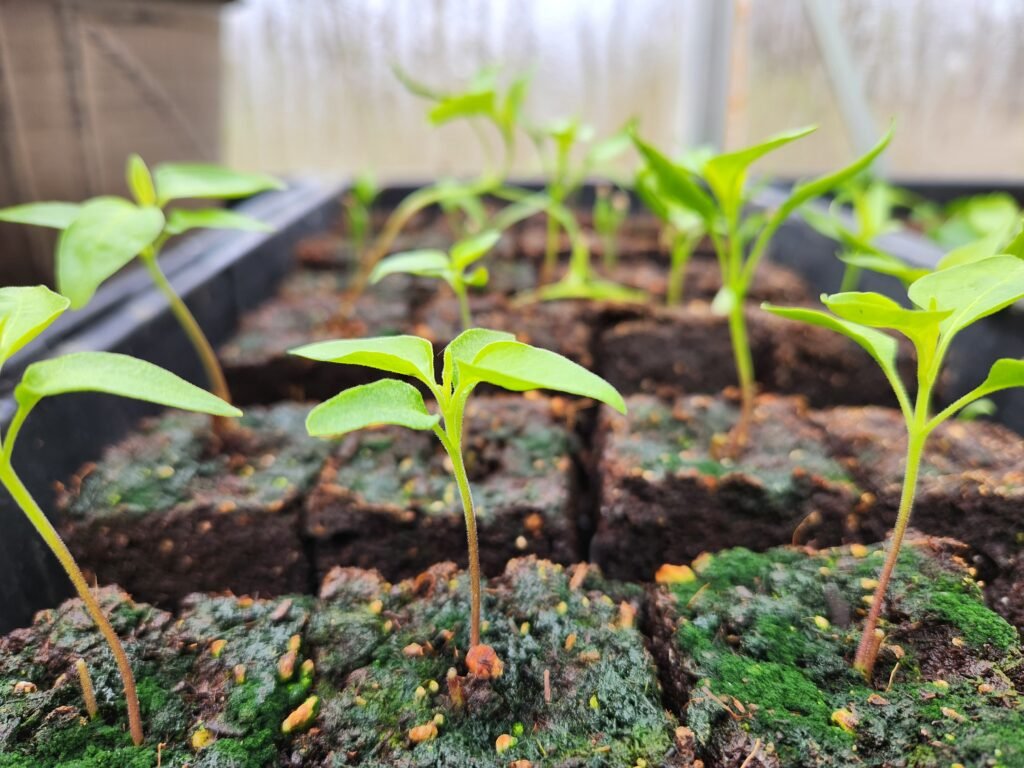
Seedlings grown in soil blocks develop roots that naturally “air prune” when they reach the edges of the block. Instead of circling endlessly like they do in plastic pots, the roots stop at the boundary, then branch out.
When you plant them in the garden, those roots immediately reach into the surrounding soil. This means your plants recover faster and suffer less transplant shock.
Soil Blocks Make Stronger, Healthier Seedlings.
Because each block allows for excellent air circulation and drainage, your seedlings grow sturdier and less prone to damping-off and root rot. More oxygen around the roots = stronger growth.
Soil Blocking Is More Cost Effective.
Once you purchase a soil blocker tool (usually around $50), it will last you for years. You don’t need to keep buying disposable trays or pots. Aside from seeds and potting mix, you’re set.
You Can Grow More Plants In Less Space.
Soil blocking helps you maximize the space you use for starting seeds. I used 3.5 inch pots as well as soil blocking this year. In the same amount of space I started 36 seeds blocks vs 15 in the pots. That’s with me using the 2″ soil blocker. There are smaller varieties you can get to save even more space.
It Is Better For The Environment.
Since you are not using the plastic trays or containers, there is no garbage going into the landfill. Everything you use, with the exception of the soil blocker, will be put into your garden, harvested or put into your compost.
How To Water Soil Blocks?
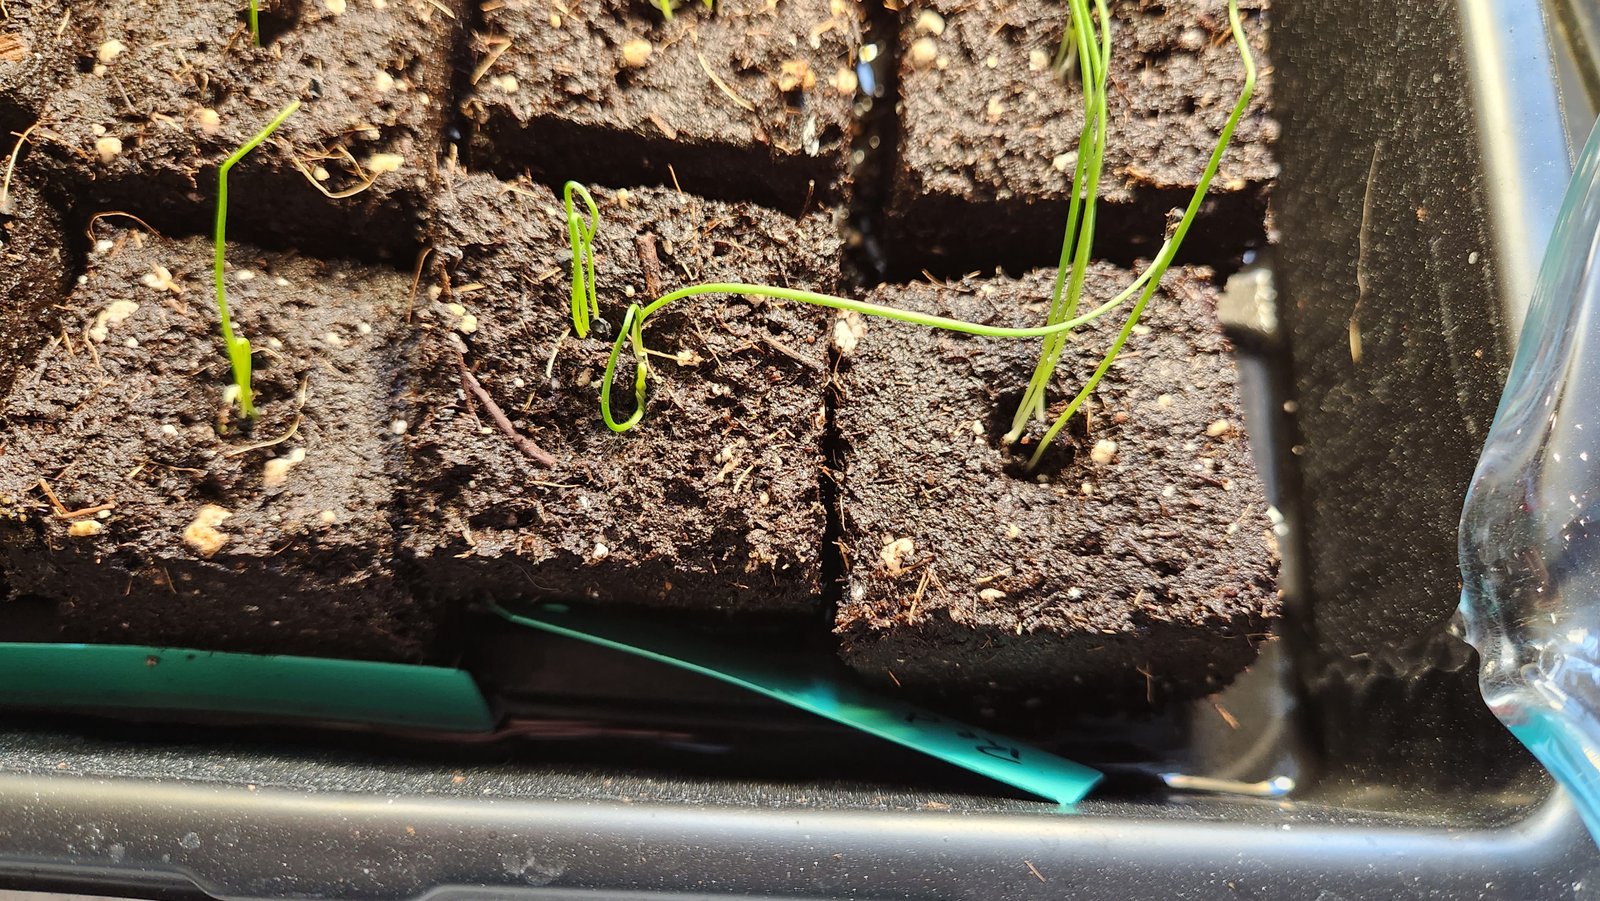
Watering soil blocks can be a tricky process. The soil blocks must remain moist at all times so it is important to water on a daily basis. If the soil blocks dry out it it will be very difficult to get them re hydrated. Soil blocks need to be bottom watered to prevent deterioration of the blocks. If you top water soil blocks, they will fall apart and you will need to start over again.
The best way to water is to leave a few gaps around the edge between the soil blocks and the side of your container, as shown in the picture above. Then slowly water into those gaps until you can see that water has reached the entire bottom of the tray.
Common Questions About Soil Blocking
Yes. A fine, well-draining seed starting mix works best. Some gardeners add compost or coconut coir to improve structure.
Most vegetable, herb, and flower seeds do very well. Larger seeds (like beans or squash) may need bigger blocks or direct sowing.
Yes! Many gardeners make homemade soil blockers from tin cans or wooden molds. That said, commercial soil blockers are sturdy and convenient if you plan to use them long-term.
Conclusion:
Once you try soil blocking for seed starting, you may never go back to plastic trays. It’s cost-effective, space-saving, better for your plants, and better for the planet.
I’ve tested many seed starting methods, and soil blocking has quickly become one of my favorites. Give it a try, your seedlings (and the environment) will thank you.
If you’re planning your garden this year, our Zone 5b planting schedule explains when to start seeds, transplant seedlings, and focus on different tasks throughout the growing season.
I hope you enjoyed this guide. If you did make sure you check out the other growing guides, seed saving guides and our recipes. We are growing our website with more articles all the time, and we invite you to grow with us. If you have any questions about soil blocking or would like to share some of your knowledge with us please leave a comment below.