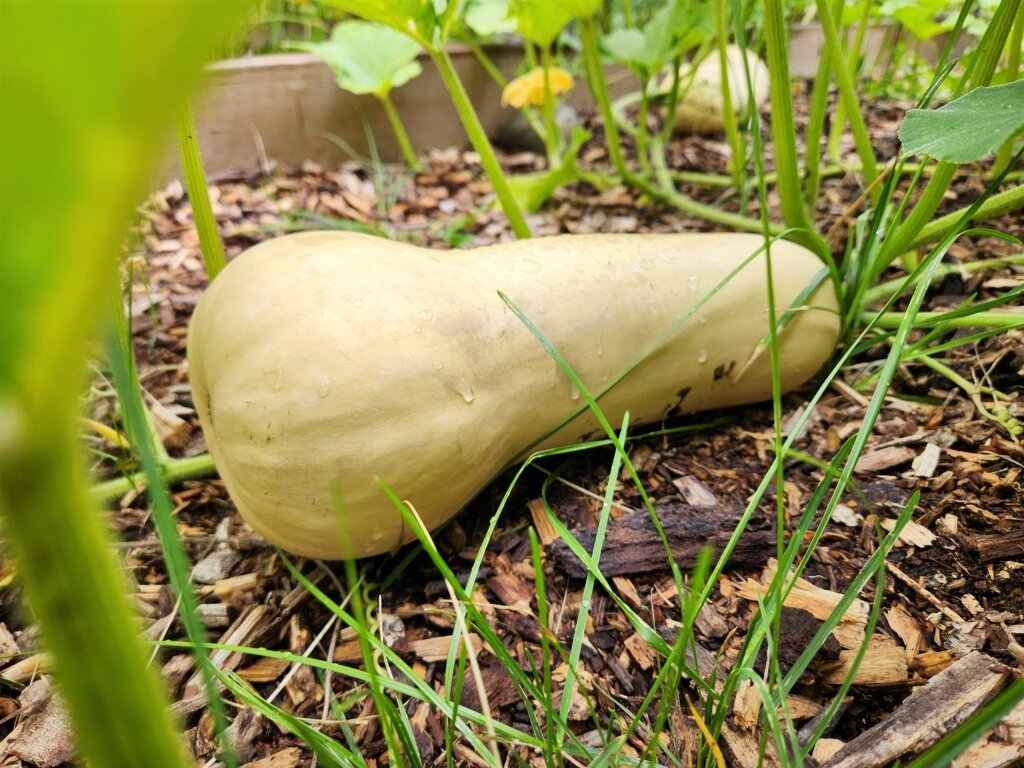
One of the reasons we grow butternut squash every year is how well it stores. Unlike a lot of vegetables coming out of the garden, you don’t have to figure out what you’re going to do with all of your butternut squash the second you harvest it.
If you cure and store it properly, you can be eating squash from your garden months after the growing season has ended. And sometimes, much longer than that.
A few years ago, we managed to store one of our butternut squash for 10 months. It was still in surprisingly good condition, and thankfully we took a picture of it at the time. I’ll show you what it looked like further down because it’s a pretty good example of just how long properly stored butternut squash can last.
You don’t need any special equipment to do this either. The most important part is harvesting mature squash, curing it properly and finding a cool, dry place to keep it.
If you’re growing your own, our guide on how to grow butternut squash in Zone 5 covers everything from starting the seeds to knowing when they’re ready to harvest.
Do You Need to Cure Butternut Squash Before Storing It?
If you’re planning to keep your butternut squash for more than a few weeks, it’s worth curing it before putting it into storage.
Curing is basically a short period after harvest when you keep the squash somewhere warm and dry with good airflow.
This gives the skin time to harden and helps small scratches or surface damage heal over. A harder outer skin gives the squash more protection while it’s sitting in storage.
If you’ve harvested a squash that you’re planning to eat within the next few days or weeks, you don’t necessarily need to worry about curing it. We mainly cure the squash that we’re planning to keep for winter.
How to Cure Butternut Squash
Curing butternut squash isn’t complicated, but good storage starts before you bring the squash inside.
1. Harvest Butternut Squash at the Right Time
The first thing you need is a mature squash.
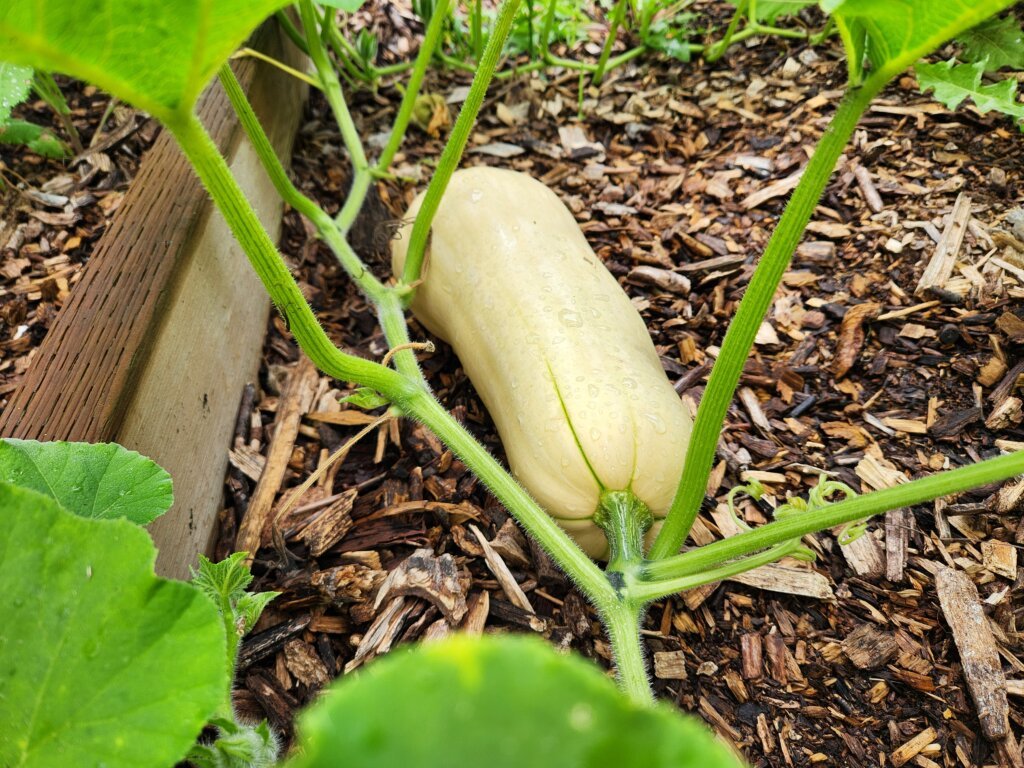
Butternut squash should have a hard, tan-coloured skin. The stem will also start to dry out and become hard and corky.
When you harvest it, cut the squash from the vine rather than pulling or twisting it off. We like to leave a few inches of stem attached.
That stem is important. Try not to break it off and don’t use it as a handle when you’re carrying the squash.
We also try to get our butternut squash out of the garden before a hard freeze. A light frost isn’t necessarily going to destroy your crop, but freezing temperatures can damage the squash and reduce how long it will keep.
2. Check the Squash for Damage
Before curing anything, give each squash a good look.
You’re looking for:
- Cuts or cracks
- Deep scratches
- Soft spots
- Insect damage
- Bruising
- Broken or missing stems
A little surface scratching doesn’t necessarily mean the squash is bad, but anything with significant damage shouldn’t be the squash you expect to still have several months from now.
We separate those ones and use them first.
The best squash for long-term storage are fully mature, firm and undamaged with their stems still attached.
3. Cure the Butternut Squash
Once harvested, put the squash somewhere warm and dry with plenty of airflow.
Ideally, butternut squash is cured at around 80–85°F (27–29°C) for approximately 7–14 days.
But that’s the ideal.
If you’re growing butternut squash in a colder climate like we are, you might be looking at those temperatures and wondering where exactly you’re supposed to find an 85°F room in September.
We don’t have one either.
If you can’t maintain those ideal temperatures, give the squash the warmest dry location you have with good airflow. Depending on the weather, that might be a warm room, greenhouse, porch or another protected area around your home. We’re lucky enough to have a greenhouse for this.
Don’t pile all of the squash together. Spread them out so air can circulate around them and, if possible, keep individual squash from touching one another.
After a week or two, they’re ready to move into storage.
How to Store Butternut Squash
Once the squash has cured, you want almost the opposite conditions.
Instead of warm temperatures, you’re looking for somewhere cool, dry and well ventilated.
The ideal temperature for storing butternut squash is around 50–55°F (10–13°C).
For most of us, that means finding the closest thing we have rather than maintaining a perfectly controlled storage room.
A cool basement, cellar, pantry or other protected area can work well. The biggest things to avoid are freezing temperatures, excessive heat and moisture.
Don’t store the squash directly on a damp basement or garage floor. Put them on a shelf, piece of cardboard or another dry surface instead.
We also avoid piling squash on top of one another.
Leaving some space around each squash improves airflow and makes it much easier to spot one that’s starting to go bad.
How Long Does Butternut Squash Last in Storage?
Properly cured and stored butternut squash can commonly last 2–3 months, and under good conditions it can last considerably longer.
We’ve actually managed to keep one of our butternut squash for 10 months, which is obviously at the extreme end of that.
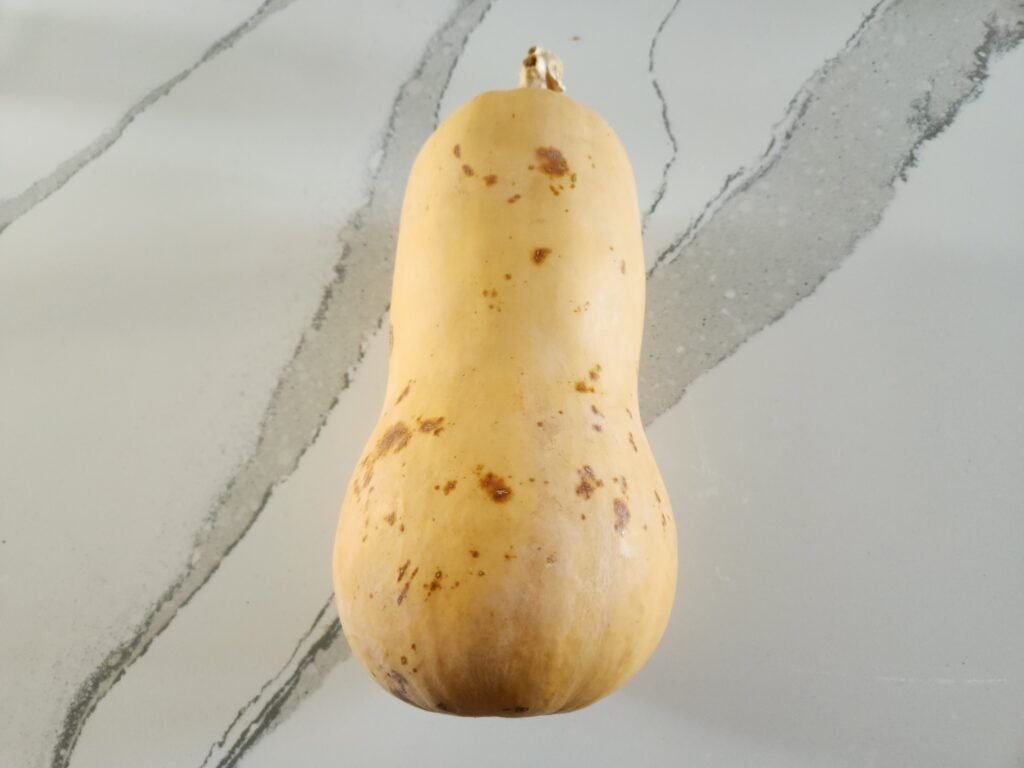
I wouldn’t harvest a squash and expect every one of them to last 10 months. There are too many variables involved, including how mature the squash was when harvested, whether the skin was damaged and the temperature and humidity of your storage area.
But it does show just how long butternut squash can keep when everything goes right.
That’s also why we don’t worry too much about having a large harvest. Unlike zucchini in August, there isn’t suddenly a race to eat 15 butternut squash before they go bad.
We can store them and slowly work our way through the harvest over winter.
Check Your Butternut Squash While It’s in Storage
Don’t put your squash away in October and forget about it until February.
Every week or two, take a quick look at what you have stored.
You’re looking for signs like:
- Soft spots
- Mold
- Leaking
- Sunken areas
- Excessive shrivelling
- An unpleasant or rotten smell
Pay particular attention around the stem and anywhere the squash had a scratch or blemish when it went into storage.
If one is starting to deteriorate, take it out.
Depending on what’s wrong with it, you may still be able to use it immediately. The important thing is that you don’t leave a rotting squash sitting beside the rest of your harvest.
Quick Butternut Squash Storage Guide
| Step | What to Do |
|---|---|
| Harvest | Pick mature squash with hard, tan skin and leave a few inches of stem attached. |
| Inspect | Check for cracks, soft spots, insect damage and other significant damage. |
| Cure | Keep somewhere warm and dry with good airflow for approximately 7–14 days. |
| Store | Move to a cool, dry location, ideally around 50–55°F (10–13°C). |
| Arrange | Don’t pile squash together and allow air to circulate around them. |
| Check | Inspect every week or two and remove squash that starts to deteriorate. |
Storing Butternut Squash Doesn’t Need to Be Complicated
If you’re wondering how to keep butternut squash from your garden for winter, you don’t need a perfect root cellar or expensive storage equipment.
Start with mature, undamaged squash. Give them some time to cure somewhere warm and dry. Then move them somewhere cooler with good airflow and check on them occasionally.
That’s really it.
We grow butternut squash because it’s a great crop for our shorter Zone 5 growing season, but being able to store it for months after the garden is finished makes it even more worthwhile.
And after seeing one of ours make it to 10 months, we know just how long butternut squash can last when the conditions are right.