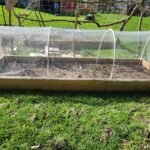
Harvest season is here! We have a bed of corn that will be ready to pick in the next few weeks and that means it needs protection from wildlife!
This post contains affiliate links. If you use these links to buy something we may earn a commission. Thanks.
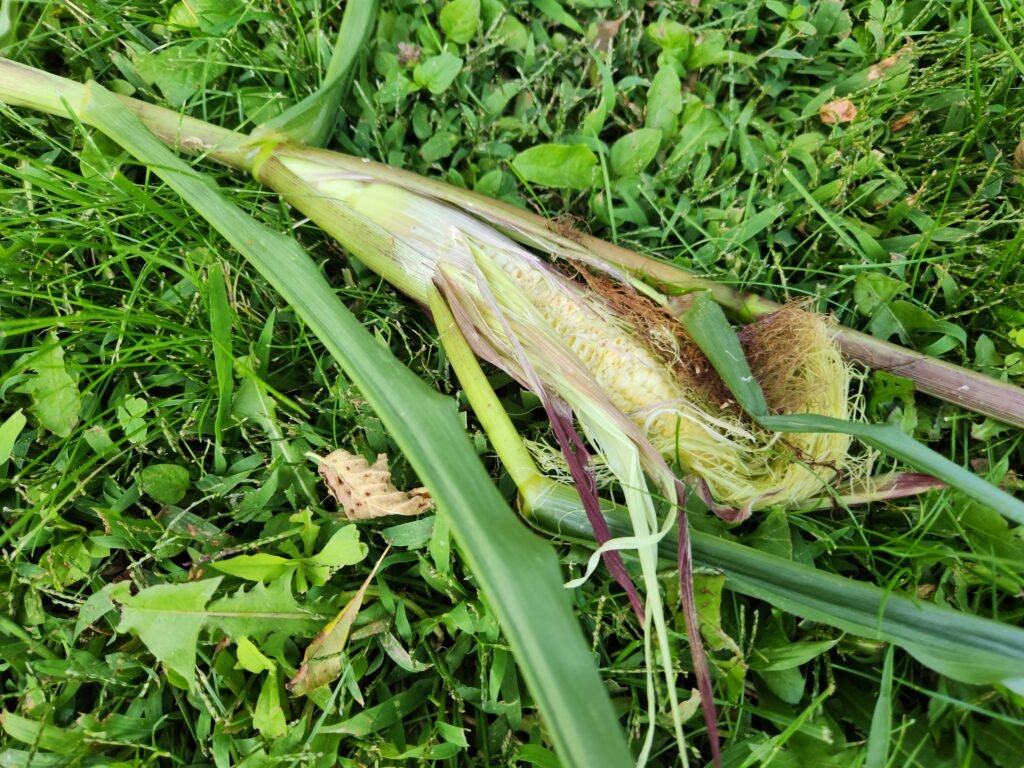
This time last year we grew a big, beautiful corn bed with lots of corn ears to harvest. But alas, a week before it was ready to pick, a raccoon came in the night and ripped out all of our corn plants and ate every single piece we had grown.
To say that was a tough pill to swallow was an understatement.
How To Protect Corn from Raccoons?
Following the devastating attack, we researched all the possible ways to prevent this raccoon feast from happening the following growing season. And wow, there are a lot of options. Most of them we personally didn’t find very feasible for our space. Here’s a quick overview of what we found:
- Put in a motion sensor light to scare them away
- Put a radio in the garden all night
- Duct tape the corn ears so raccoon fingers can’t rip them off
- Grow squash plants around and between the corn to work as a natural deterrent (squash plants are prickly)
- Raccoon traps
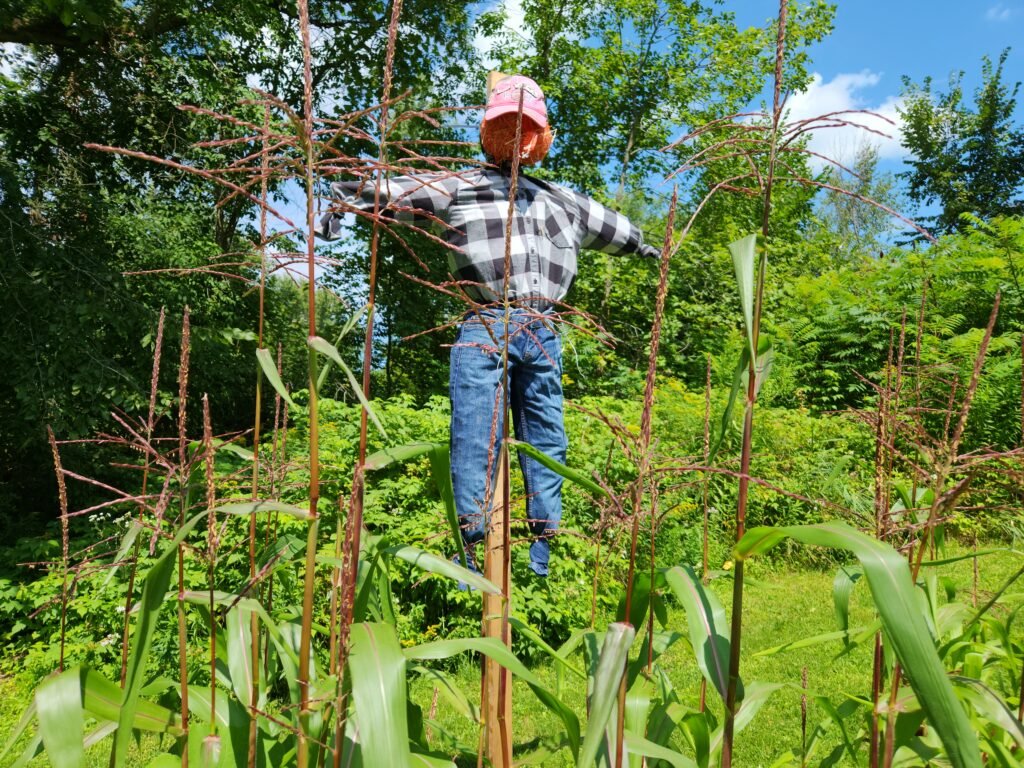
- Set-up a scarecrow
We took these ideas and picked some that we felt would work best for us in our current situation. That was a getting a scarecrow, growing squash and something else…
How We Are Protecting Our Corn
So far the squash tip has worked. Overall the bed that we grew the corn in wasn’t in the best location so the squash didn’t grow as well as it should have. Next season we’ll try this again in a better, sunnier location!
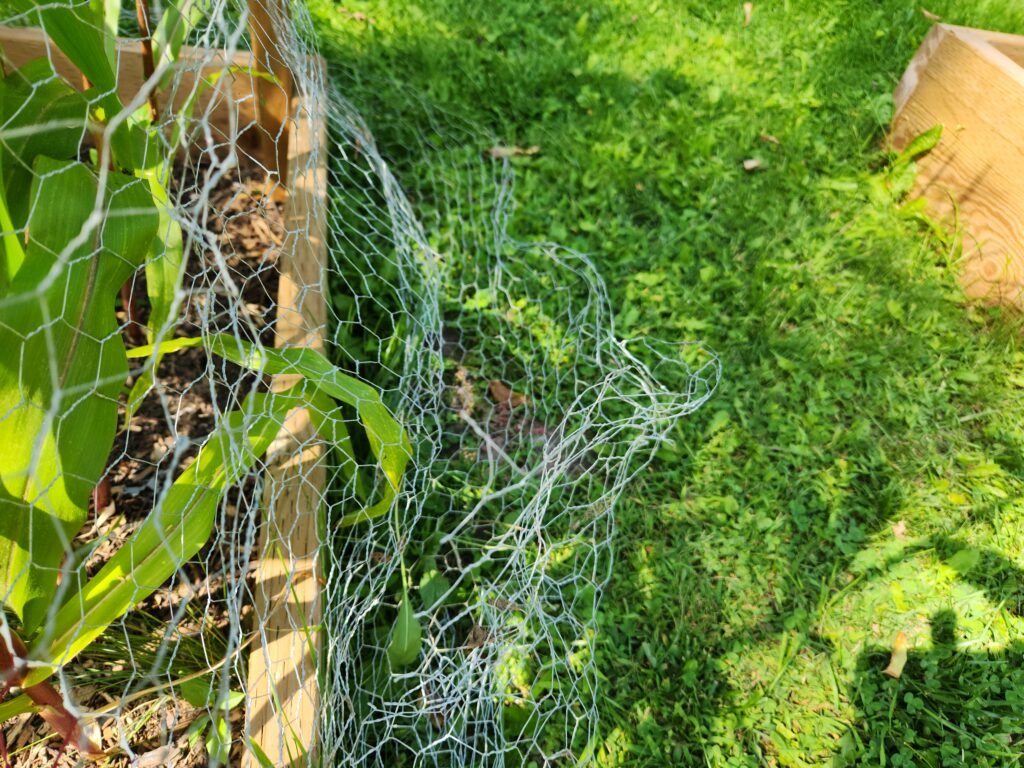
Something else we’re trying that wasn’t on the list and should work in the same capacity as the squash, is chicken wire. We placed chicken wire around the garden bed with it sprawled out at the bottom so that it’s hard to climb-up or step on. We are hoping this works as well as the squash tip.
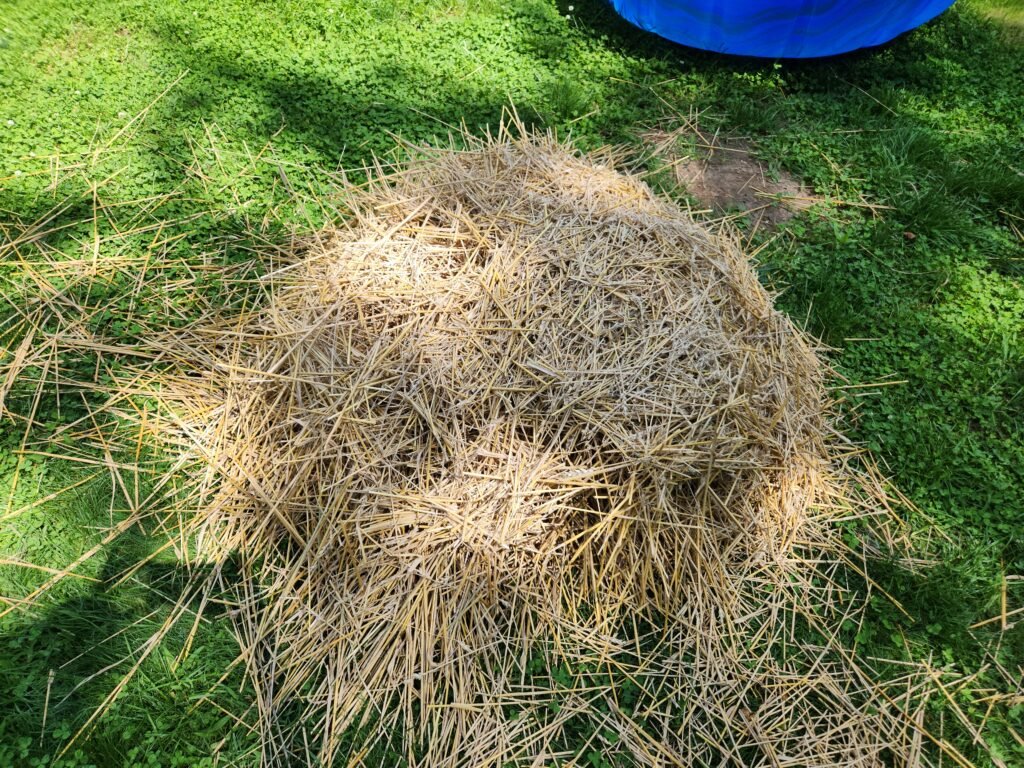
The last tip is the scarecrow. This idea worked out great for us as we had lots of wheat straw left over from our wheat harvest a few weeks before and it’s the perfect material for scarecrow stuffing. Although I’m sure other stuff like leaves would work too if you don’t have straw.
We are hoping to use some of the extra straw we saved to make some more scarecrows to protect our wheat beds next summer. I’ll be sure to share the success of that on here as well.
Don’t Buy a Scarecrow! Create, Reuse and Have Fun!
Since we had all of this lying around the total project was FREE and took us 30 minutes from start to finish, including cleanup.
I also want to note that this was an easy, ‘as you go’ project. You do not need every single item on this list or follow the steps exactly the same for it to be a good scarecrow! This guide was created for you to see how we did it, and use it as inspiration or a potential way to follow.
Bonus – You can keep the scarecrow for some front porch Halloween decor after it protects your garden beds in late summer/early fall!
Send us your pictures or share your scarecrow experience with us in the comments below, or via Instagram and TikTok! @DBSFarmWilson. Find the scarecrow guide (instructions and materials needed) just below!

Step-By-Step How To Make a Scarecrow
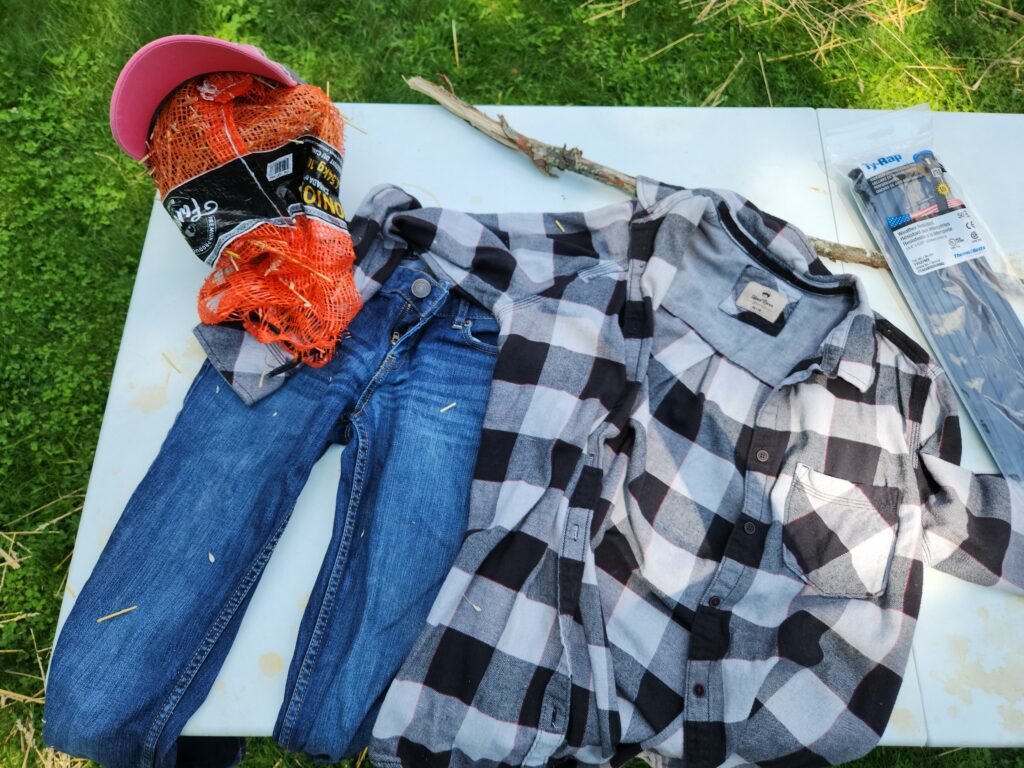
Equipment
- 1 Hat (preferably old and any kind)
- 1 Pair of Jeans (preferably old or any type of pant)
- 1 Button-Up Shirt (preferably old, bonus points if it's plaid)
- 1 Stuffable Bag for Face (burlap onion bag, or anything else you have lying around)
- 1 Stick or Branch Length of Shirt Arm Width (this will hold up your scarecrow's arms)
- 3 Zip-ties (really as many as you want, we only used 3)
- 1 Bunch of String (we used this for the pants)
- 1 Long Piece of Wood to Mount Scarecrow To
Instructions
- Put the stick or branch through the arms and back of the scarecrows top.
- Tie up pant and shirt ends, this will hold your stuffing in the scarecrow.

- Tuck shirt into the pants.
- Stuff the outfit with wheat straw.
- Stuff the bag for the face (use your hard to measure how much you want to stuff the bag). Be careful of over-stuffing and not having your hat fit!
- Zip-tie the bag through the top shirt button to hold in place.
- Using the zip-tie from the above step, zip-tie that to the back long piece of wood you want to mount the scarecrow on.
- If using a ballcap, zip-tie the back of the ballcap to the long piece of wood to keep the hat in place as well.
- Use the string as a belt through the belt loop to hold the outfit up.
- EXTRA: Screw the arm holding the stick or branch to the back wood for extra security
- Mount your scarecrow in place and let it scare those animals away from your garden!


We hope you enjoyed this growing guide and if you did make sure you check out the other growing guides that we have, including our seed saving guides. We are growing our website with more articles all the time, and we invite you to grow with us. If you have any questions about organic pest control or would like to share some of your knowledge with us please leave a comment below.