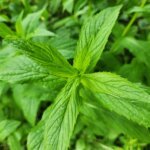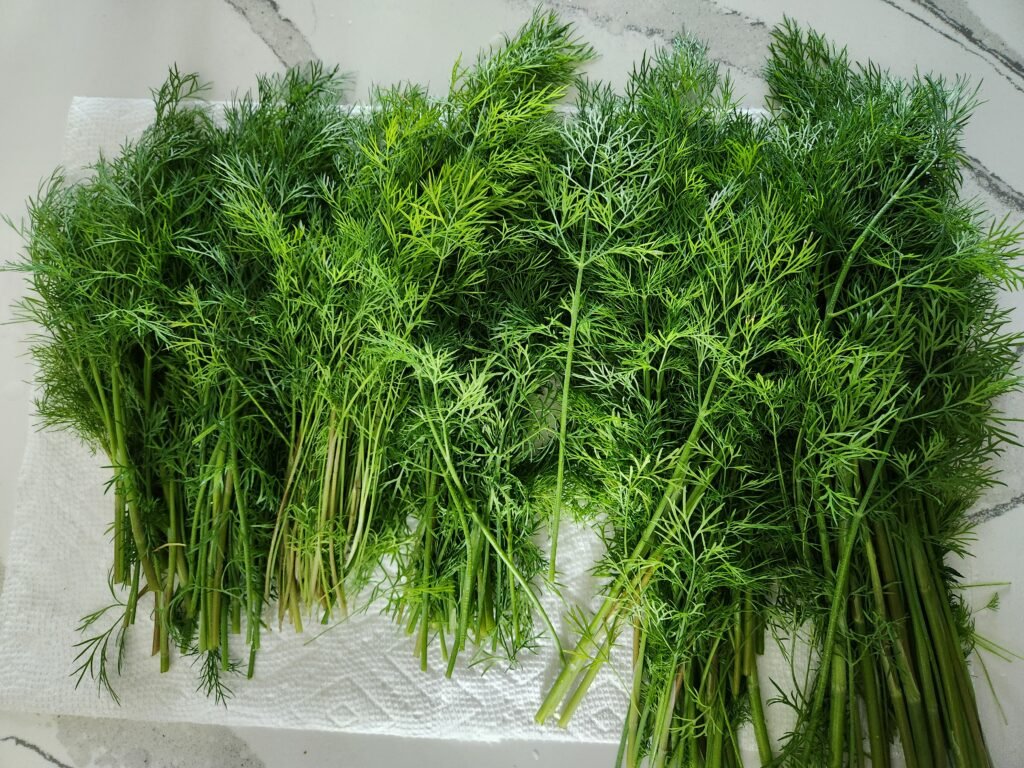
Dill is one of my favourite herbs to cook with. I add it to nearly every potato dish I make, from roasted wedges to creamy mashed potatoes. Its fresh, slightly tangy flavour makes almost any meal better. But the benefits of dill go far beyond the kitchen. Growing your own supply is simple and rewarding, and in this guide I’ll share everything I’ve learned about how to grow dill successfully for an abundant harvest.
This post may contain affiliate links. If you use these links to buy something we may earn a commission. Thanks.
If you’ve never started a dill plant from seed before, don’t worry. It’s one of the easiest herbs to grow. Dill takes up very little space, so you can tuck it into garden beds, pots, or even small corners of your yard. Once you know a few key tips, you’ll have a steady supply of fresh dill all season long.
How To Grow Dill Plants From Seed?
First things first, we need some good quality dill seeds. In my opinion the very best seeds are the seeds you’ve saved yourself. Once you know how to grow dill, you can learn how to save dill seeds here. Even if you don’t want to learn how to save dill seeds, once you grow dill, you can let the dill flower and dry out, and it will most likely reseed itself.
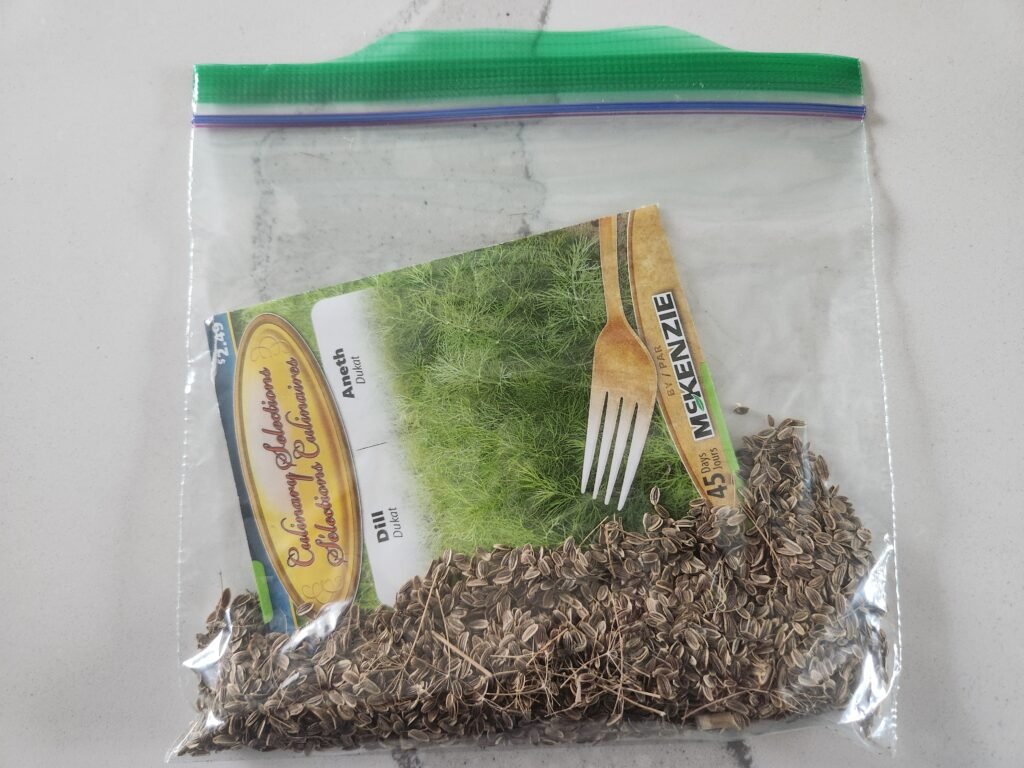
For your first time growing dill you will need to buy some seeds. We started with this packet of dill from McKenzie Seed Company, but any reputable seed company will do. We planted the whole packet the first year and saved our own seeds to replant. Dill will so easily reseed itself I didn’t use a single seed I harvested. Everything that regrew by itself was more than enough.
How To Start Dill Seeds?
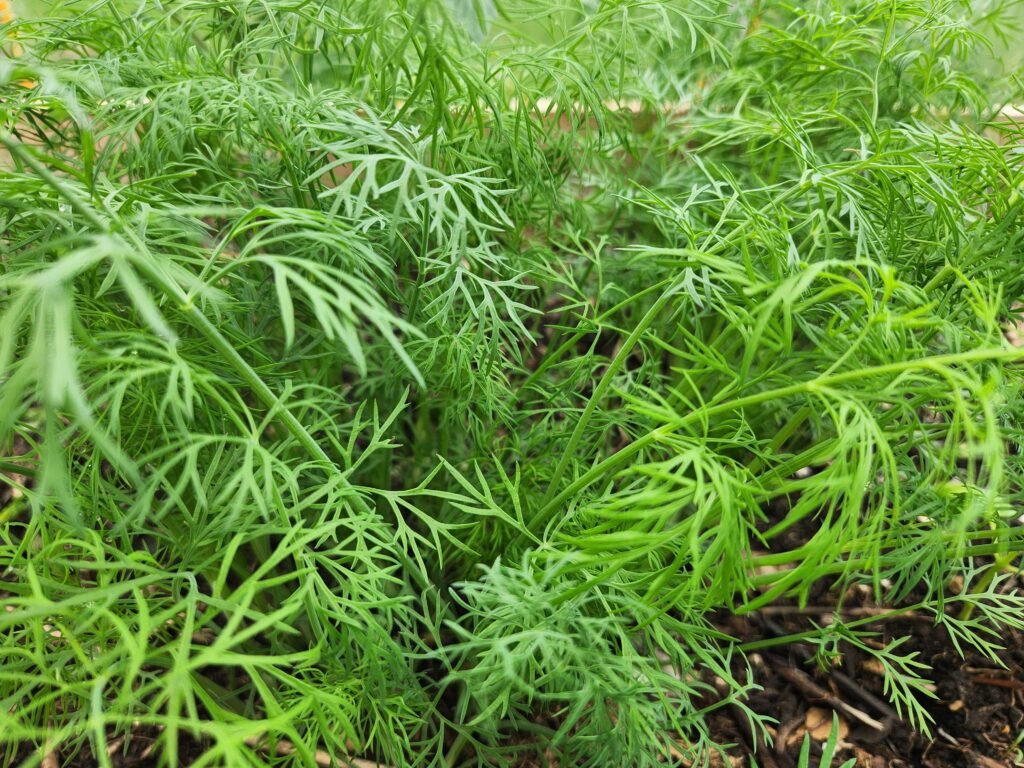
Dill seeds are fairly large compared to other common herbs. We have found they will tolerate almost any soil conditions. We have dill growing in our soft fluffy well draining garden soil, in our native (mostly clay) soil, and even in the gravel we have as the floor of our greenhouse.
Dill does not transplant easily. It is best to direct sow dill directly in your garden or pot.
How To Direct Sow Dill Seeds?
Direct sowing dill is a very easy process. As I mentioned above our dill reseeds itself so we haven’t had to start any seeds ourselves.
Most seed packets will recommend starting your dill after the last frost date in your area. We don’t believe this is mandatory for starting dill. We sow our dill seeds 6-8 weeks before our last frost date. The seeds will stay in the ground until the weather warms enough for them to germinate.
Doing this allows the plants to grow slower at the beginning and grow at their pace. We’ve found we have gotten larger and stronger plants starting our seeds earlier. The only downside, if it’s even a downside is that the seeds won’t germinate as fast as waiting until the weather warms up.
Whenever you choose to plant your dill the directions are the same. Dill is also one garden plant that can be seeded in the fall to let germinate in the spring. Check out our list of other plants you can start in the fall here.
Steps To Grow Dill Plants From Seeds
- Find a sunny location that gets at least 6 hours of sun a day.
- Plant seeds 1 to 2 inches apart. We like to scatter them on the soil surface to create a large “block” of dill seeds.
- Press the seeds into the soil and cover the seeds with 1/4 inch of soil.
- Water in the seeds and keep moist until germination.
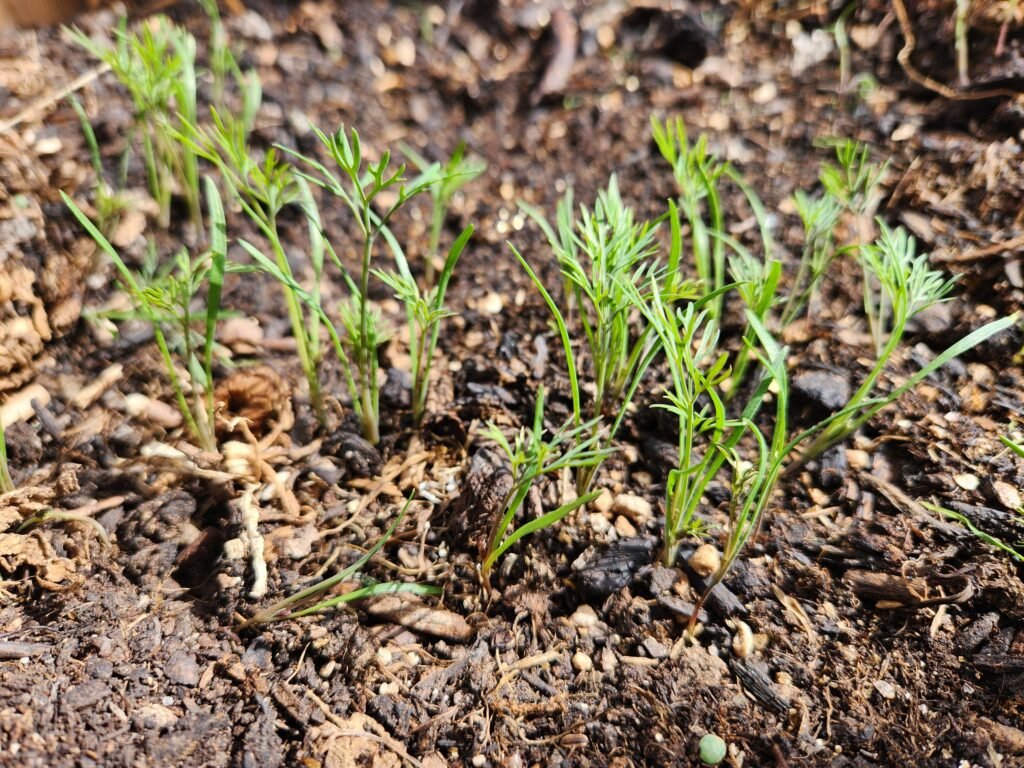
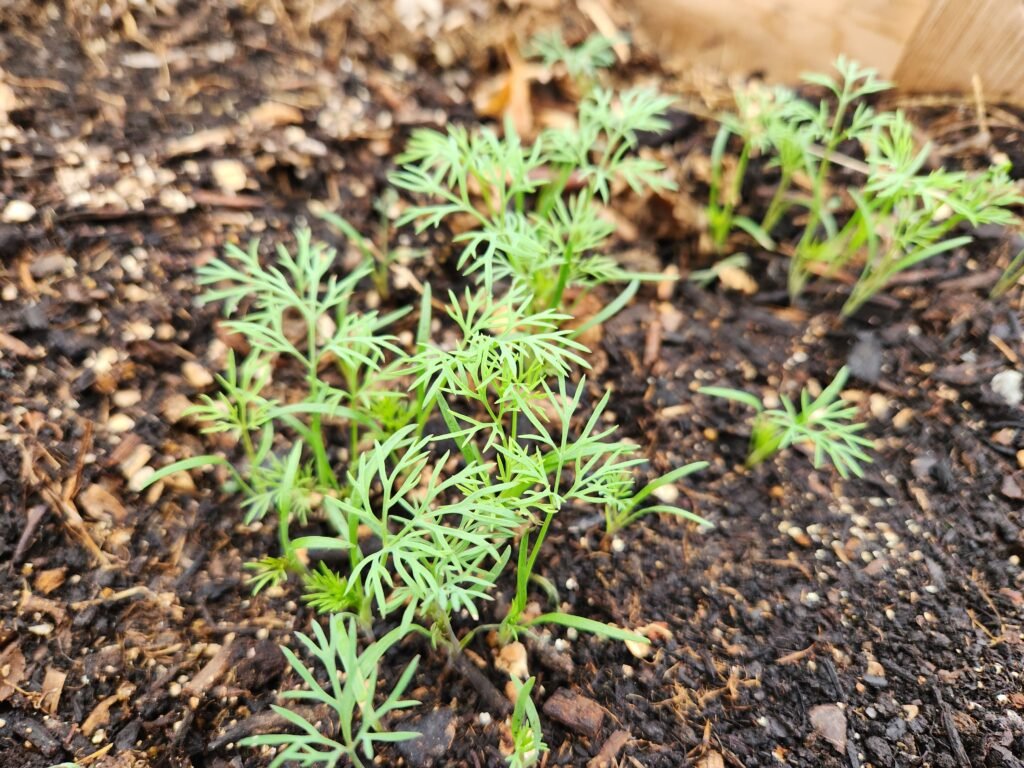
- Plants will germinate in 7-21 days. This might be longer if you’ve planted them early like we do.
How To Take Care Of Dill Plants?
- Water requirements: Dill requires frequent and even watering. This is for two reasons. Production of its tender leaves requires an average of an inch of water a week. Also, watering twice a week will keep the soil cooler which can help in slowing the plant going to flower.
- Fertilizing Dill: It’s best to fertilize dill at the start of the year with a slow release pellet fertilizer and again every 2-3 weeks with a standard fertilizer high in nitrogen. We use this 20 20 20 fertilizer for ours.
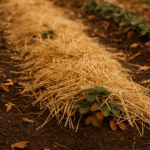
- Mulching Dill: Depending on how densely you plant your dill you might not need to mulch. If you’ve only got a small patch or space your seedlings apart more the best mulches for dill are grass clippings, straw, or wood chips. Mulch dill once the plants are at least 6 inches tall to prevent smothering the seedlings.
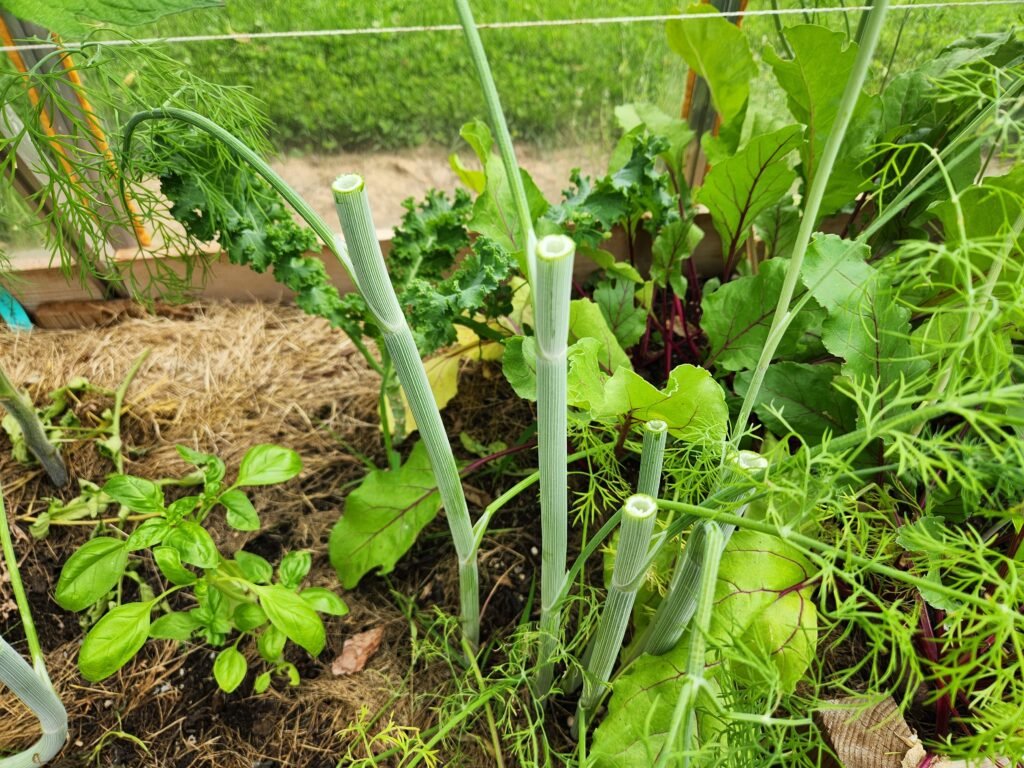
What Are The Best Companion Plants For Dill?
Dill is a great companion plant for many items in your garden. It’s long tall stem that doesn’t take up much horizontal space let you grow dill in the smallest of spaces.
The best plants to grow dill with are:
- Cabbage (or any plant in the Brassicas family)
- Corn
- Cucumbers
- Lettuce
- Onions
It’s said that dill will help improve the flavour of these vegetables as well as aid in pest control with its strong smell.
How Tall Can Dill Plants Grow?
Dill is a very skinny tall plant. Depending on the variety, it can grow to over 6 feet tall. While most plants will end up being 4-5 feet tall.
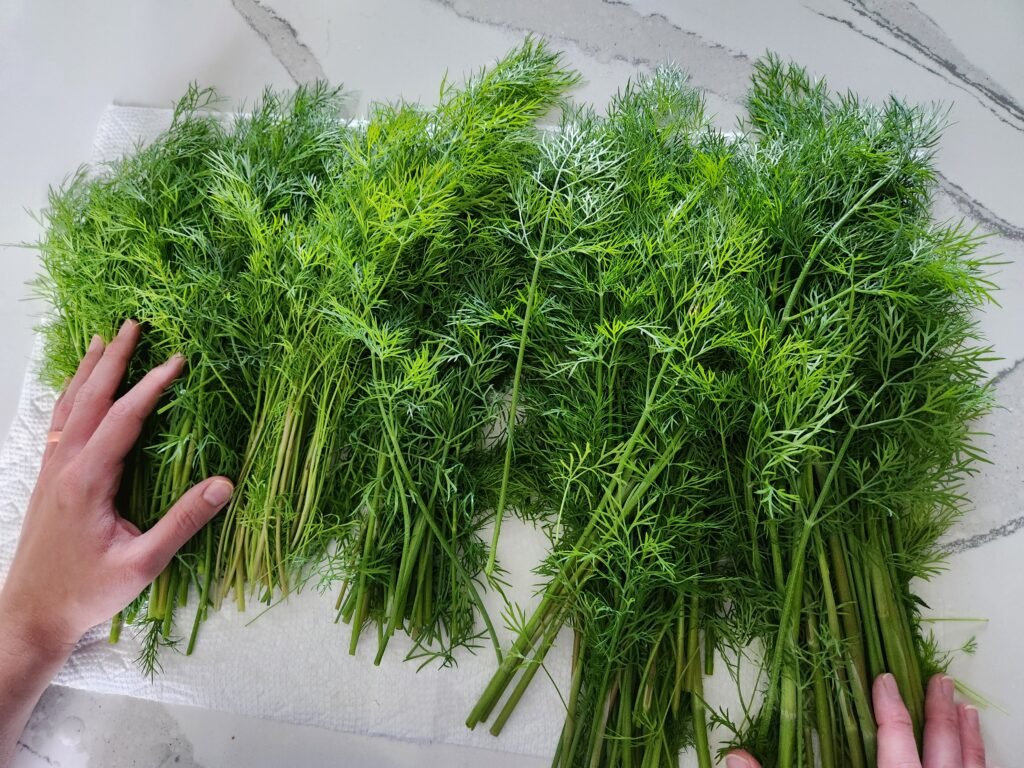
How To Harvest Dill So It Keeps Growing?
Dill is able to be harvested and it will regrow so you can harvest it again. Each time you do this however it will grow back slightly smaller than it did the first time.
Normally it’s easy to get about three harvests from each dill plant. To harvest dill so it continues to grow you need to leave at least 1/4 of the plant remaining after harvesting. Cut the entire stem of the plant off above one or two leaf nodes. The leaf node is where the dill will regrow from and you’ll be able to harvest again.
What Is Dill Used For?
Dill is used in a variety of recipes in the kitchen. The most obvious is for dill pickles. An abundance of dill is used during canning season when fresh cucumbers are available.
I personally use it every time I make any variation of potatoes. Baked, roasted, and even mashed potatoes are ever more delicious with some fresh or dried dill added to it.
Dill is also a common spice added to a lot of your favourite dips. Some of the most popular dips to use dill including Tzatziki and Ranch Dressing.
Using Dill Seeds In Cooking:
Seeds you can collect from letting your dill plant bolt and dry out can also be used in cooking. The seeds can be used in canning recipes in place of fresh dill, as well as being crushed up and used in sauces.
Dill seeds have a more earthy citrusy flavour compared to the aromatic flavour of fresh dill. When you harvest dill seeds, they are normally harvested in abundance. Use some for cooking and keep enough to plant again next year.
Health Benefits Of Eating Dill:
Unknown to a lot of people, Dill is more than just a culinary herb, it has medicinal properties as well. Dill has been used to aid in reducing pain and inflammation including: Menstrual Cramps, Labour and Delivery, and muscle spasms.
It has also been used to treat coughs and colds, fevers, up to and including bronchitis.
How To Preserve Dill?
There are several ways to preserve dill for extend storage life. The main ways are to freeze, dehydrate, and refrigeration. I’ll go through each one and and pros and cons of each.
Freezing:
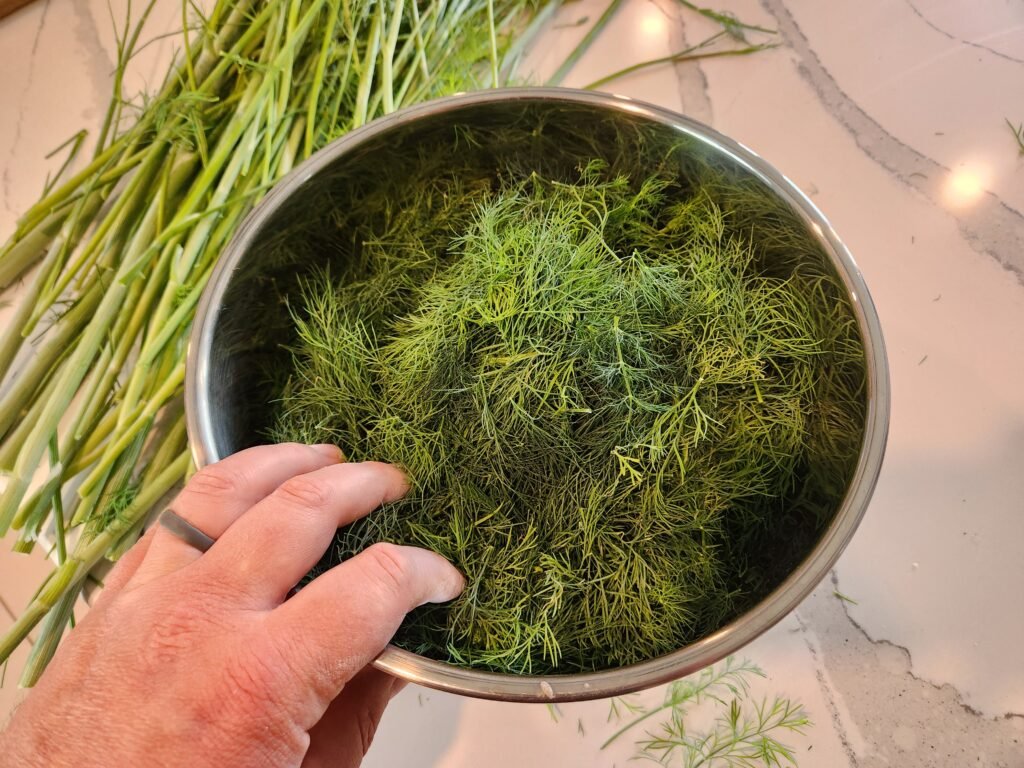
This might be the easiest way to preserve dill for the longest period of time. Dehydrating will last longer but it also takes more time to do. To freeze dill all that needs to be done is for the dill to be removed from the stem, cleaned and thoroughly dried.
It can then be placed into freezer bags and stored in your freezer for 6 – 12 months. To make things easier when using frozen dill while prepping the dill put it into ice cube trays with a little bit of water or olive oil. Freeze it in the trays. Once frozen the cubes can be put into freezer bags and you’ll have ready made portioned dill servings.
Dehydrating:
This is our preferred method of preserving dill. Dehydrated dill has a shelf life of 1 year or more and it takes up less space and no space in the limited storage of our freezer.
There are multiple ways that you can dehydrate dill. The most basic is to keep the leaves on the stem and tie a bunch of stems together. Hang the bunch in a cool, well ventilated room, out of direct sunlight. This will take several weeks to accomplish but the dill should dry eventually.
A faster method is to use the sun to help dehydrate the dill. This is done by removing the leaves from the stems, placing them onto a baking sheet and placing the baking sheet outdoors on a sunny day when there is no wind. Depending on the amount of dill you have the sun could dehydrate all of it in as little as 6 – 8 hours.
In between these two methods is a third option that we personally use. That is to use a dehydrator to dry the dill. It’s done in the same method as using the sun but your put the dill leaves on the dehydrator trays and dry it for about 24 hours. The benefits of using the dehydrator is that you don’t need to wait for the weather.
Refrigerating:
Refrigeration is the last option for preserving dill and we recommend doing this only if you’re planning on using the dill within a few weeks. It can be kept in the fridge as either full stalks of dill or just the leaves after they’ve been removed. Alternatively the dill leaves can be chopped up, placed into a clean mason jar, and salted generously. Doing this will help preserve the fresh dill a little longer, up to a month in the fridge.
Frequently Asked Questions About Growing Dill:
Yes, dill can be grown indoors if provided with sufficient light. Ensure the plants receive at least six to eight hours of direct sunlight daily. If natural light is inadequate, supplement with fluorescent bulbs placed close to the seedlings.
Dill plants can be susceptible to pests such as aphids and caterpillars. Additionally, they may experience fungal diseases like powdery mildew, especially in humid conditions. Regular monitoring and maintaining proper spacing for air circulation can help mitigate these issues.
Dill seedlings may suffer from damping-off, a fungal disease that causes them to collapse and die. To prevent this, use well-draining soil, avoid over watering, and ensure adequate air circulation around the seedlings. For more tips check out “15 Seed Starting Mistakes That Are Killing Your Plants (And How to Fix Them!)”.
Dill can also be propagated from cuttings, but we do not recommend this. Dill has a taproot system, making it sensitive to transplanting. Direct sowing is recommended to avoid transplant shock.
Pruning dill plants can promote a bushier growth habit. Regularly harvesting the leaves and trimming the flower heads can encourage the plant to produce more foliage.
Dill thrives in well-drained, slightly acidic soil rich in organic matter. Incorporating compost into the soil before planting can enhance fertility and structure, providing optimal growing conditions.
Yes, dill can be successfully grown in containers. Choose a pot with good drainage, at least 12 inches deep, to accommodate the plant’s taproot. Ensure the container receives ample sunlight and regular watering.
To save dill seeds, allow the flower heads to mature and turn brown on the plant. Cut the seed heads and place them in a paper bag to dry further. Once fully dry, shake the seeds free and store them in a cool, dry place for future planting. Full article on Saving Dill Seeds Here.
Yes! Dill is a prolific self-seeder. If you let the flower heads mature and dry on the plant, the seeds will naturally drop into the soil and sprout the following season. Many gardeners find that once they plant dill once, it often comes back year after year without needing to re-sow.
Conclusion:
Dill is a great herb to have in your garden, kitchen, and pantry. Follow the steps above and you’ll know exactly how to grow dill for a flavorful, thriving harvest this year.
We hope you enjoyed this growing guide. If you did make sure you check out the other growing guides, seed saving guides and our recipes. We are growing our website with more articles all the time, and we invite you to grow with us. If you have any questions about dill or would like to share some of your knowledge with us please leave a comment below.