In what felt like the snap of my fingers I went from living a completely city-bound life to dreaming of self-sufficiency in the country.
The 2020 pandemic changed everything in my life. It slowed me down, helped me see what mattered and introduced me to the simple joy of truly being present and making food with my owns hands. I’m so grateful for the pandemic, as it helped me see what truly mattered and made me prioritize things in my life to follow that dream and become a homesteader.
Once I decided that this was the life for me, I had no idea where to begin. It seemed like an impossible journey.
How could we move to the country when our jobs were in the city?
Could I really grow food enough to be self-sufficient when I barely knew how to cook?
If you’re wondering the same thing – then you’re in the right place.
This five-part mini-series walks you through the steps I took to go from city-slicker to homesteader in just a few short years.
This is part 2 of 5:
Preface: My Story From Food to Dirt
In Part 1 we cooked from scratch, embraced whole foods, and set the foundation for a homesteader’s kitchen. Now, we’re moving outside – into the garden. Because making your own food is one thing, but growing it? That’s another level of freedom and joy.
When we first pulled our sun-warmed shovel out of the shed, I felt both excited – and a little overwhelmed. How many beds do we need? What should we plant first? Could we really dig into this and actually save money instead of spending more?
Here’s the thing: you can start small, you can start now, and you will grow your food – even if you live on a modest lot in Zone 5. I’m going to walk you through exactly how we did it – from 8×8 to nine 4×12 beds, and how you can scale at your own pace.
What’s Next In Your Homesteading Journey?
You’ve started thinking differently about food. Now it’s time to move that mindset out into the yard and grow it yourself.
Before you buy a single seed packet or build a garden bed, there are a few key pieces to understand:
- Your growing zone
- What plants make sense for your area
- How to build and place your garden beds
- How to map out your space
- And finally, how to mulch so everything thrives
Let’s walk through each step.
Step 1: Know Your Gardening Zone
Quick answer: Your gardening zone tells you what you can grow and when you can grow it based on frost dates and average temperatures.
Depending on where you live, your area is assigned a “zone.” These plant hardiness zones are designed to help gardeners understand what will grow well and what won’t, based on:
- Average temperatures
- First and last frost dates
- Overall climate patterns
At first it can feel a bit overwhelming, but once you know your zone, everything from seed packets to planting calendars starts to make a lot more sense.
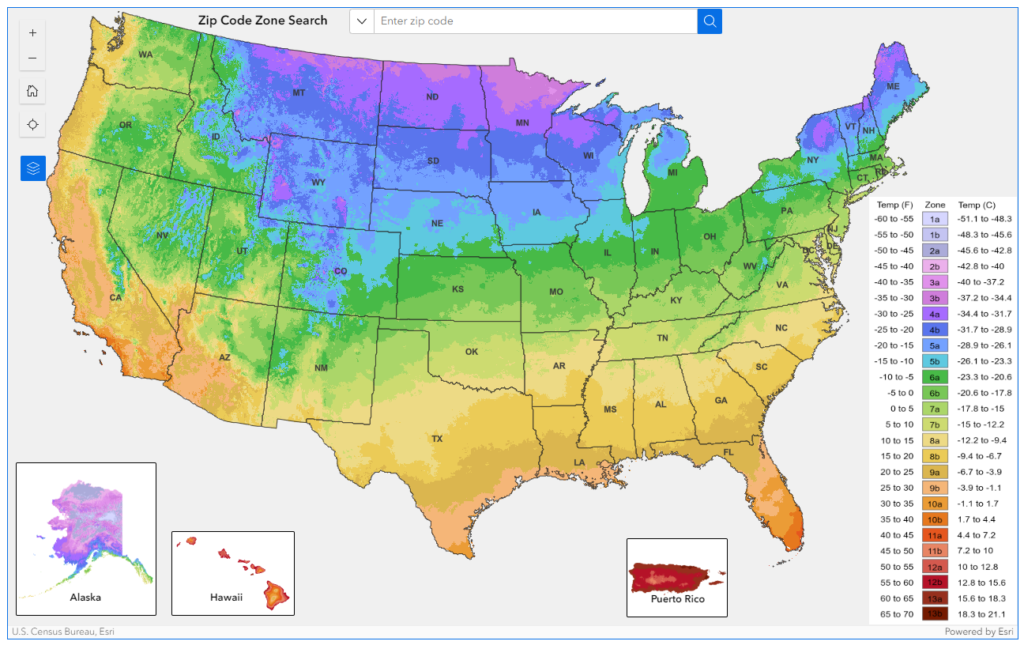
If you’re in the United States, you can find your zone on the official USDA Plant Hardiness Zone Map (planthardiness.ars.usda.gov). A quick search with your country and “plant hardiness zone map” will usually bring up the right resource for your area.
Once you know your zone number, you’ll be able to:
- Time your planting correctly
- Choose varieties that are better suited to your climate
- Plan how long your growing season really is
Step 2: Decide What Plants You Want to Grow
Now that you’re aware of your zone, you need to decide what you can grow and when you can grow it.
There are a lot of ways to maximize your use of the your garden beds depending on your zone. Warmer climates with higher zone numbers can often grow and rotate crops almost year-round. Cooler climates have shorter windows and require a bit more planning.
If this is your very first garden, I recommend starting small with a traditional summer garden.
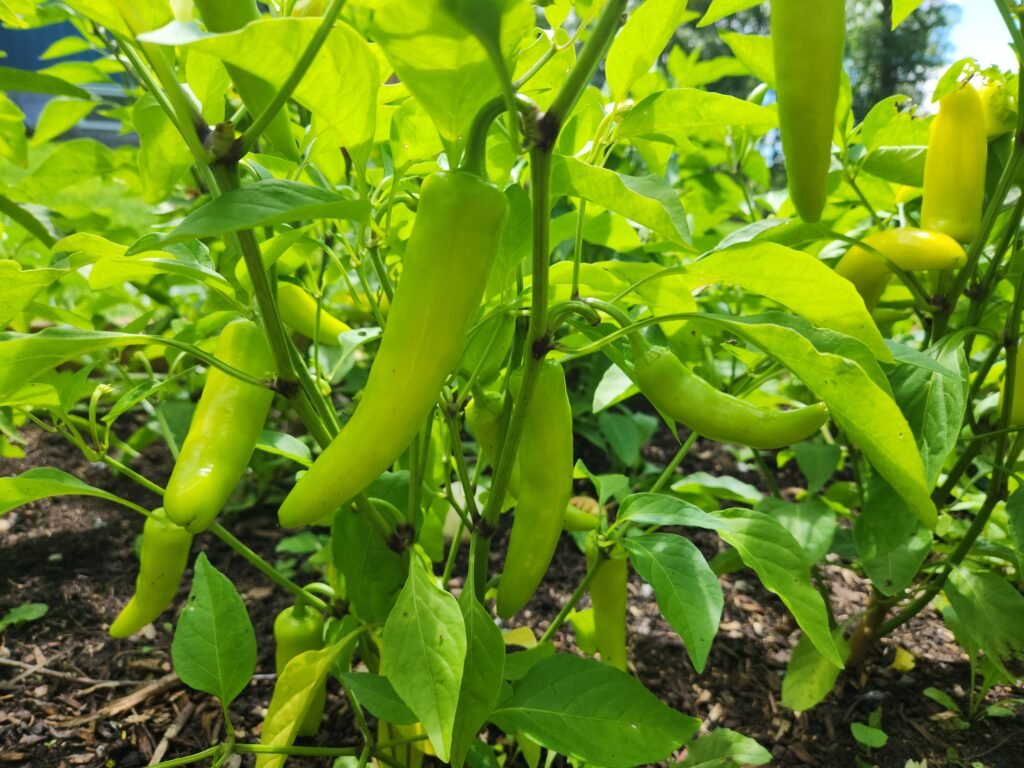
For example, I live in Zone 5B. My main summer garden runs from around mid-May to the end of September. There’s a lot of nuance behind each plant and the seasons your zone goes through, and it will take both research and experience to understand how to get the most from your space.
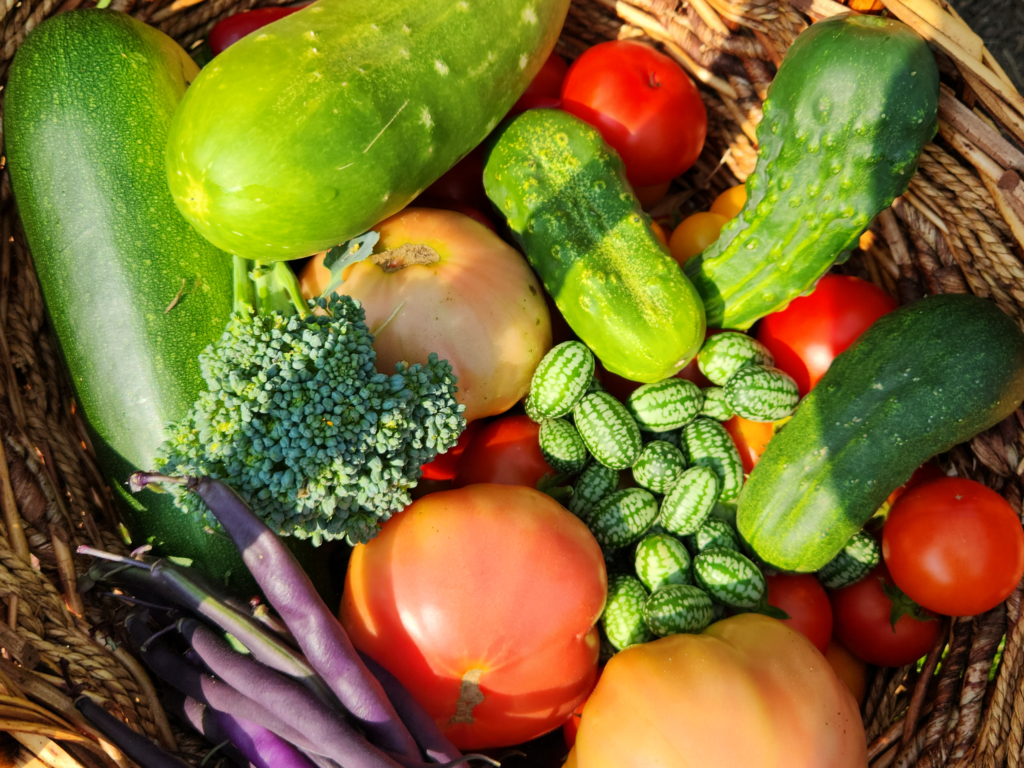
Some classic summer crops for inspiration & the growing guide link for you to learn:
We have a growing library of growing guides on DBSFarmWilson to help you with many of these crops and much more- check out the different growing guides when you’re planning your own beds.
As you gain confidence, you can start trying fun, less common plants. A fun one for us is cucamelons: tiny, grape-sized fruits that look like mini watermelons and taste like cucumber with a hint of lime. They’re always a conversation piece.
Step 3: How to Build Your Garden
Once you know what you want to grow, it’s time to look at your yard and figure out where everything will go.
If you haven’t built a garden yet, you’ll need to decide both the type of bed and the location.
You have a few options:
- In-ground beds – You till or loosen the existing soil and plant directly into the ground.
- Raised beds – You build a box above ground and fill it with a good mix of compost, manure, and soil.
- Can’t decide? Here’s an article explaining the differences: Raised Beds vs In Ground Beds
Raised beds are the most common option for many home gardeners because they:
- Warm up faster in spring
- Drain well
- Are easier on your back
- Allow you to control soil quality from day one
Whatever you choose, aim for full sun or at least partial sun. Most vegetables want full sun, while some leafy crops like lettuce and kale can handle (and sometimes appreciate) a bit more shade.
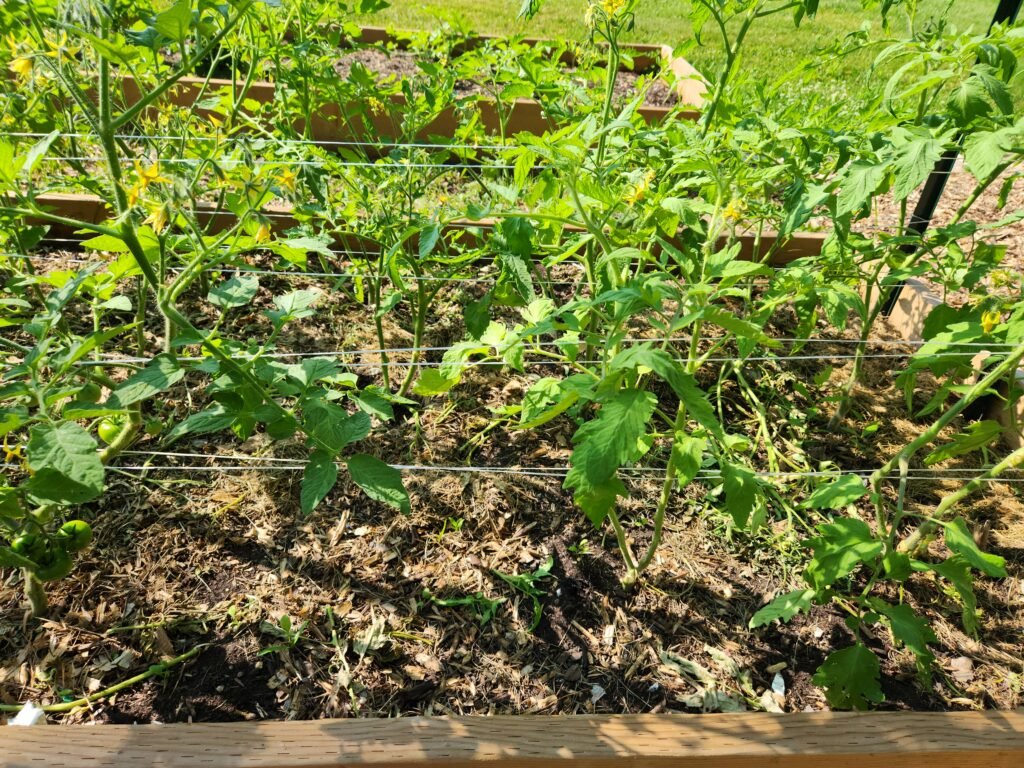
Our first garden was a raised 8×8 bed in the only spot that offered a mix of full and partial sun in our suburban yard. Today, we have nine 4×12 raised beds – six in full sun and three in partial sun.
If this is your very first season, I recommend putting your first bed in a full-sun spot if you can. It’s the least complicated way to start because most plants will be happy there.
Step 4: Map Out Your Garden
You know what you want to grow and you have your garden bed planned out or built. Now it’s time to map out this year’s garden.
This is a classic gardener’s winter hobby. We open our garden journal from the previous year and look back at:
- What went where
- What did well (and what didn’t)
- What we ate a lot of
- What we’d like more (or less) of
Then we sketch out a rough plan for the coming season.
Your seed packets are your best friends here. They tell you:
- How much sun each plant needs
- How deep to plant the seeds
- How far apart to space plants and rows
All of that information is also easy to find online.
As you gain experience, you’ll start to “just know” how far apart to space different plants. But for your first garden, follow the packet instructions – it takes the guesswork out.
Spacing tip:
If a tomato packet says “30 inches between plants,” that doesn’t have to look like:
tomato plant – 30″ space – tomato plant – 30″ space – tomato plant…
You can do 15” a tomato plant, 15” tomato plant. This is something a lot of experienced gardeners do to maximize spacing. Each plant is still 30” apart, just in a different way.
Step 5: Mulch Your Garden Beds
Once everything is planted, do not skip the mulch.
Take this from someone who learned the hard way: we were told to mulch and didn’t do it at first. Our plants still grew, but they didn’t reach their full potential.
Mulch helps to:
- Retain moisture in the soil
- Keep soil temperatures more stable
- Suppress weeds
- Protect the soil structure
It can be intimidating for new gardeners because too much mulch can make it hard for delicate seedlings to push through. But applied properly, it’s one of the best things you can do for your beds.
If you’d like a detailed overview of different mulch options (and exactly how we use them), you can read my full mulching best practices article.
What’s Next?
Growing and planning a garden can be intimidating for some, especially if the goal is to be self-suffiencent. But remember, this is also for the love and joy of it all. For being outside, for connecting with nature. If the garden doesn’t do well, or your spot isn’t ideal – learn from your mistakes and try again next year.
That’s why I encourage every new gardener to think about these steps in advance, because it will save you years of work and it’s why it has it’s own section in this How to Become A Homesteader mini-series.
Up next, is Part 3 – Harvest and Learn from Each Gardening Experience.
We also have plenty of growing guides, seed saving guides a Medicinal Herbs Hub and many delicious recipes. We are growing our website with more articles all the time, and we invite you to grow with us – join our newsletter for seasonal reminders and garden tips straight to your inbox! If you liked this article please give it a like and comment to help share it with others. Happy Eating & Gardening!