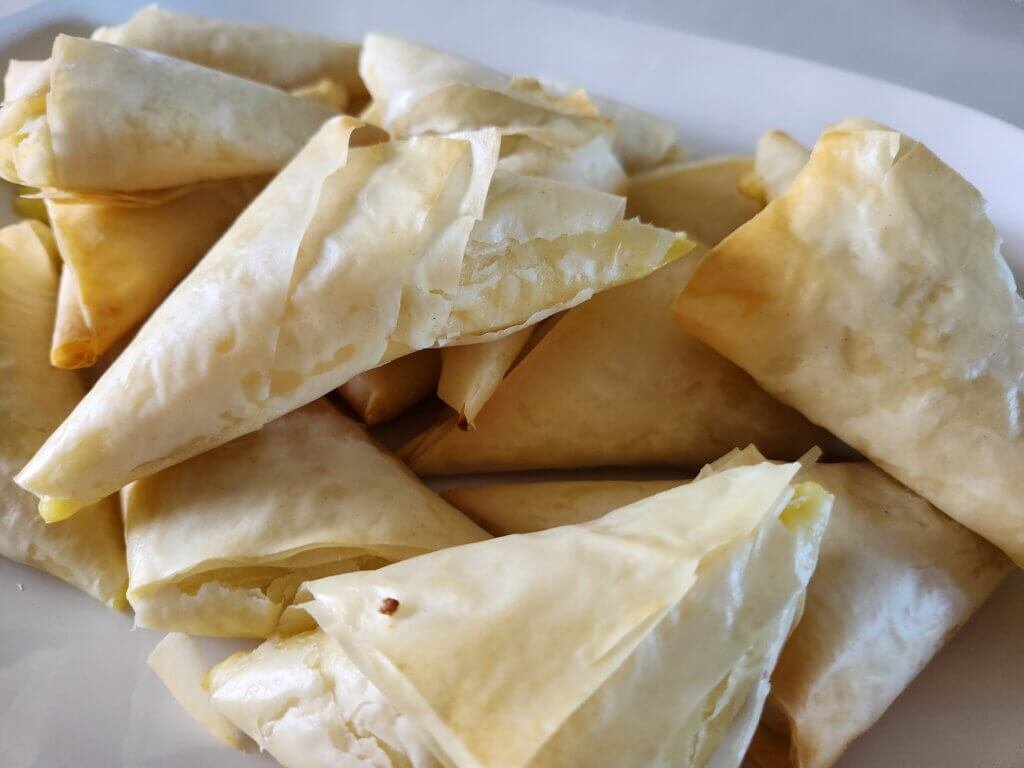
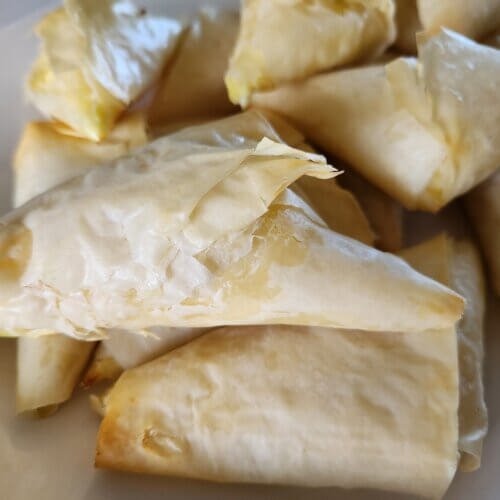
These tiropita’s are literally my kryptonite. Pregnant or not – I crave them consistently. This savory cheese stuffed buttery pastry is the best appetizer, snack, or meal (to me) any time of year.
To me, tiropita’s are more than just food – it’s memories of my grandmother and of being a child. Dreaming of those few times a year she would make dozens of them to feed her large family. I would bring home probably 10 or so and savour reheating them for a week. After she passed and the recipe was lost – I knew I had to try to make them. I went on the journey of finding the perfect replica from my memory and here it is. Plus some few tricks I’ve learned along the way.
What Is Tiropita?
It’s a traditional Greek/Macedonian savory pastry. Using phyllo dough, butter, and a three cheese/egg mixture inside to create an individual triangular shaped pastry. The cheeses are: Greek feta, ricotta and parmigiano-reggiano. At first I wasn’t convinced it was these three cheeses, I didn’t think my grandmother knew of or ever used ricotta or even parmigiano-reggiano. But the taste it spot on.
Think of it as a cheese only version of spanakopita – the very popular and well known triangular cheese and spinach filled pies. Tiropita is the tastier version of it!
Greek Feta Is A Requirement
This is an important point in regards to taste. You cannot use just any type of feta cheese. Yes, there are different types and most are the wrong type. If you want this to be the best savory pastry you’ve ever tasted – then you must use: barrel-aged Greek feta cheese. Not the Macedonian feta, not the store-brand feta. Real. Greek. Feta.
I’m not being sponsored, but TreStelle’s Traditional Greek feta is the brand to go with (if you can’t get feta from a Greek bakery). Don’t make this mistake. For my birthday one year I asked my mom to make Tiropita for me and she did – but used some non-Greek feta and it just didn’t taste right. That was the last time I ever asked anyone to make them for me. That is, until I perfected my own recipe. Now if someone wants to make me some, please do!
Store Bought Phyllo Dough or Homemade?
I am all for making your own food – unless the effort, time, and money aren’t worth the quality in the end. For me personally – this is one of those times. I don’t have a traditional phyllo dough recipe (yet), that I’m happy with. When I make these, I always make them with store-bought phyllo dough.
My grandmother only ever bought them from the store so since the goal was to copy her recipe – that’s a good place to start! Until I have a good phyllo recipe recommendation, I’ll still use store bought because it’s not worth the time for me right now.
IMPORTANT NOTE: Store-bought phyllo is frozen. When you want to make tiropita’s you need to take the phyllo out of the freezer to thaw the sheets. If your sheets are still cold/frozen when you begin they will rip and be unusable. Always thaw beforehand. It’s best to do a minimum of 1 hour out of the freezer and box. Leave it on the counter to thaw.
Two Layers of Butter When Making Tiropita
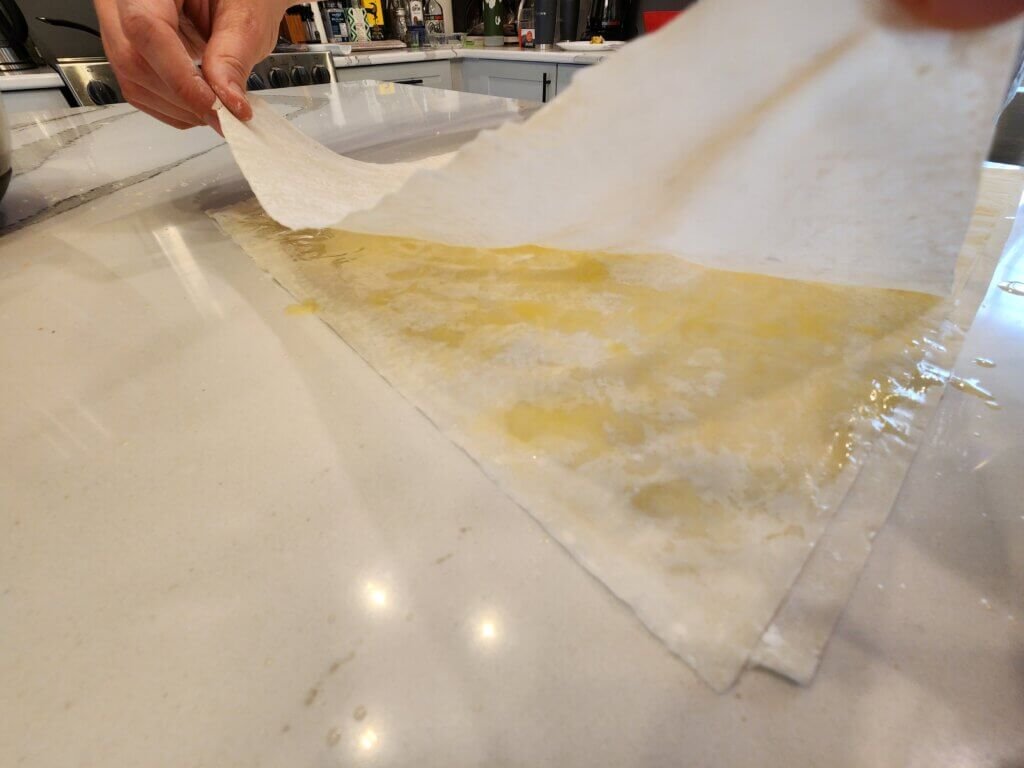
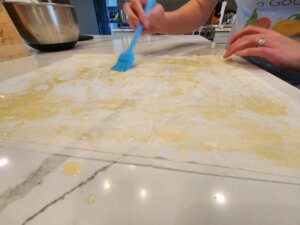
As part of the triangular folding process, you place one phyllo sheet down, cover in butter, then another phyllo sheet down, cover in butter, then third and final sheet on top and place the filling there.
Some people will have you believe one sheet of butter, then two dry sheets together will suffice. It will not – *ehem to that specific person reading this now, I’m talking to you* – it needs the two layers of butter. This adds that savory, crispy, buttery flavour you want in this handheld pies.
How to Store Tiropita
These are so versatile in their storage and my favourite way to eat them is probably strange to you.
- After baking in the oven, you can eat them immediately upon cooling to a reasonable temperature.
- Place leftover in a ziplock bag and place in fridge for up to 5 days – reheat in microwave for approximately 30 seconds (for one) and an additional 10-15 seconds for any more added on the plate. This is my favourite way to eat them. Probably because of the memories associated with reheated triopita’s.
- Put any uncooked tiropita’s in a ziplock bag and place in freezer for months. When ready to cook, just cook as you would when freshly prepared.
Tiropita Baking Tips
Here are some quick tips that I find helpful for when I’m baking tiropita.
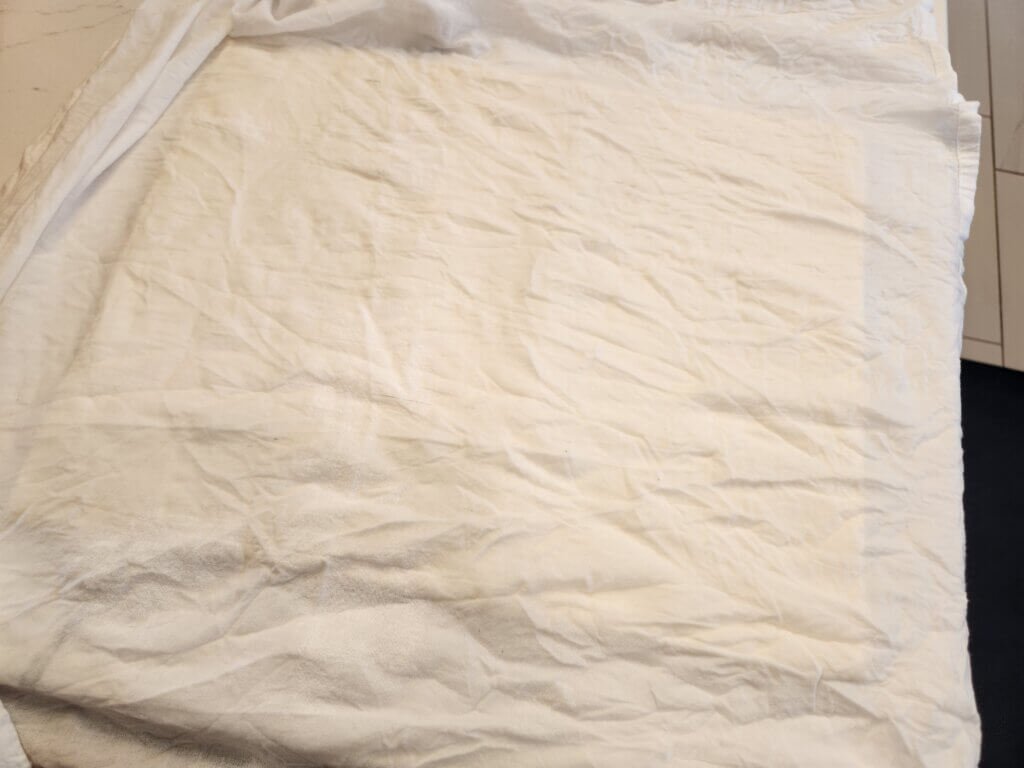
- Cover the sheets with a lightly damp cloth to prevent the sheets from drying out and getting too brittle
- Alternatively, don’t have your cloth be too damp – that will cause the sheets to get too wet and fall apart
Tiropita Frequently Asked Questions
This is very common and not a problem. Do your best to put it back together and use the melted butter as a glue to hold it in place. The three phyllo sheets and butter will hold, despite the rips.
I wouldn’t recommended as it won’t taste the way it’s supposed to. If you do try it and like that variation then that’s fine for you.
This can happen if you add too much filling to your first few tries. Just make more filling! Add more cheeses and another egg, and combine it with what’s left of the original. This and isn’t a science!
Just use two layers instead. Sometimes the package doesn’t equal exactly 3 sheets to make 28 tiropita’s. More often then not, mine only come with 20 sheets, so the last 4 pies only have 2 phyllo sheets instead of my preferred 3.
An Ode to My Grandmother & Traditional Recipes Lost to Time
As the immigrant grandparents of my generation pass on, a lot of recipes are in the process of being lost or are already gone. Over the last few years and moving into the future I’m working really hard to try to scrape up knowledge mixed with taste memories to keep those recipes alive for my own children to enjoy and cherish. So many immigrants come here and assimilate to the culture – which they should – but the roots and food of what made us unique are forgotten along the way. I think we should hold on to these recipes while also assimilate to the country you’re in. Dye your eggs at easter and eat your tiropita’s as a tasty breakfast. Grow where you are, but hold on to those things that also make you unique.
More traditional Greek recipes will be coming so stay tuned!
We also have plenty of growing guides, seed saving guides a Medicinal Herbs Hub and many delicious recipes. We are growing our website with more articles all the time, and we invite you to grow with us – join our newsletter for seasonal reminders and garden tips straight to your inbox! If you liked this recipe please give it a rating and comment to help share it with others. Happy Eating & Gardening!
Traditional Greek Tiropita – Triangle Cheese Pies
Equipment
- 1 parchment lined baking sheet
- 1 Pizza Cutter
- 1 Large mixing bowl
- 1 spoon to mix
- 1 slightly damp cloth
Ingredients
- 1 cup feta cheese
- 1/4 cup parmesean
- 3/4-1 cup ricotta
- 2 eggs
- 1 package phyllo dough
- salt/pepper to taste
- 8 tbsp melted butter
Instructions
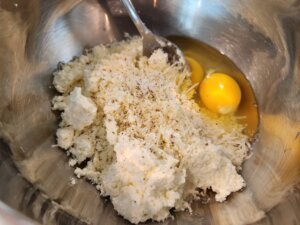
- Add the 3 cheeses, 2 eggs and salt/pepper into a bowl and mix until well incorporated. Ensure the feta blocks are broken down into small pieces.

- Lay out 1 sheet of phyllo dough & brush the entire sheet with melted butter.
- Lay out another sheet on-top of the previous one, brush the entire sheet with melted butter.
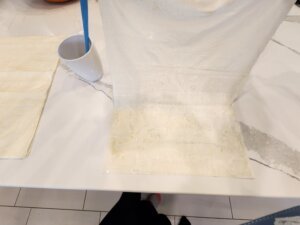
- Place the third sheet on-top.
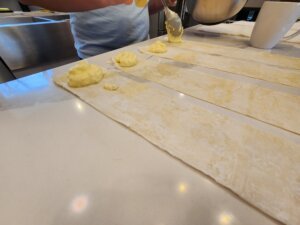
- Using a pizza cutter, cut the sheets into four long sections. Each strip will be one triopita.
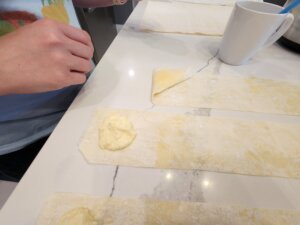
- Dollop the mixture at the bottom of each strip.
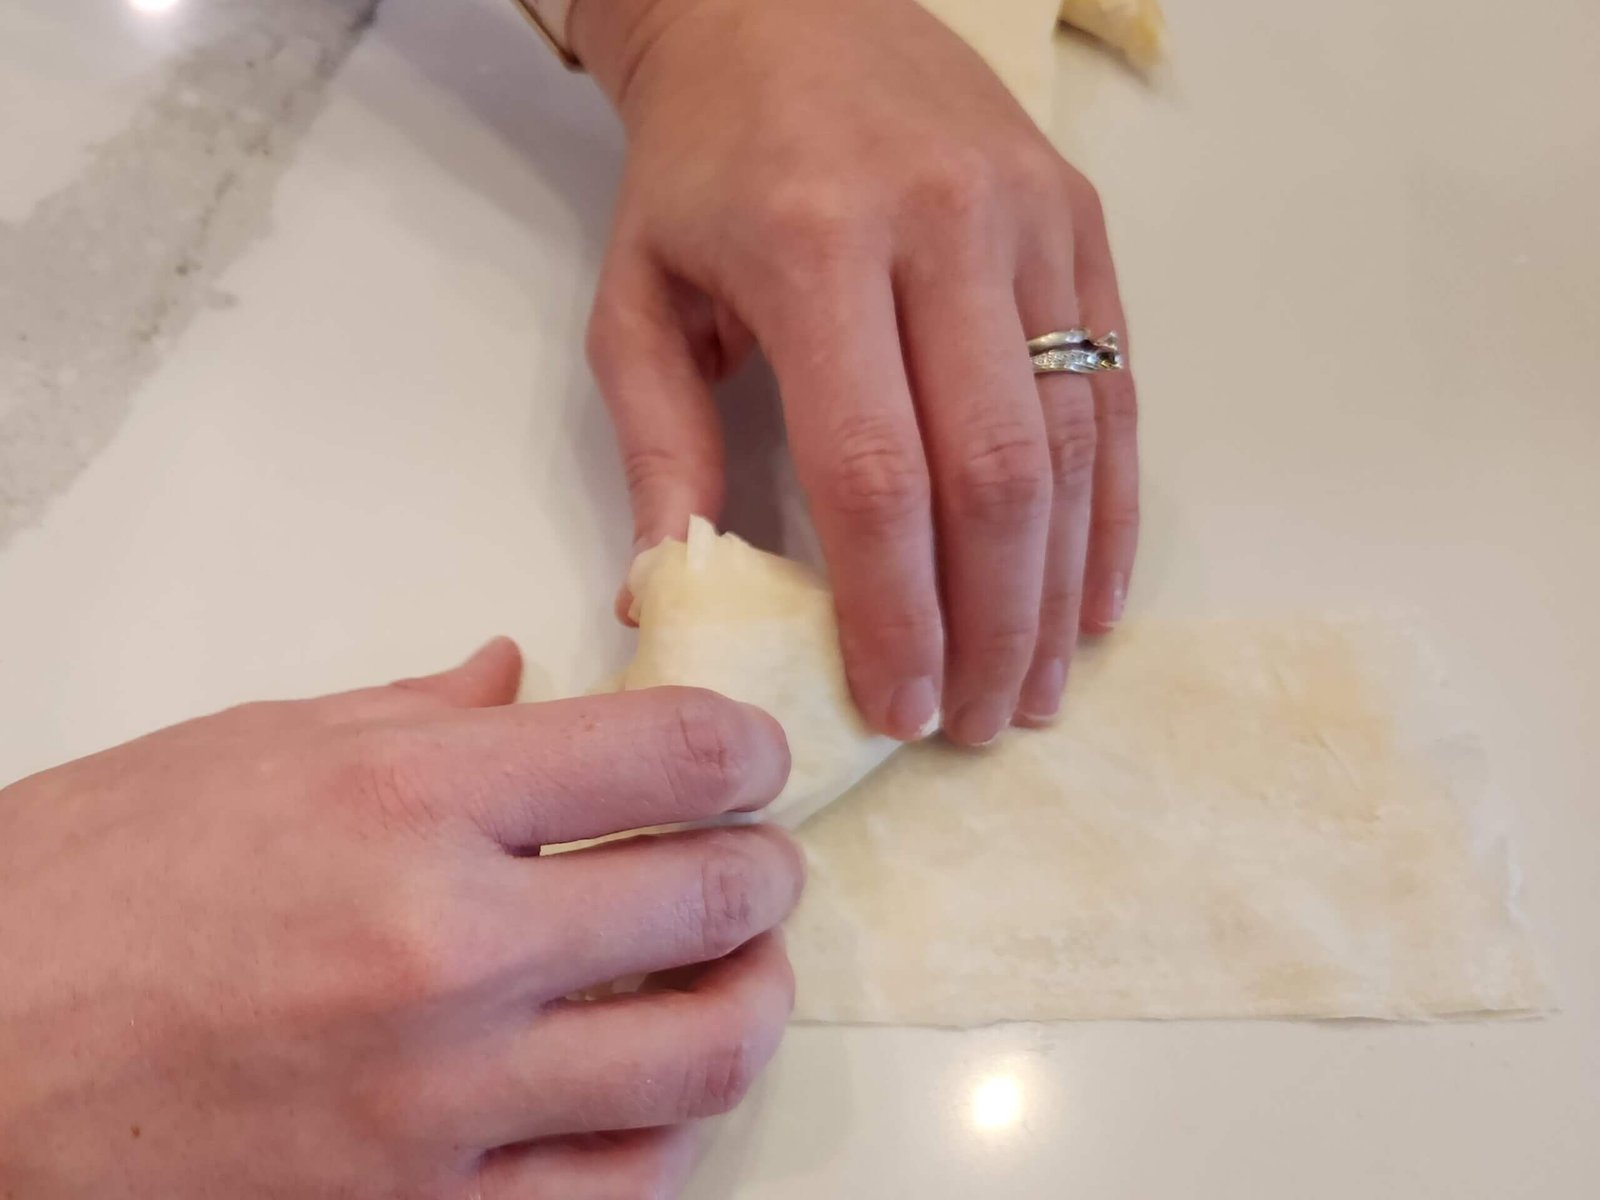
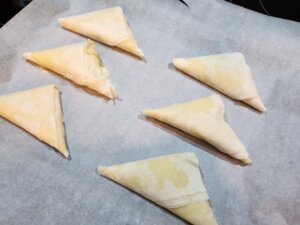
- Grab the bottom of the right corner and fold it up and over towards the left side of the strip. This should create a triangle shape. Then grab the bottom left corner and fold up and over towards the right side of the sheet. Continue in this pattern until you've created a small triangular shaped pie.
- Place as many as you'd like to cook on a parchment lined baking sheet. Bake at 350℉ for 16-20 minutes – depending on your oven and choice of crispiness.


So good!
I used my leftover butter to baste the pies before eating – they turned out extra crispy and so buttery. Highly recommend!
Hello. fantastic job. This is great. Thanks!