
There’s nothing quite like the smell of fresh bread baking in the oven. A golden crust, soft fluffy inside, and the satisfaction of knowing you made it yourself. This easy homemade bread recipe is simple to follow and gives you consistently soft, fluffy bread every time. It can also be modified easily to allow for dietitian restrictions.
This post contains affiliate links. If you use these links to buy something we may earn a commission. Thanks.
When we started making bread we tried a bunch of different recipes that we found online. We started out with a no need bread, which is good but is hard to make consistently the same. We’ve tried some of the bread recipes that call for only 4 ingredients and can be make in 45 minutes.
They are alright, definitely better than store bought, but we wanted to make a consistently good fresh bread. One that we enjoyed making as much as eating.
If you’ve ever made bread before or done any type of baking, you know that being consistent is important. So for our bread recipe instead of using normal measuring methods like cups and tablespoons, we weigh all our ingredients to make sure we are consistent. We’ve also converted our weights back to conventional measurements the best we can if you prefer to do it that way.
Fresh Bread Ingredients:
The recipe we use now for every loaf of bread we make consists of 6 ingredients that most everyone would have in their kitchen. And if you wanted to you could omit 3 of the ingredients to make it a 3 ingredient bread. These are what we use.
- Active dry yeast: The brand is not important. We are still using one we bought at Costco a long time ago and it works fine. I’ve linked to one with really good reviews on amazon.
- Water: Everyone should have this on hand.
- Sea salt: We use sea salt because that’s what we have in our house. Any salt you have will do the trick. This is also an ingredient that you could leave out if you want to limit your salt intake.
- Sugar: This is more for the yeast than adding any flavour to the bread. Sugar helps the yeast by giving the yeast something to eat while the bread is rising. But like the salt it can also be omitted from the recipe if you want to.
- Olive Oil: This help keep the bread soft and moist a little longer than if this ingredient is not used. Olive oil is also optional though.
- Flour: We use all purpose flour for our bread. There is a specific bread flour you can buy but we’ve found the cheaper all purpose flour works just as good.
How to Make Fresh Bread from Scratch (Step-by-Step)
Step 1: Mix the ingredients
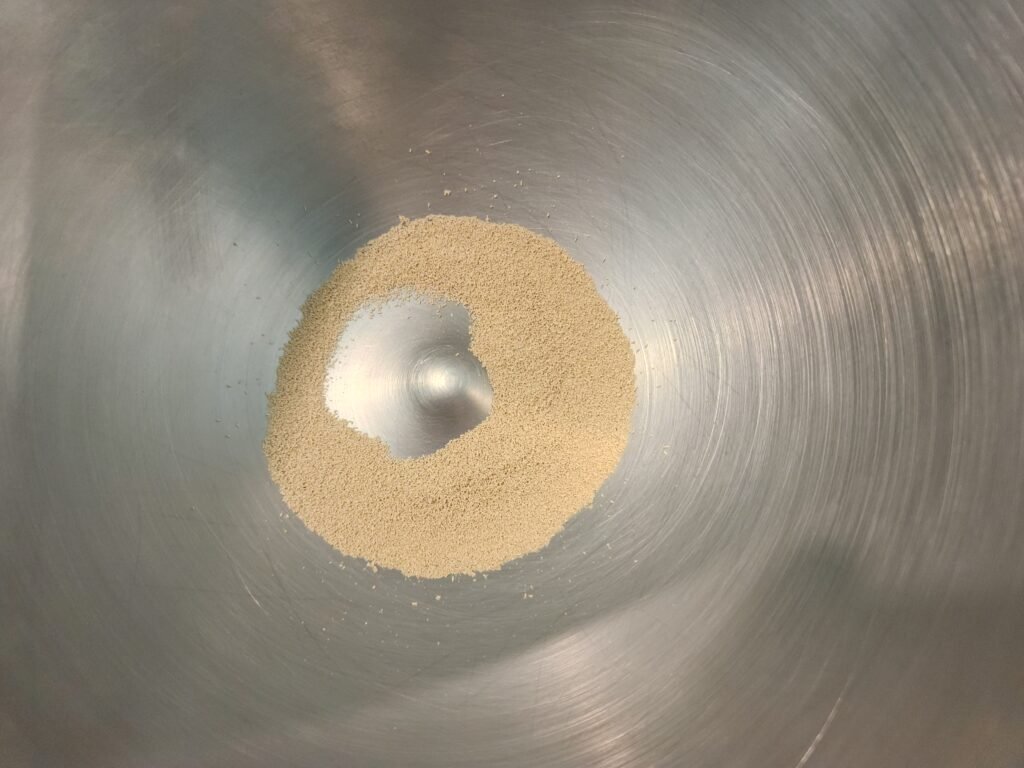
The first step is to get all your ingredients and mix them together. The first thing we want to add to our bowl is our yeast. Add 6g (about 1.5 tsp) to a mixing bowl.
To the yeast add 300g (about 1.5 cups) of warm water.
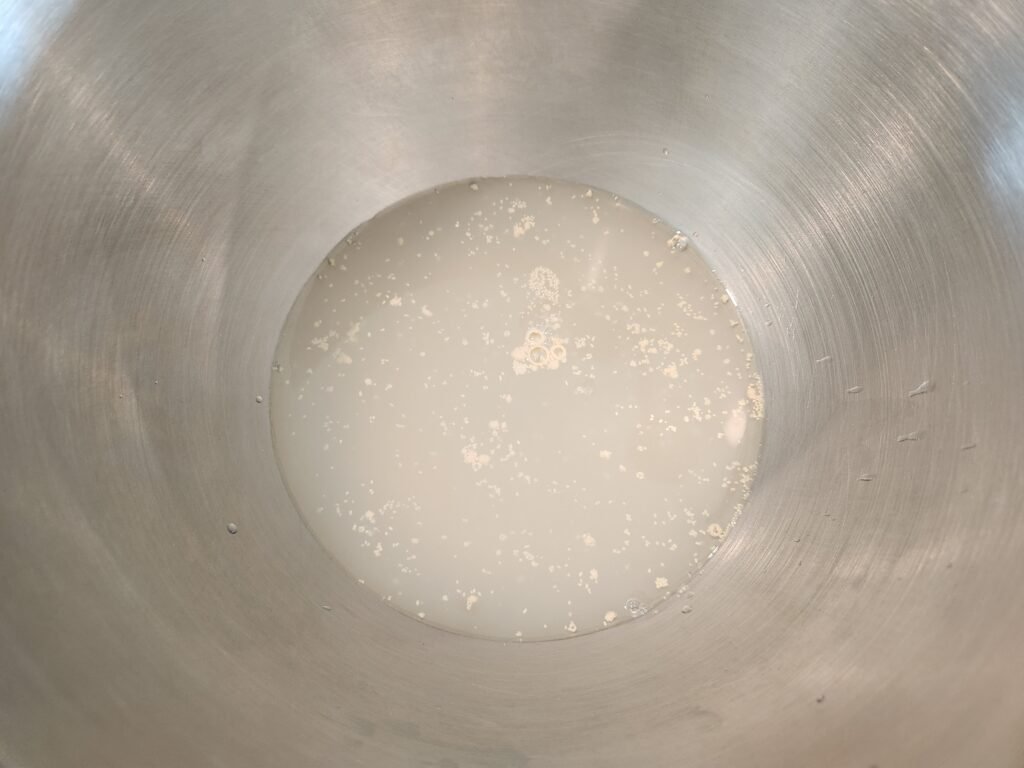
If you use your yeast often and you know it is still alive and active you can keep adding ingredients. If you are unsure you should wait for 5 minutes at this point to see if the yeast starts to bubble and come to the surface. Bubbles mean you are good to go, if it doesn’t you might need to buy new yeast.
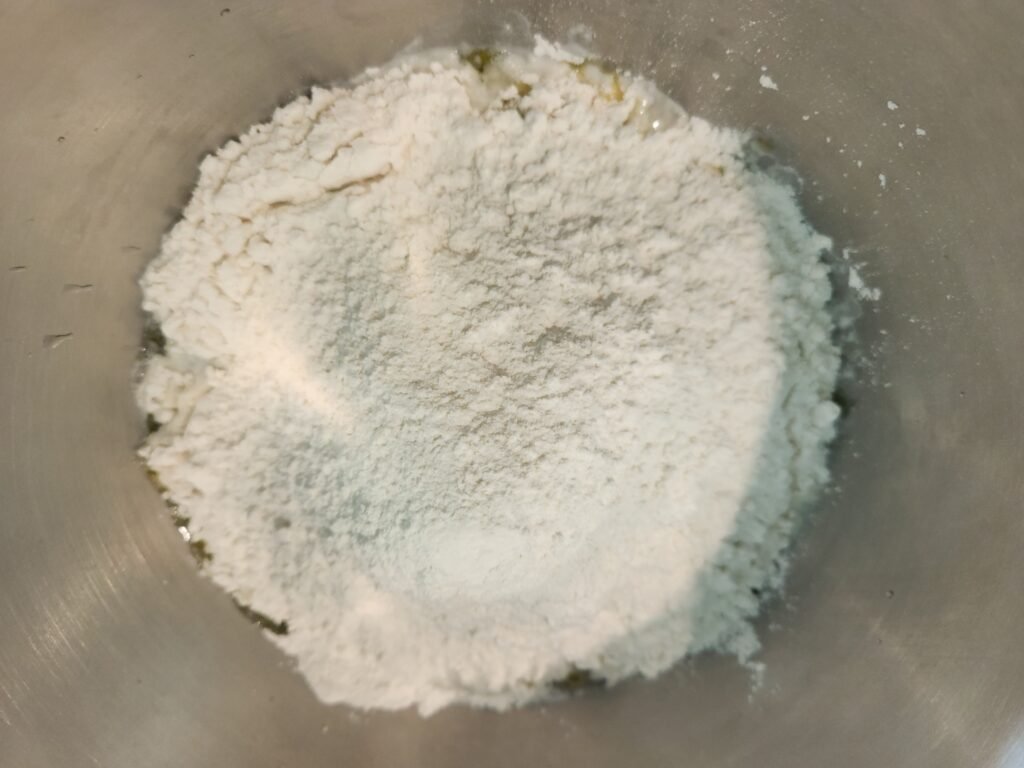
At this point add the rest of your ingredients to the bowl. 5g (1 tsp) each of sugar and sea salt. 12g (1 tbsp) of olive oil, and 420g (3.5 cups) of all purpose flour.
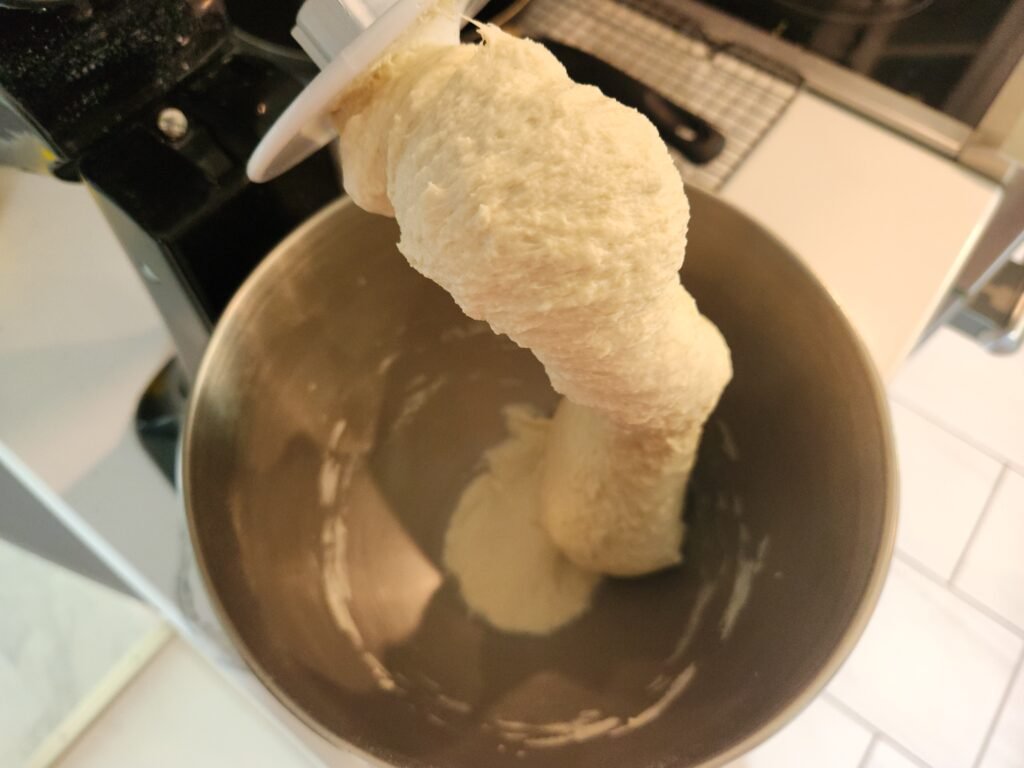
Use your Stand Mixer, if you have one, to mix all the ingredients together to make a smooth dough. Mix it on the 2nd setting for about 5 minutes. If you don’t have a mixer, combine all the ingredients together and knead with your hands until a smooth dough is formed.
Step 2: Form a dough ball
Remove your dough from the Stand Mixer and place in on a clean floured work surface. Using your hands give it a little more kneading and form it into a ball.
Step 3: Let the dough rise
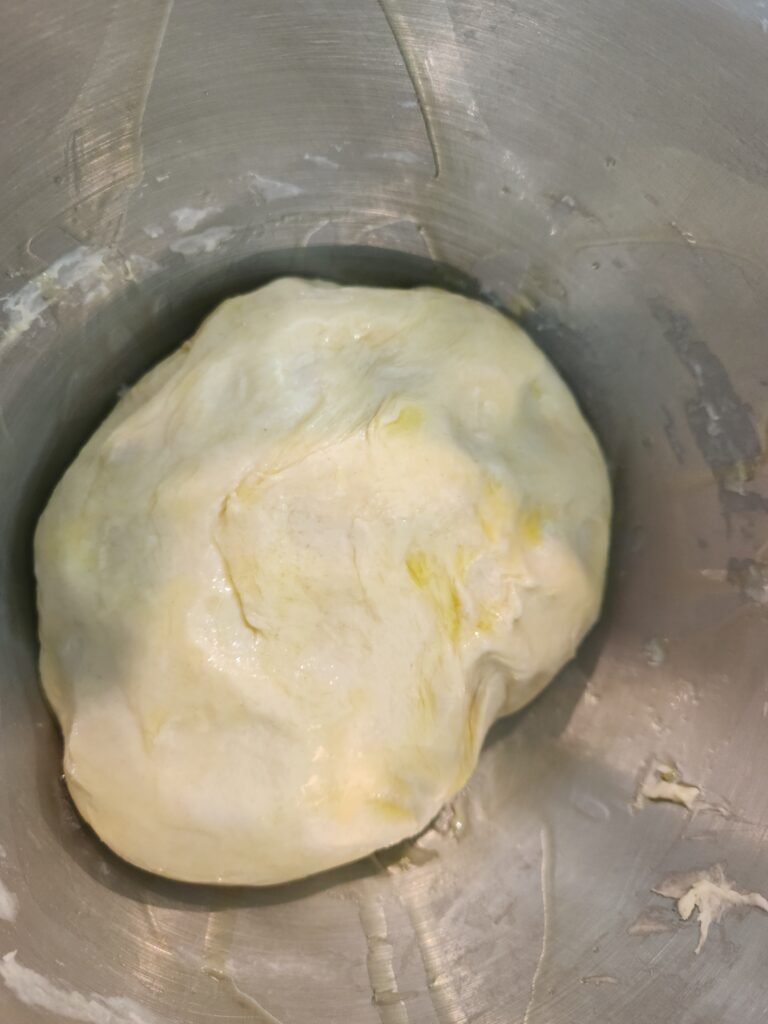
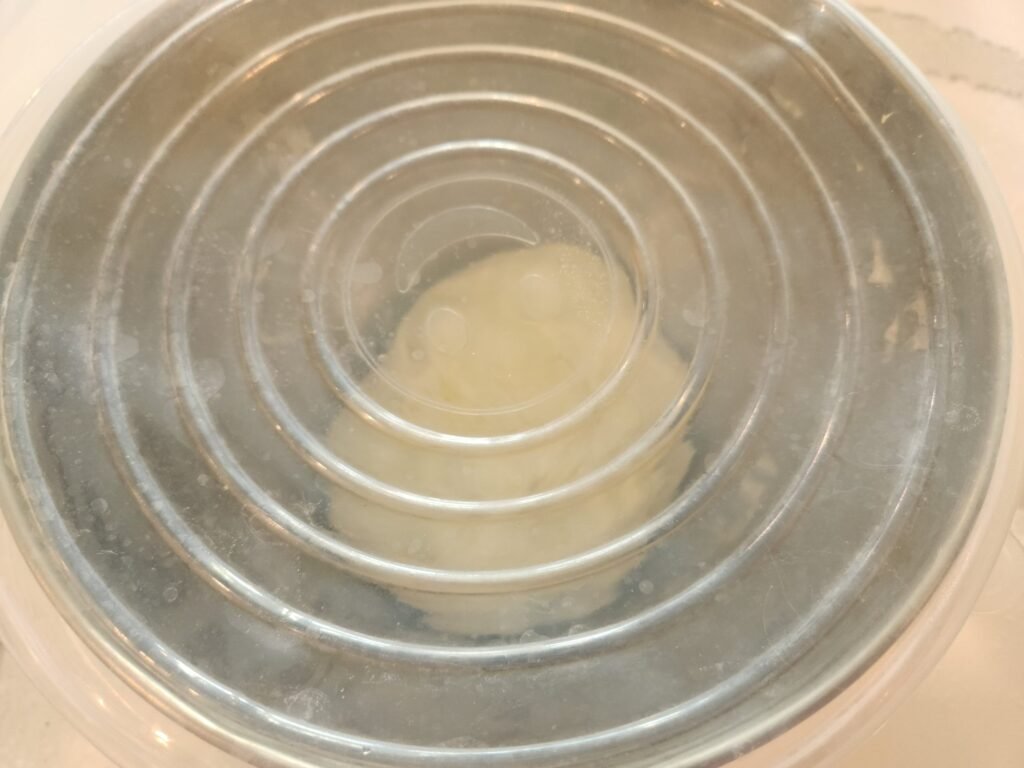
Once you have a smooth dough ball it is time to let it rise. Put about a tablespoon of olive oil in a large bowl. Coat the dough ball with the oil, place in the bowl, and cover loosely. We use these reusable Silicon Covers that work really well for this. Let to dough rise for 2.5 to 3 hours.

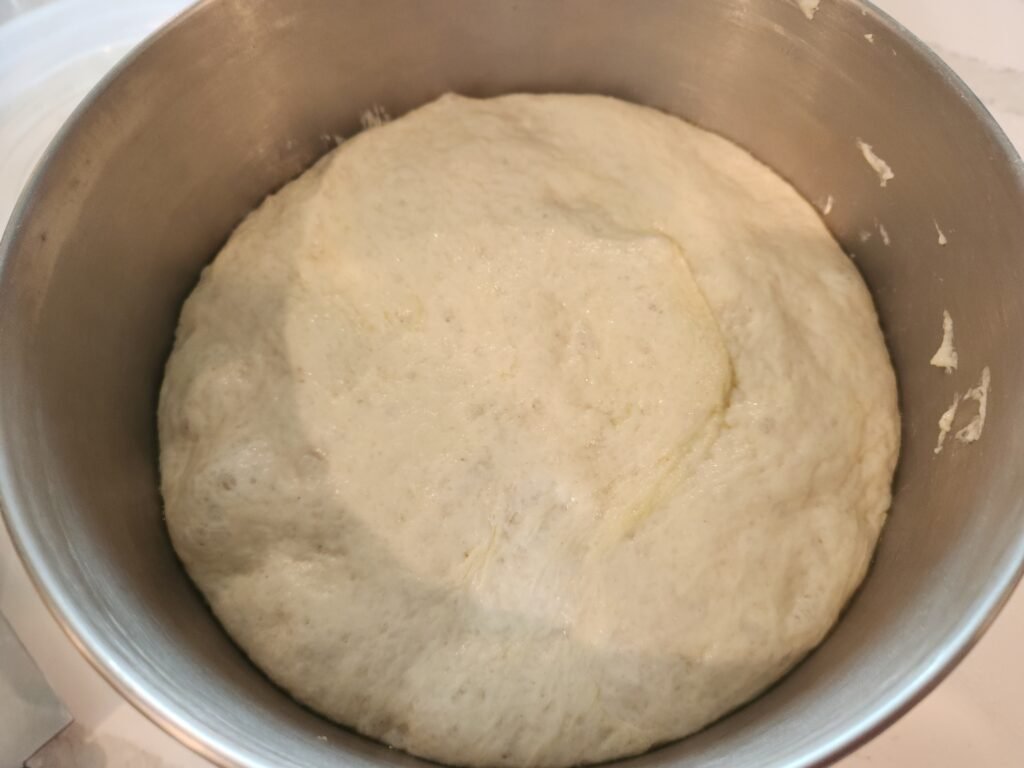
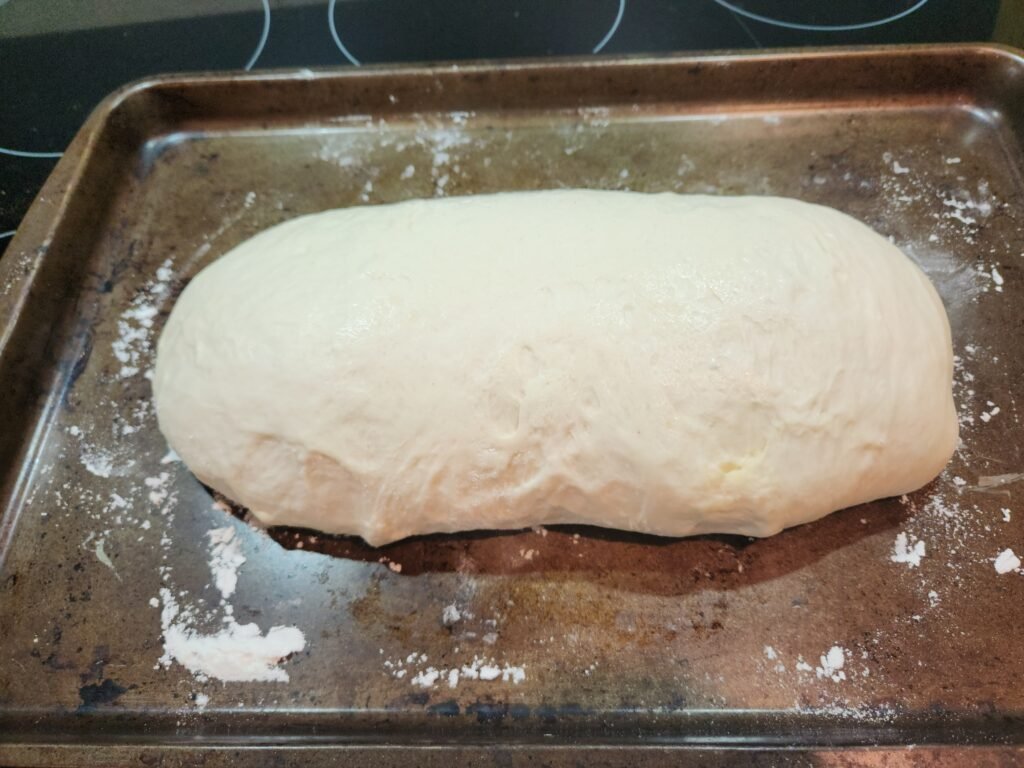
Step 4: Form it into a loaf
After the dough has risen it should look like this
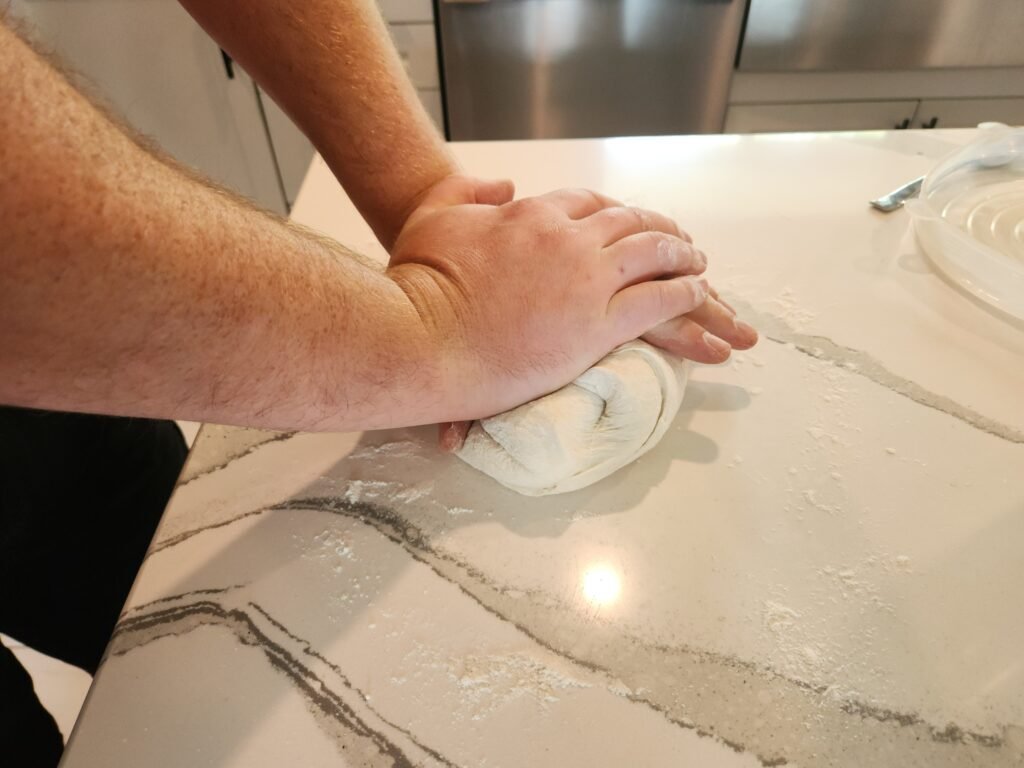
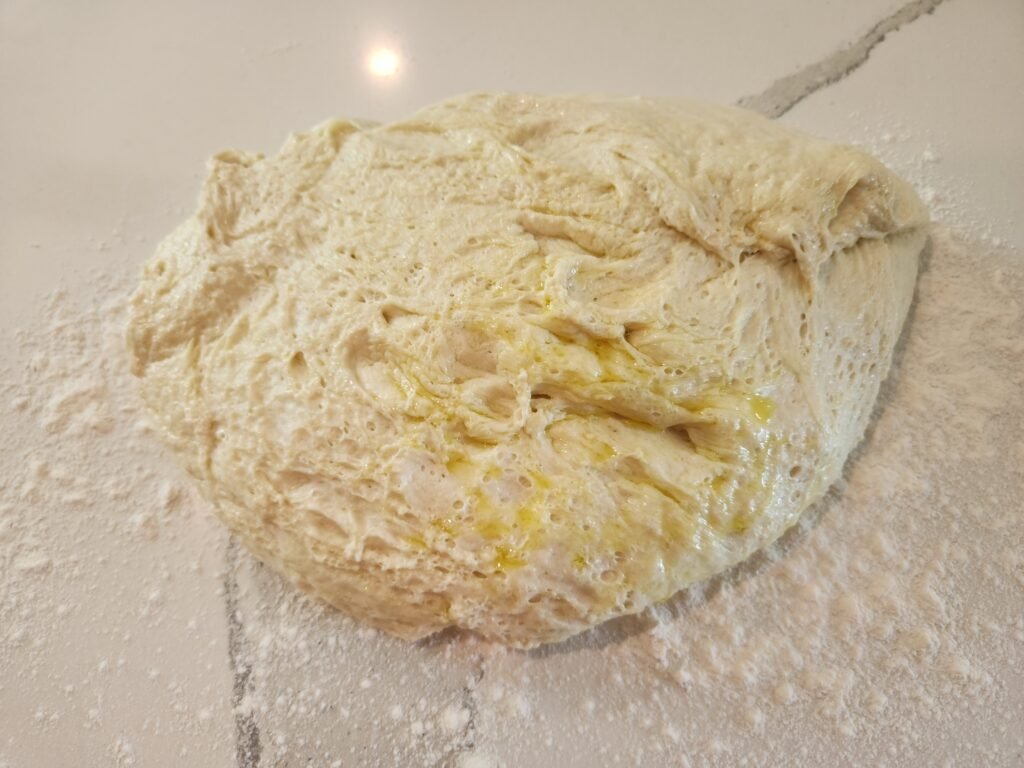
Now is the most important part. It’s time to do a final knead and shape it into a loaf. This is important because when we do this we are trying to create tension in the gluten strands that will allow the bread to keep its shape. If we don’t create enough tension then the bread will sag and won’t rise up tall when baking.
The dough is not going to look like much when you first remove it from the bowl after it rises. It’s going to be very soft and malleable. It needs to be flattened and folded onto itself repeatedly to start to build up some of the tension.
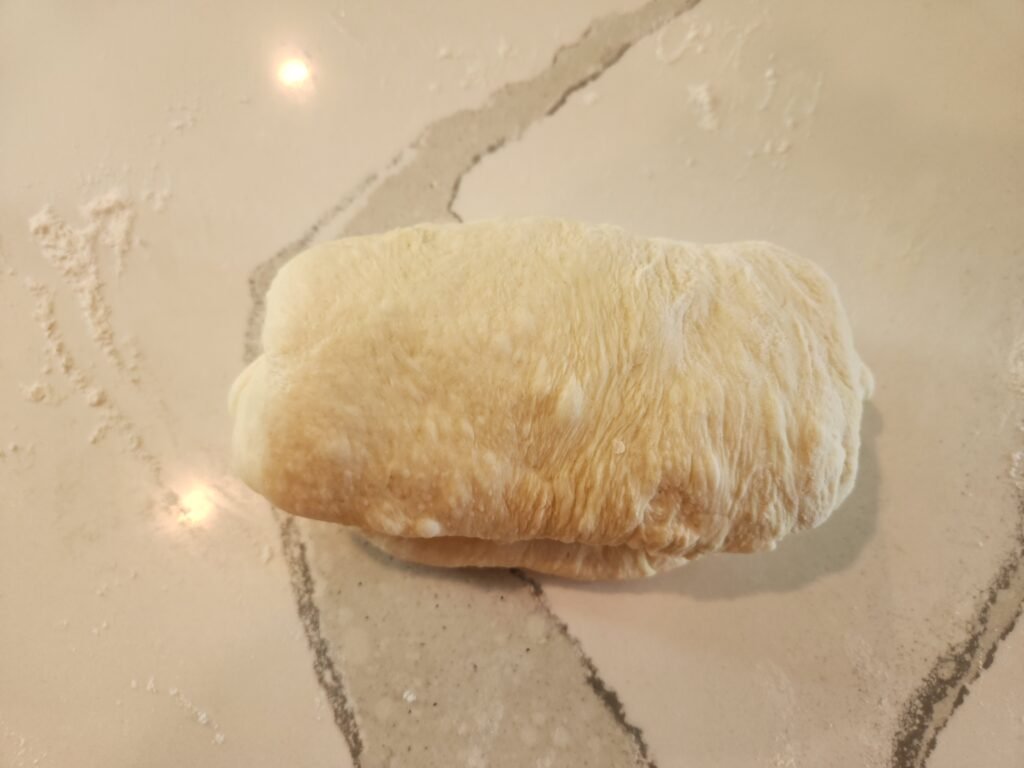
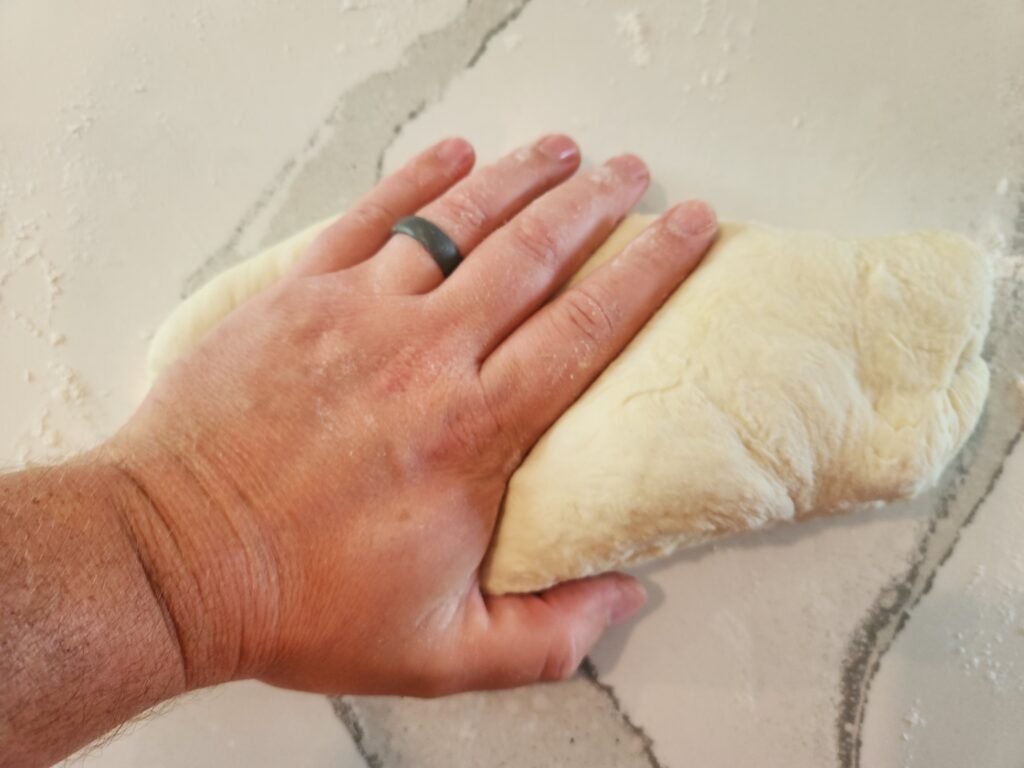
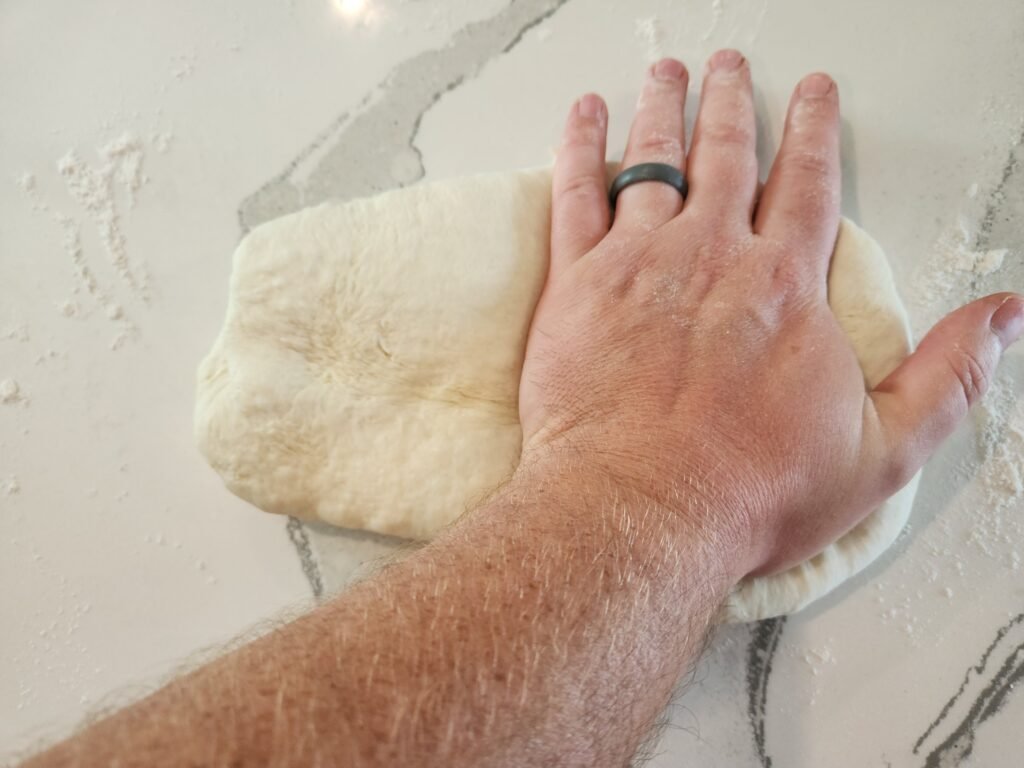
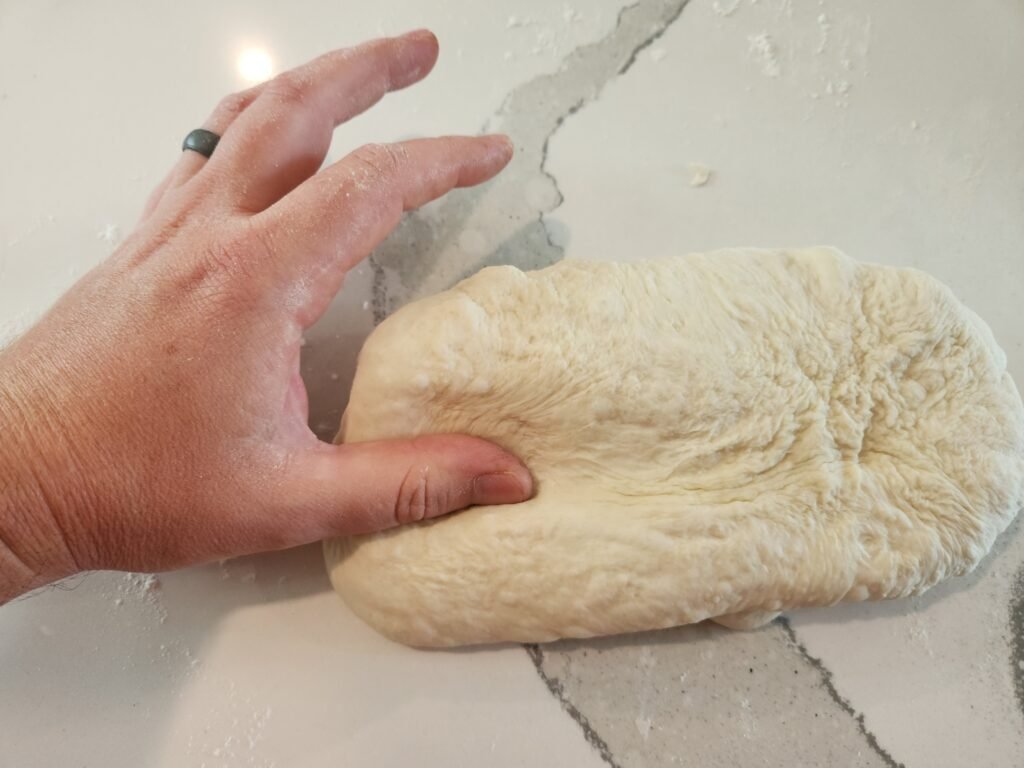
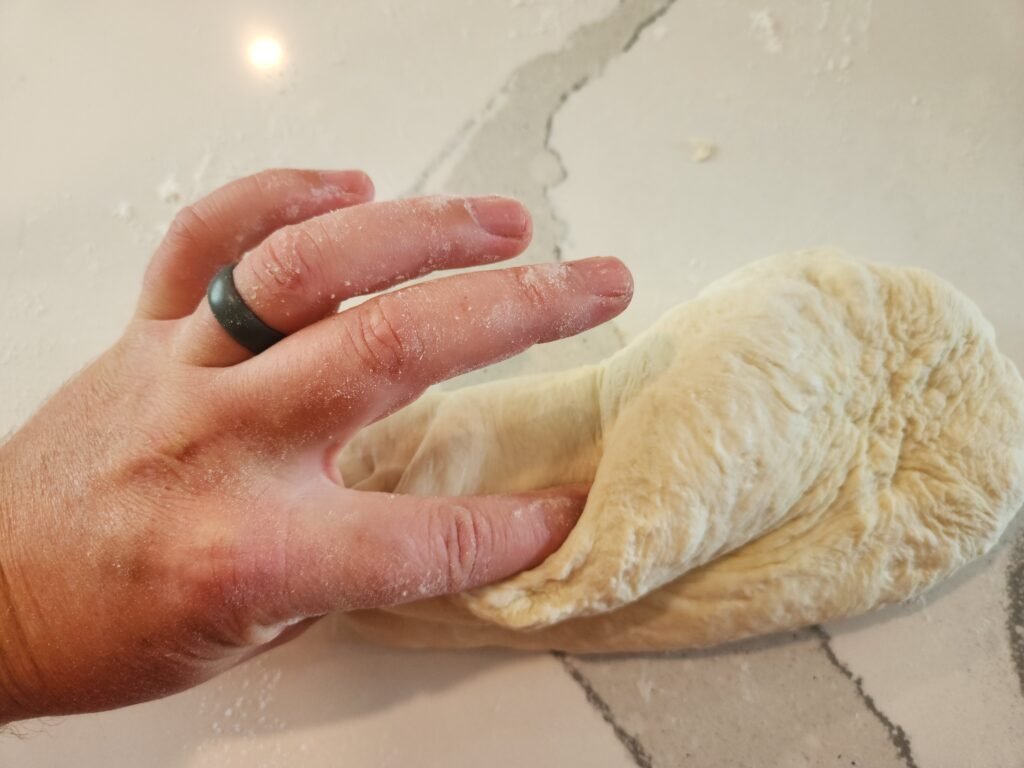
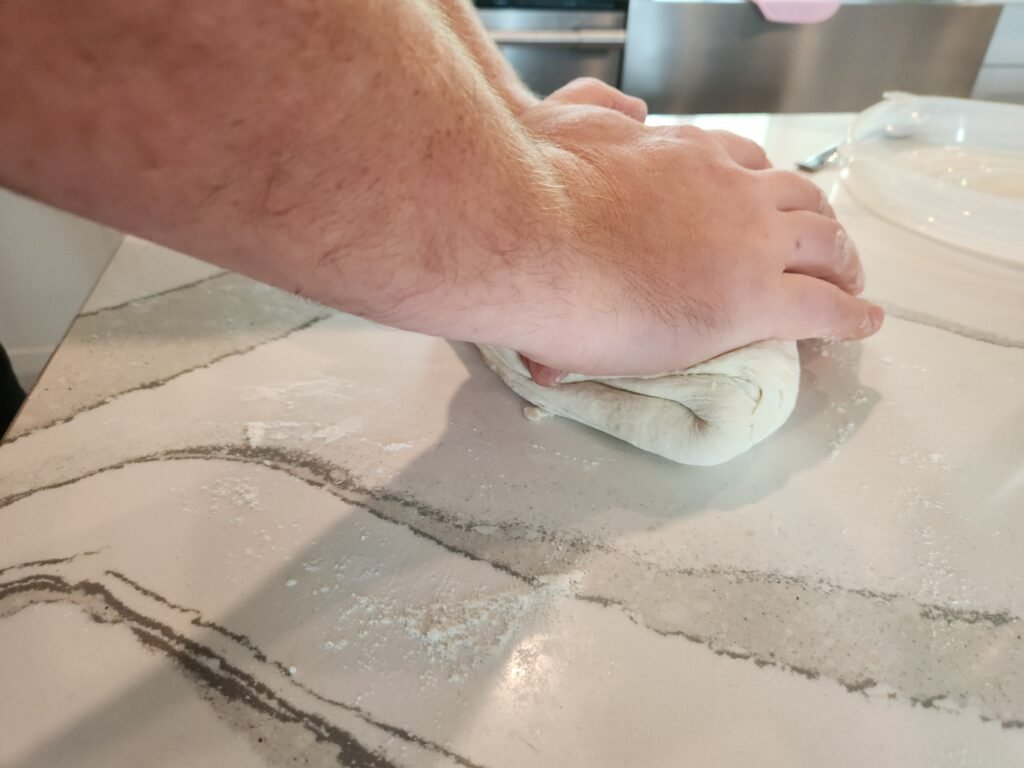
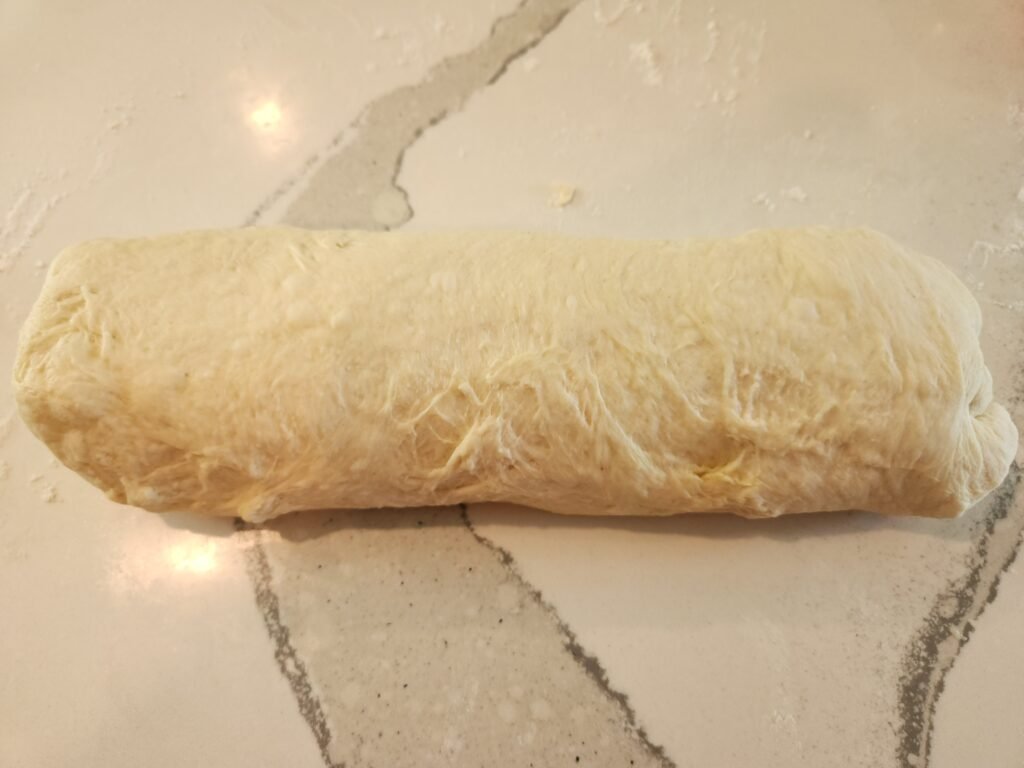
Using your thumb to fold the dough over it not only builds tension in the gluten but also help to shape the loaf by elongating the dough it to more of a cylinder shape.
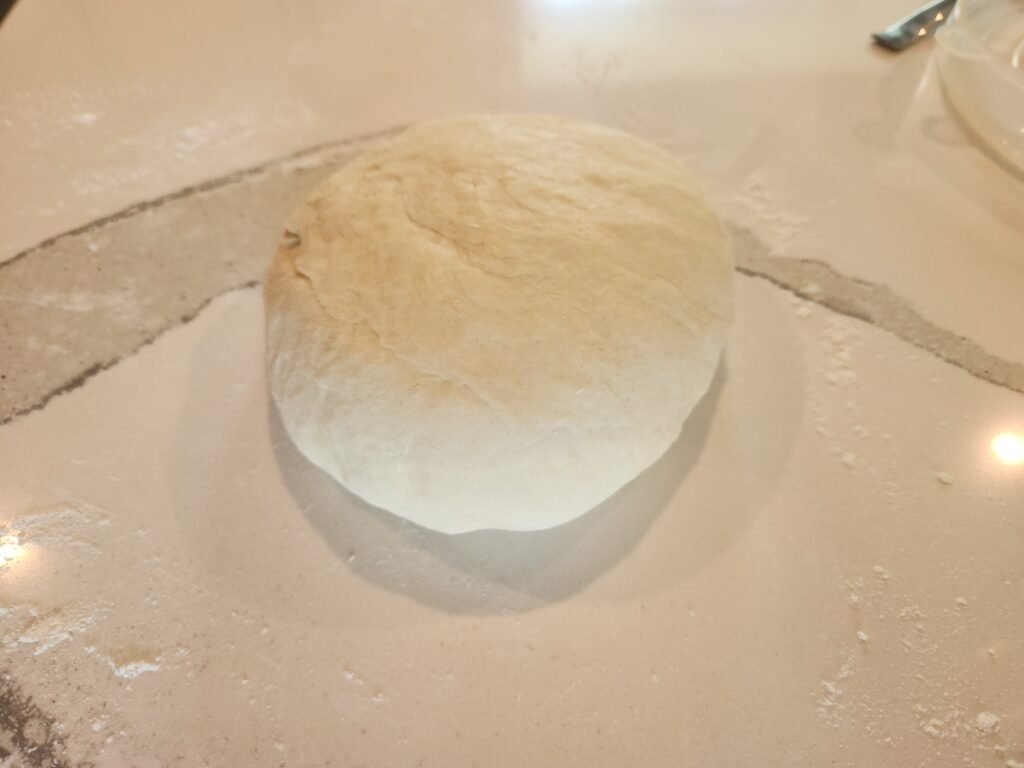
Keep flattening the dough and folding it over your thumb until the dough become firm to the touch like it was when it was before it rose the first time. It should look something like this.
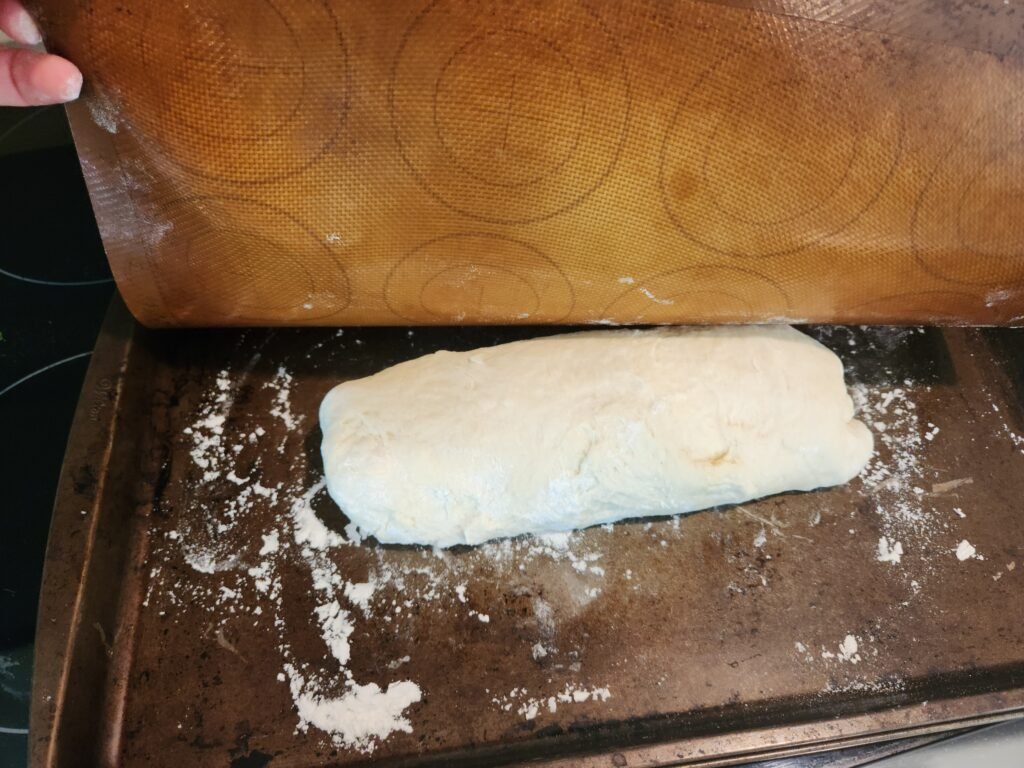
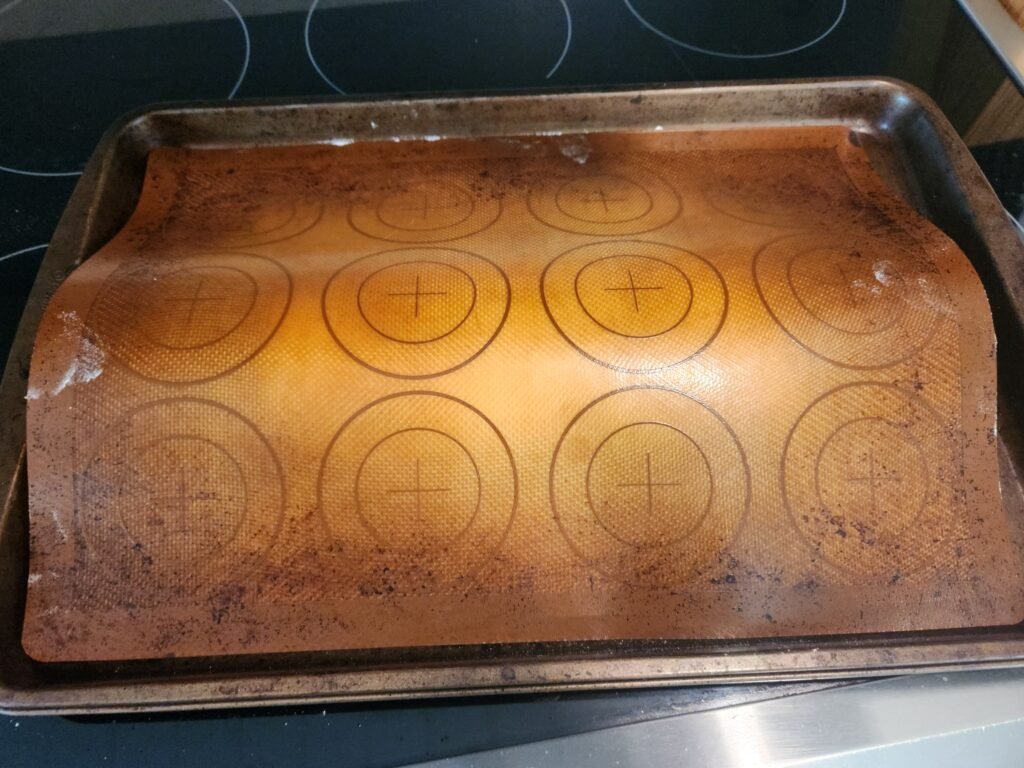
It doesn’t need to look pretty at this point as its going to rise again for 45 minutes and it will relax into a nice looking bread shape during that time. Place the finished dough loaf onto a baking sheet and cover. You can use plastic wrap for this but we prefer to use these Silicon Baking Sheets.
Step 5: Let the dough rise again and preheat the oven
Now that the hardest, most important part is over, we are getting down to the home stretch. We need to place the baking sheet with our dough on it onto the stove top above the oven and let the dough rise covered for 25 minutes.
After 25 minutes turn the oven on at 425 on the convection bake setting and let the dough rise another 20 minutes while the oven preheats. If your oven doesn’t have convection bake, regular bake will work fine. The bread will not turn out as golden brown as it would on convection bake.
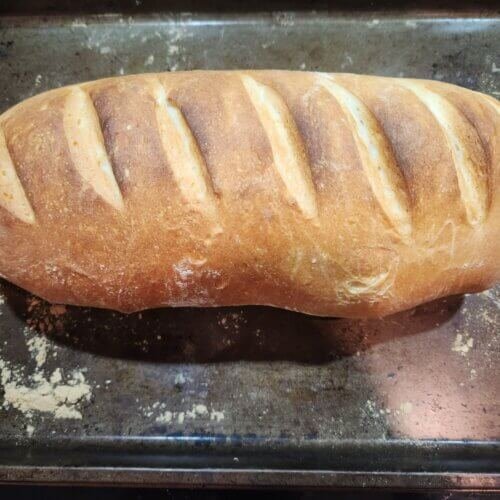
Step 6: Bake the bread
After 45 minutes and your oven is preheating it’s time to bake the bread. Remove the covering from on top of the dough. Cut slits using a sharp knife to allow for air to escape during baking. If you don’t cut slits into the dough it’s very likely the side will burst open and mangle the loaf shape.
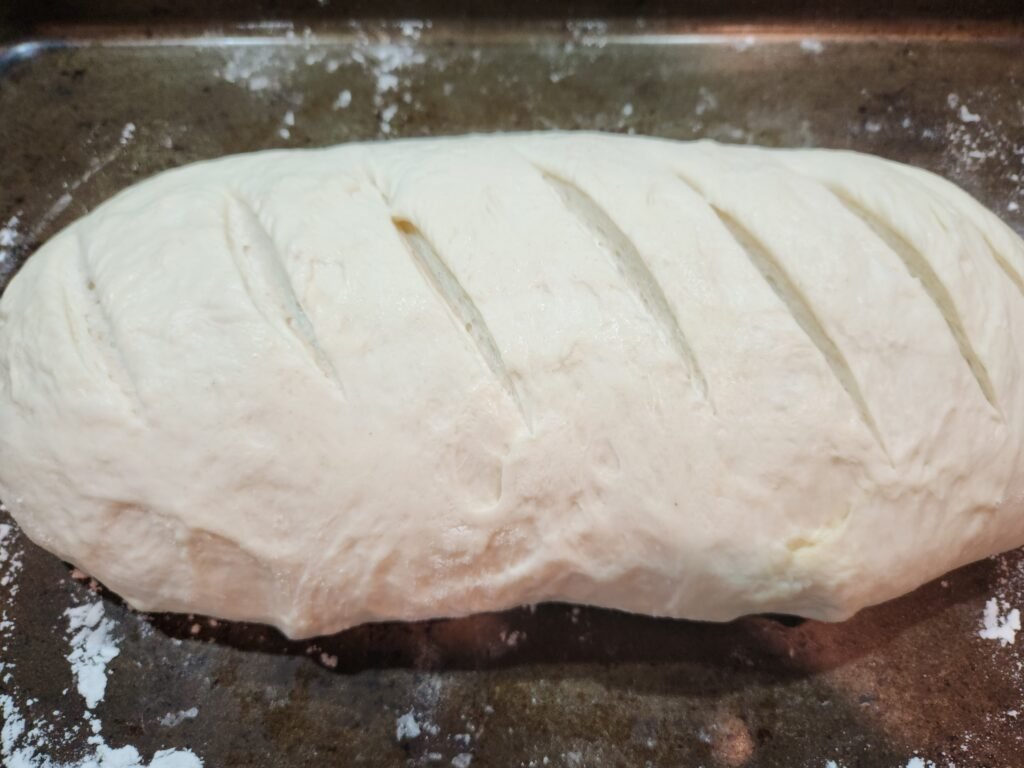
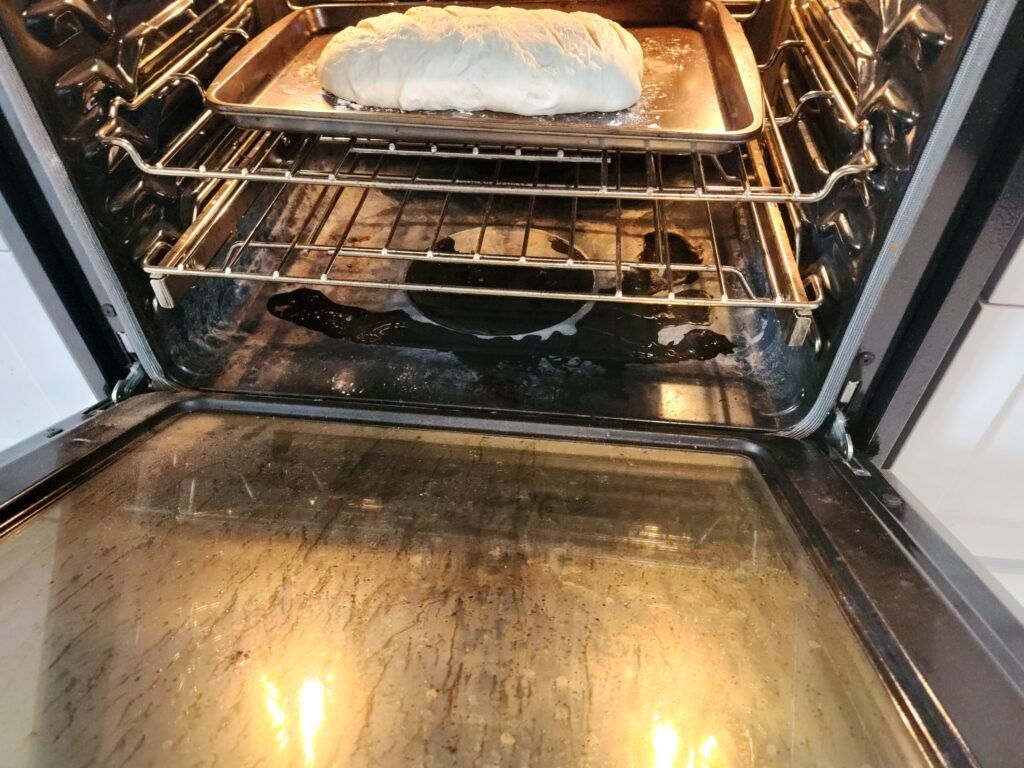
Place it in the middle oven rack at the back of the oven. Place a oven safe container with a cup of water on the bottom oven rack to create humidity. We actually skip that step and just pour a 1/4 cup of water directly on the bottom of our oven which creates enough steam for us.
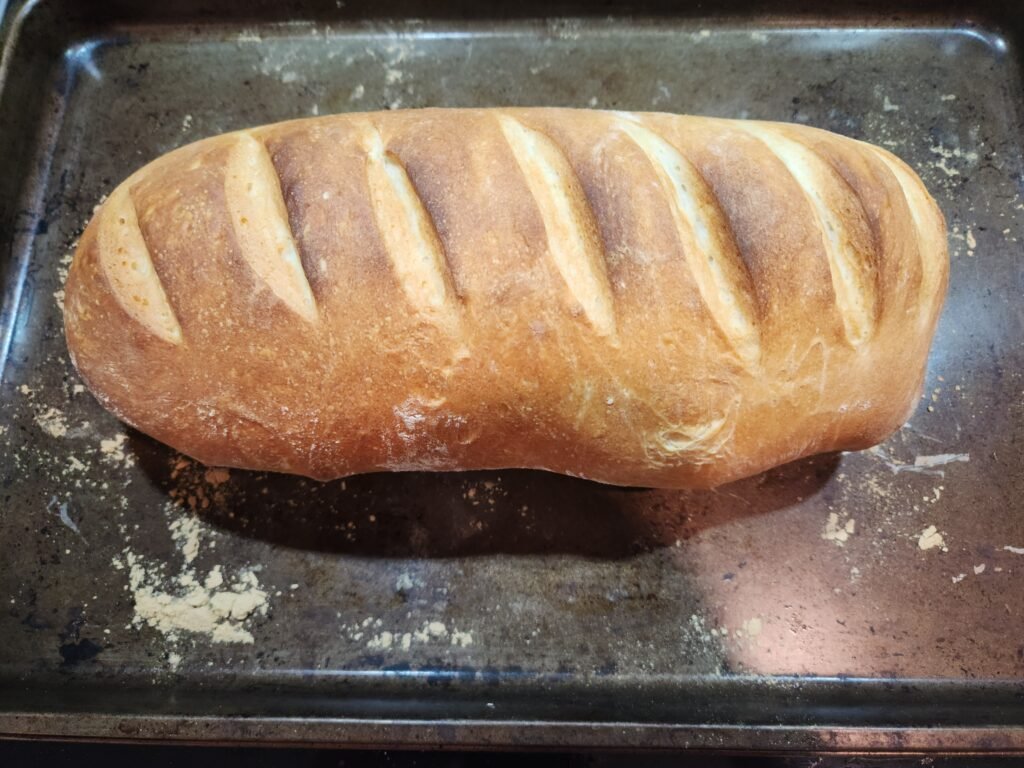
Bake for 18 minutes and remove promptly. Remove finished bread from baking sheet and place onto a cooling rack.
Step 7: Eat!
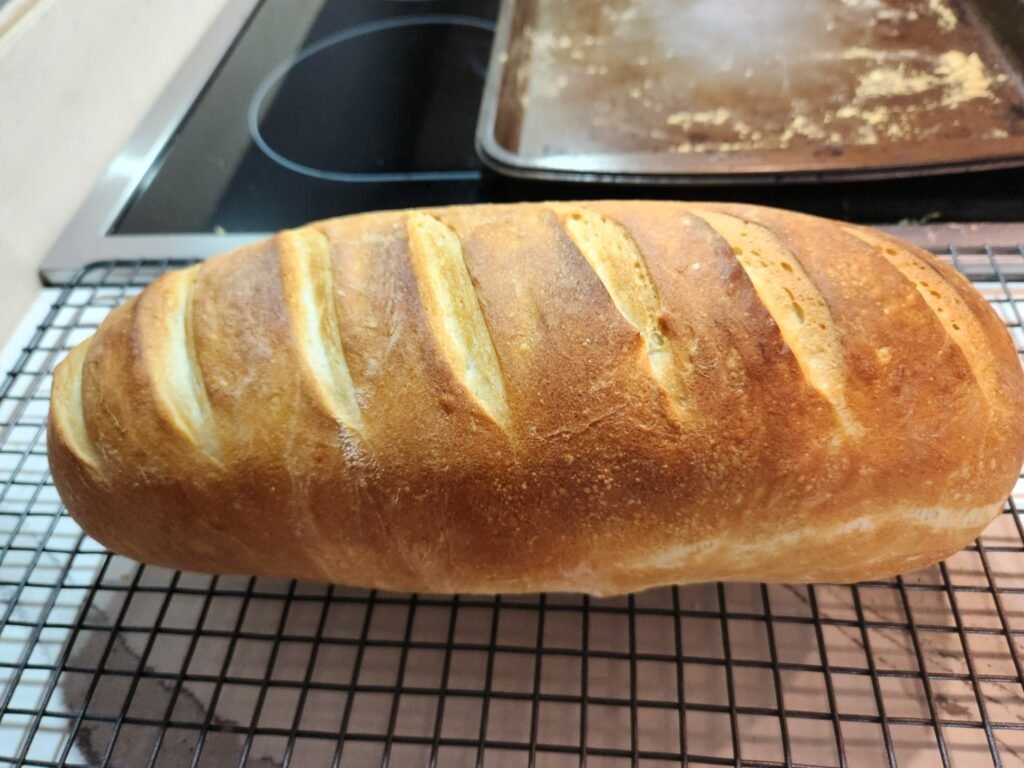
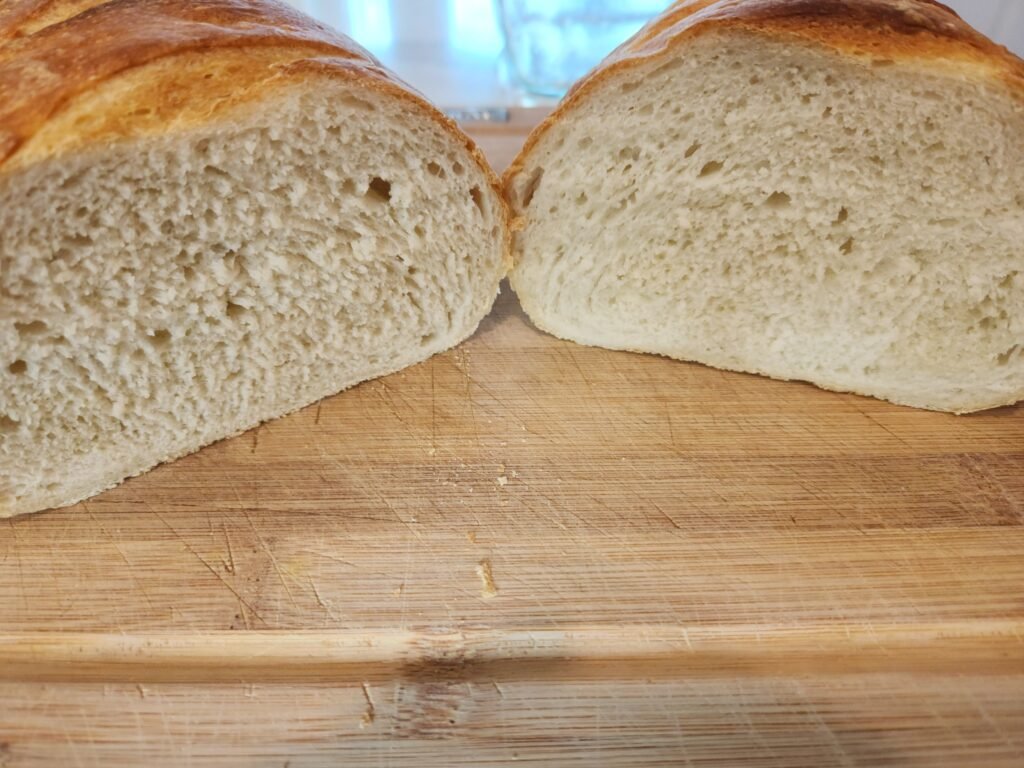
You’re bread should come out golden brown and smell amazing. You’ll be very tempted to dig right into it but you should restrain yourself for at least a little while. There are two very good reasons to wait.
One, the fresh bread is so hot you could burn yourself on the steam that escapes when you tear into it, and two, the bread actually keeps cooking a little bit after it’s removed from the oven. It’s is a good idea to wait at least 30 minutes after baking before cutting into the bread.
Enjoy this bread as a side to Easy Leftover Turkey Soup with Orzo and Barley and if you like this bread try our Easy Soft Bread Recipe You’ll Want To Bake Every Week for another version of delicious bread.
If you try this recipe please rate it and leave a comment below. Thanks!
Fresh Bread Recipe from Scratch
Equipment
- 1 Mixing bowl
- 1 Stand Mixer optional
- 1 Oven
- 1 Baking sheet
Ingredients
- 6 g Active dry yeast about 1.5 tsp
- 300 g Water about 1.5 cups
- 5 g Sea salt about 1 tsp
- 5 g Sugar about 1 tsp
- 12 g Olive Oil about 1 tbsp
- 420 g Flour 3.5 cups
Instructions
- Combine all ingredients together in the bowl of your stand mixer or a mixing bowl. Mix it on the 2nd setting for about 5 minutes. If you don’t have a mixer combine all the ingredients together and knead with your hands until a smooth dough is formed.
- Remove your dough from the Stand Mixer and place in on a clean floured work surface. Using your hands give it a little more kneading and form it into a ball.
- Once you have a smooth dough ball it is time to let it rise. Put about a tablespoon of olive oil in the bowl you used for step 1. Coat the dough ball with the oil, place in the bowl, and cover loosely. Let to dough rise for 2.5 to 3 hours.
- The dough is not going to look like much when you first remove it from the bowl after it rises. It’s going to be very soft and malleable. It needs to be flattened and folded onto itself repeatedly to start to build up some of the tension in the gluten strands. Using your thumb to fold the dough over it not only builds tension in the gluten but also help to shape the loaf by elongating the dough it to more of a cylinder shape. Keep flattening the dough and folding it over your thumb until the dough become firm to the touch like it was when it was before it rose the first time. It should be in a rough bread dough shape at this point. It doesn’t need to look pretty at this point as its going to rise again for 45 minutes and it will relax into a nice looking bread shape during that time. ***Pictures of how to do this are in the blog article.
- Place the finished dough loaf onto a baking sheet and cover. You can use plastic wrap for this but we prefer to use these Silicon Baking Sheets. Place the baking sheet with our dough on it onto the stove top above the oven and let the dough rise covered for 25 minutes.
- Preheat the oven on at 425 on the convection bake setting and let the dough rise another 20 minutes while the oven preheats. If your oven doesn’t have convection bake, regular bake will work fine. The bread will come out of the oven not quite as golden brown.
- Remove the covering from on top of the dough. Cut slits using a sharp knife to allow for air to escape during baking. If you don’t cut slits into the dough it’s very likely the side will burst open and mangle the loaf shape.
- Place it in the middle oven rack at the back of the oven. Place a oven safe container with a cup of water on the bottom oven rack to create humidity. We actually skip that step and just pour a 1/4 cup of water directly on the bottom of our oven which creates enough steam for us.
- Bake for 18 minutes and remove promptly. Remove finished bread from baking sheet and place onto a cooling rack.
- You’re bread should come out golden brown and smell amazing. You’ll be very tempted to dig right into it but you should restrain yourself for at least a little while. There are 2 very good reasons to wait. The fresh bread is so hot you could burn yourself on the steam that escapes when you tear into it, and also the bread actually keeps cooking a little bit after it’s removed from the oven. It’s is a good idea to wait at least 30 minutes after baking before cutting into the bread.
Nutrition
This is our first recipe that we’ve added to our website and we’ll be adding more and more recipes going forward.
Bread Frequently Asked Questions (FAQ):
Yes, you can use all-purpose flour in place of bread flour. However, bread flour has a higher protein content, which can result in a chewier texture. Using all-purpose flour may yield a slightly softer loaf.
To test your yeast, dissolve a teaspoon of sugar into warm water (about 110°F or 45°C) and add the yeast. Within 5-10 minutes, it should become frothy, indicating that the yeast is active.
Absolutely! Incorporating herbs like rosemary or thyme, or additions such as garlic or cheese, can enhance the flavor of your bread. Add these ingredients during the mixing stage.
Store the cooled bread in an airtight container or plastic bag at room temperature. It will stay fresh for up to 3 days. For longer storage, consider freezing the bread.
Making this specific recipe gluten-free would require significant modifications, including the use of gluten-free flour blends and binders. It’s advisable to seek out recipes specifically formulated for gluten-free bread.
Yes, you can double the ingredients to make two loaves. Ensure you have adequate space and that the dough is evenly divided for consistent baking.
A dense loaf can result from several factors, including insufficient kneading, not allowing the dough to rise adequately, or using inactive yeast. Ensure you follow each step carefully and give the dough ample time to rise.


This recipe is very good! I’m curious, can this bread be stored for a few days, or is it best to eat it fresh? Any tips for keeping it soft longer?
It’s best eaten fresh. To help keep it softer longer at 1 tsp of white vinegar to the dough with the rest of the ingredients at the start and it will help the longevity of the bread.