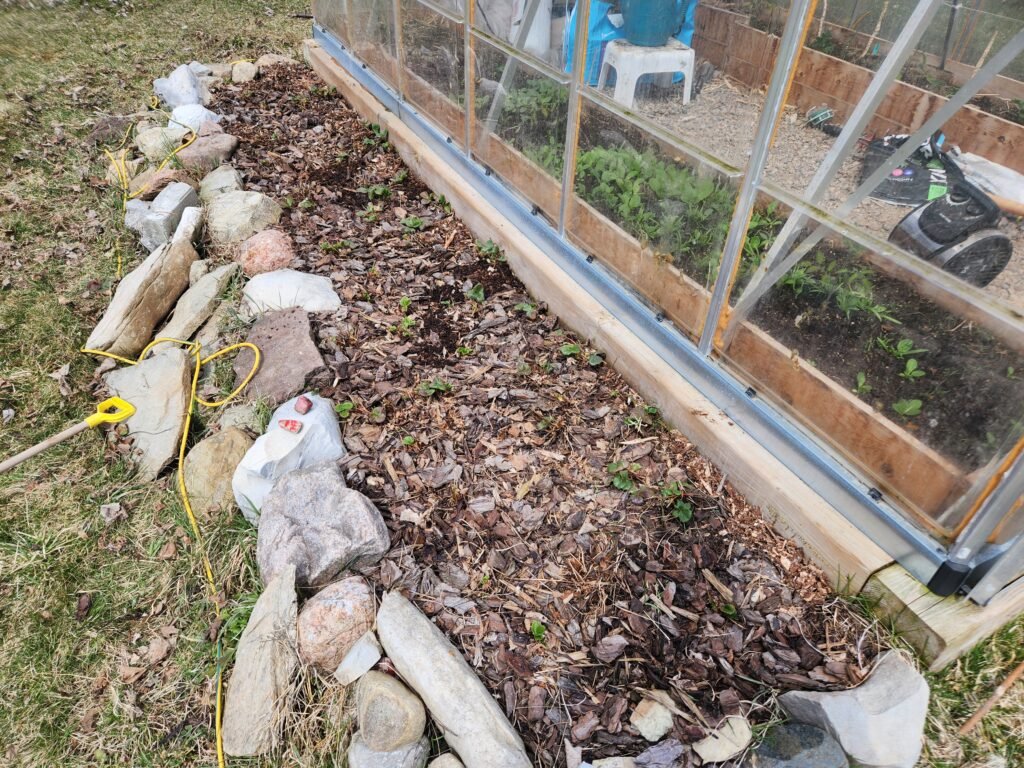
Last fall I was postpartum with a fresh little baby and hardly had time to feed myself, let alone prepare my beds for fall and spring the following season. Now that we’re in early spring and the ground is mostly thawed, plants are slowly starting to regrow – it’s time to clean up and prep the garden beds.
I’ll walk you through a few different bed clean-up’s that I’m doing and how you can do it too!
How To Prep Strawberry Garden Beds for Spring
Strawberries are notoriously known for being an intensive crop to handle. Solely because of the runners they produce and the need to keep on-top of them.
1. Basic Tidy
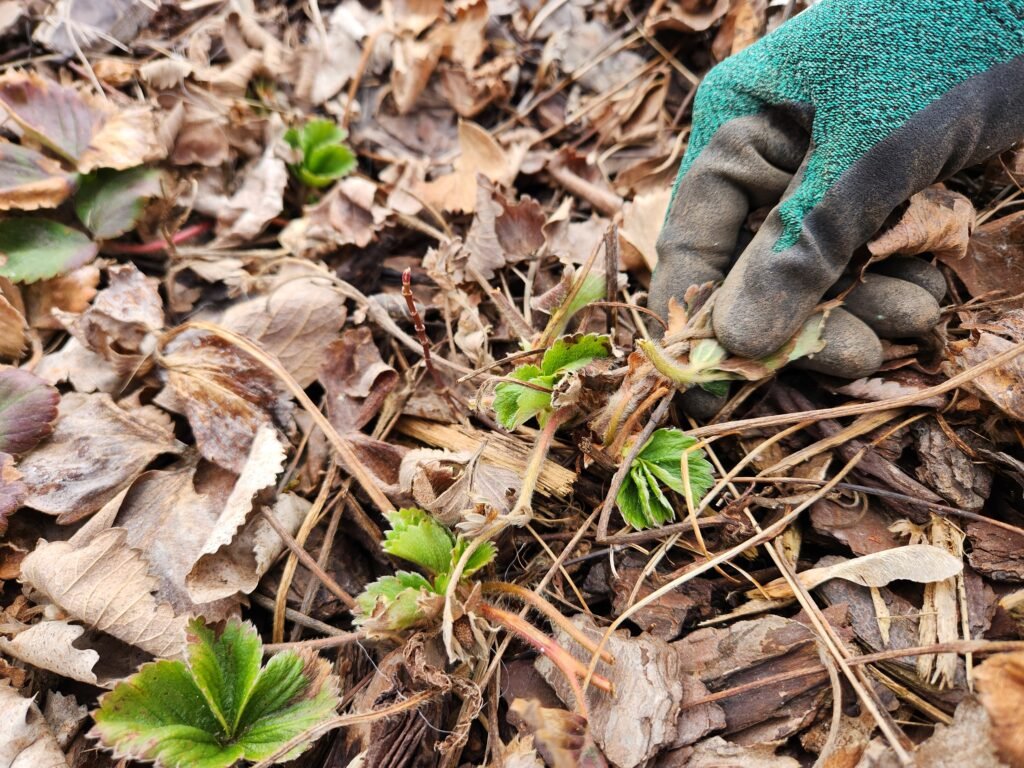
- Remove dead leaves and debris: Clear out any brown or mushy leaves, old mulch, or weeds that may have taken over during winter. This helps reduce pests and diseases. Spring can be a bad time for pests and disease, find out about those early garden issues and how to fix them here.
- Cut back old growth: Trim away any dead or damaged leaves from the strawberry crowns, but avoid cutting into the crown itself — that’s the heart of the plant.
2. Thin Out Runners (if needed)
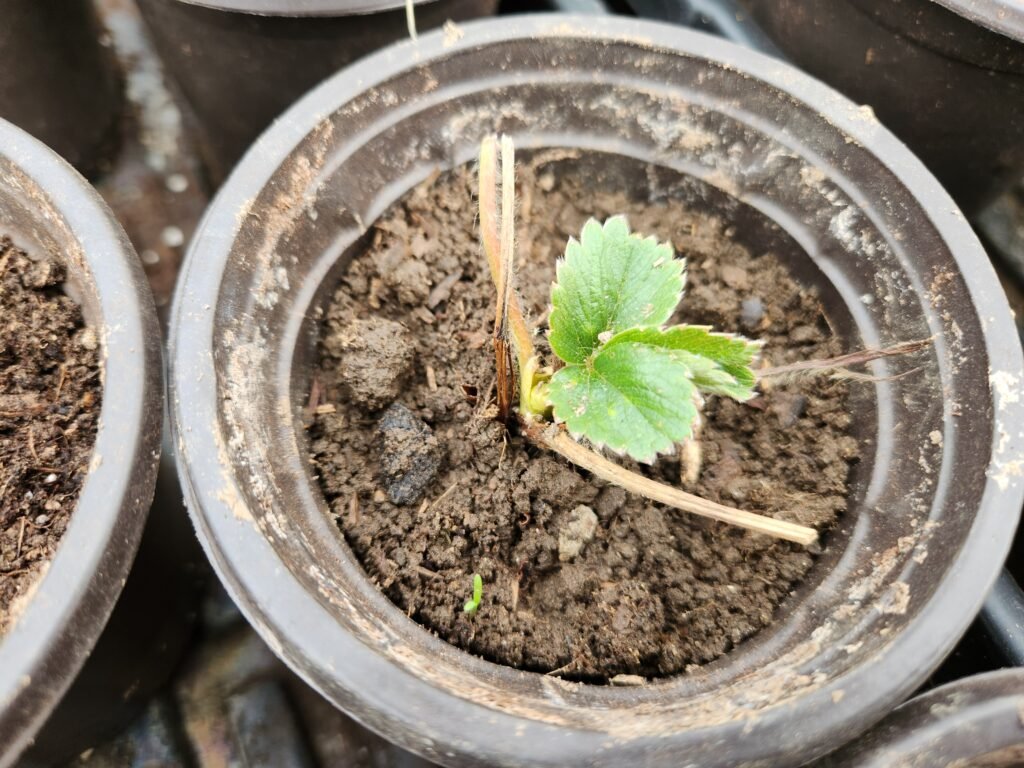
- If your bed is crowded, gently dig up and remove excess runners (those long stems that create baby plants). Leave about 6–8 inches between each plant to allow for good airflow and growth.
- Replant the runners in pots or another spot if you’d like to keep them or share with others.
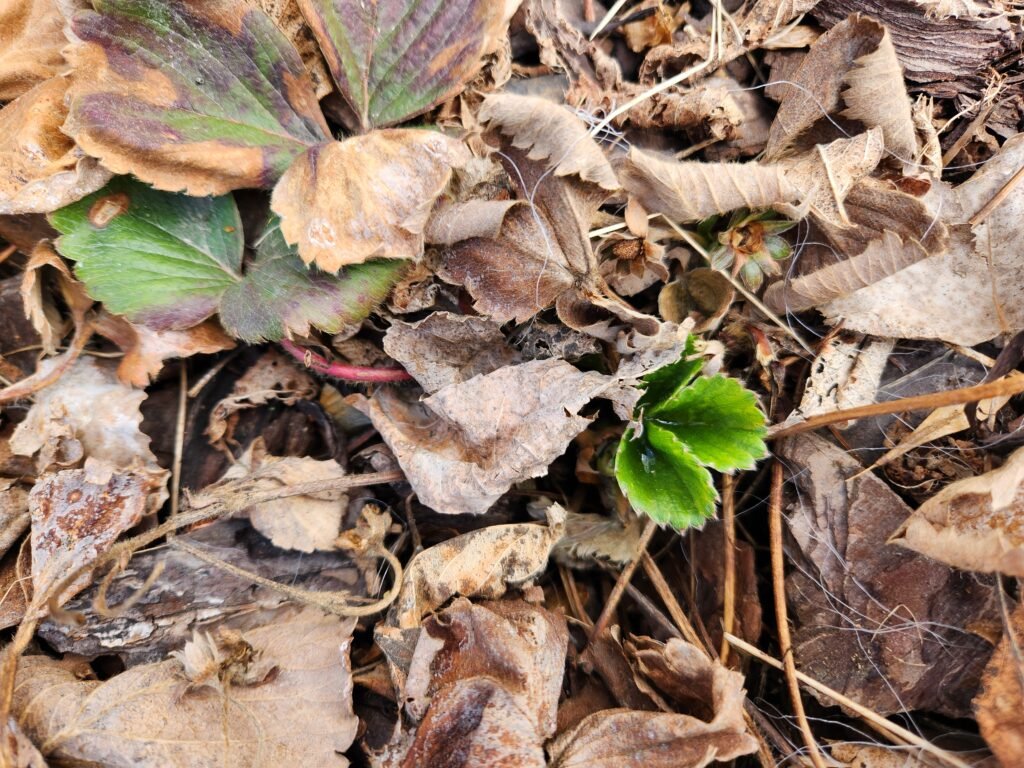
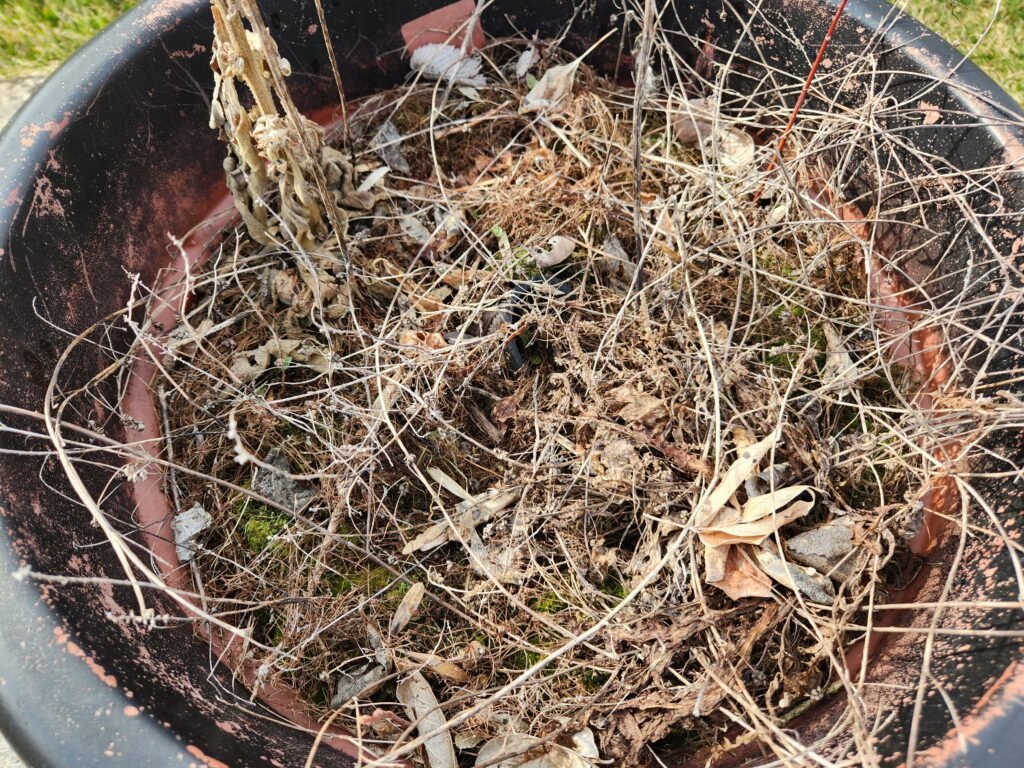
3. Check the Health of the Plants
- Remove any plants that are shriveled, blackened, or look diseased, (see image below to see old, shriveled leaves from previous season).
- Keep only healthy, vigorous-looking crowns.
4. Fertilize
- Apply a balanced organic 20 20 20 fertilizer or compost around the base of the plants. Fertilizer is better because the nutrients are guaranteed.
- Avoid direct contact with the crown — just sprinkle it into the soil and gently work it in.
5. Mulch
- Apply a layer of straw, shredded leaves, or woodchips after the soil warms up to help retain moisture and keep berries clean.
- If you’re in a colder climate and it’s still frosty at night, you can wait a week or two before mulching.
- If mulching sounds daunting to you, not to worry, learn all about mulching here.
6. Water Well
- Once things are cleaned up and mulched, give the bed a deep watering. Strawberries like consistently moist (not soggy) soil, especially as they start to flower.
Read All Our Strawberry Related Articles Here:
- Raspberries vs Strawberries
- How to Prepare my Strawberry Bed for Winter
- How to Protect my Strawberry Bed from Pests
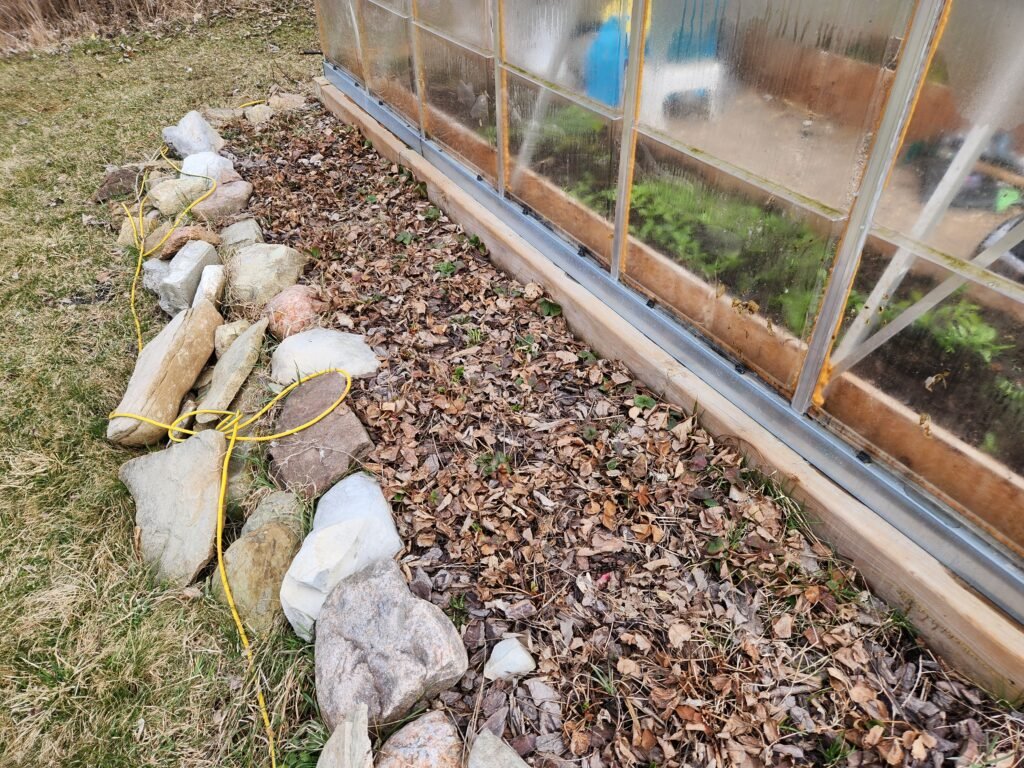
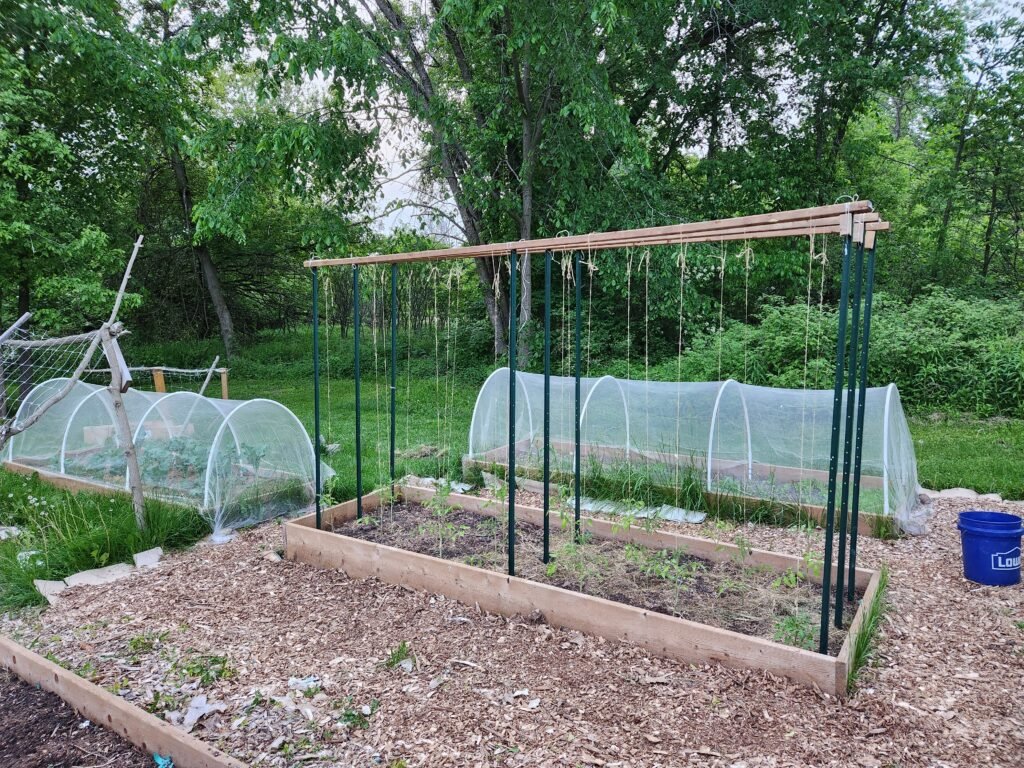
How To Prep Empty Garden Beds for Spring
Some people use the fall to prepare their garden beds and that’s a great idea that I recommend. However, life can also get in the way of your best intentions. Not to worry, it’s just as fine to prepare the bed in the spring.
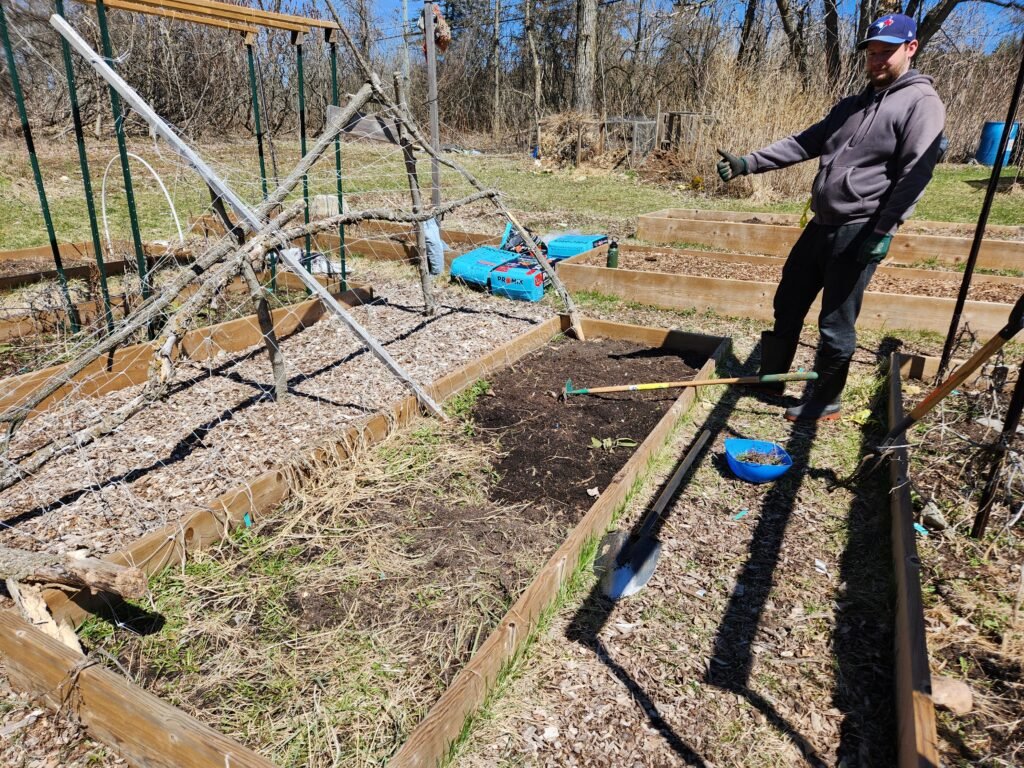
1. Remove Old Plants and Weeds
Remove all old plants and any other debris or weeds. Some gardeners recommend leaving the plants in the soil overwinter to help put back nutrients into the soil as organic compost. The concept it sound. However, I don’t like it. This concept is something we’ve tried for a few years now and in raised garden beds and it’s just not working for us. This will be our last season of leaving the old plants in the bed.
2. Till The Beds
Again, some people will come for me by uttering these words. But this is something we’ve decided on after our experiences gardening. By tilling the soil in the beds we’re fluffing it up, adding more compost and manure to rebuild the soil for another season.
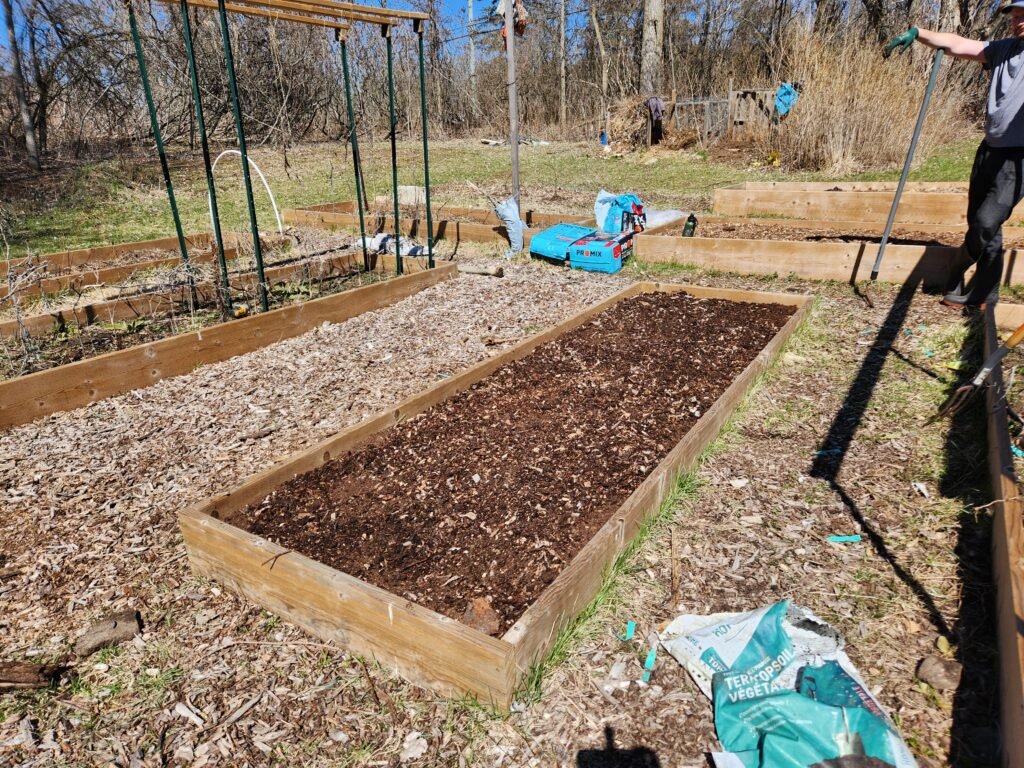
3. Refill with Soil (manure/compost combination)
After all plant debris and roots has been removed and the soil has been turned over. Add compost, manure and soil in large quantities to a wheelbarrow and mix the contents until well combined. Dump the combination into the bed and use a rake or hoe to spread into the new soil into the old until well combined again. Repeat step until garden bed is filled to your liking.
4. Add Mulch
This is our new and preferred step. Adding our mulch to the top of the freshly cleared off garden bed to keep the soil contained and warm until the first seeds are planted outside. We have a whole article dedicated to mulching and all the FAQs on it here.
How To Prep Perennial Plant Containers for Spring
1. Clean Up the Top Growth
- Trim back dead stems/leaves from last season’s growth.
- Use clean garden pruners and cut back to new green growth or the base if the plant dies back completely in winter (depends on the type of perennial).
- Gently pull off dead leaves or debris from the soil surface.
2. Check Plant Health
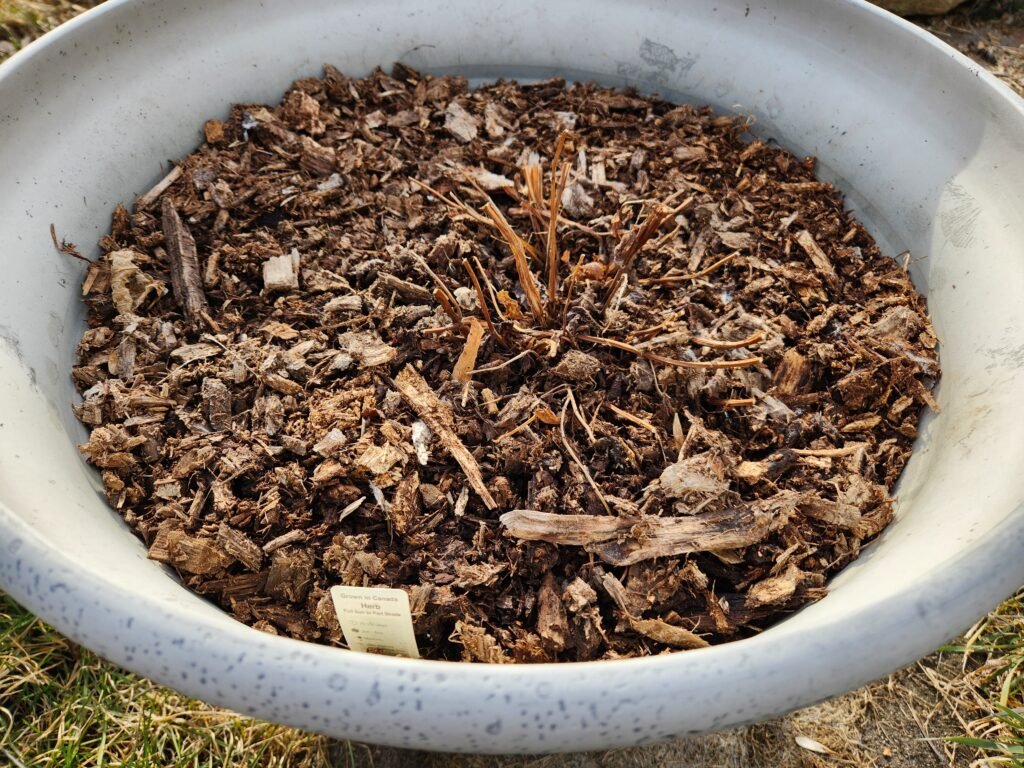
- Look for signs of life: new buds, green shoots, or growth at the base.
- If a plant looks completely dead, give it a few more weeks — some perennials are slow to wake up (ex. lemon balm).
- Remove anything that’s clearly rotted or mushy.
3. Refresh the Soil
- Gently loosen the top 1–2 inches of soil without disturbing the roots.
- Mix in some compost or a slow-release organic fertilizer.
- If the soil looks really depleted, consider removing a third and replacing it with fresh potting mix.
4. Divide If Necessary
- If a plant looks overcrowded or root-bound (roots circling inside the container), now is a good time to divide and replant. Only do this if you’re comfortable with a little root surgery!
5. Top with Fresh Mulch
- Add a thin layer of compost or mulch to help retain moisture and suppress weeds.
- Keep it away from the crown of the plants to avoid rot.
6. Water
- Give the container a deep drink, especially if it’s been dry. You want the water to reach all the roots and rehydrate the soil.
- Going forward, water when the top inch of soil feels dry. To test this, place a finger into the soil and if it doesn’t stick to your skin at one inch down, it’s definitely time to water.
7. Placement
- Make sure the container is where it’ll get the right light for the plants in it — you can shift it around now before it gets heavy with growth.
Soil Prep: Feeding the Soil, Not Just the Plants
Before you get too excited about planting and prepping your garden beds, let’s talk dirt. Healthy soil is the foundation of a thriving garden. Here’s how to give your soil the TLC it deserves:
Test Your Soil
Understanding your soil type—be it sandy, silty, or clay—is crucial. Each type has its quirks, but all can be improved with the right amendments. Usually simply by adding organic matter. A good test is to add water to your soil and make it into a ball then let it sit out in the sun and see what happens. Clay soil will form a hard ball, sandy soil will break apart upon touch and silty will feel sort of silky. You can view a quick opinion piece article by The Guardian on that if you want to learn more: clay, sandy, silky.
Add Organic Matter
Incorporate compost, aged manure, or worm castings to boost nutrient content and improve soil structure. This not only feeds your plants but also supports beneficial soil organisms.
Consider Sheet Mulching
Using materials like cardboard can suppress weeds and add organic matter as it breaks down – read a whole article about that here: Southern Living. We’ve used sheet mulching with cardboard for the space between our garden beds where we laid down mulch. It works great, even if you must continue to maintain the mulch year over year. Remember, healthy soil leads to healthy plants. Investing time in soil preparation now pays off with bountiful harvests later.
Fertilizing Your Garden Beds for Spring
Look, I get it—sunlight, water, and a whole lot of talking to your plants should be enough. But if your garden could talk back, it’d probably say: “Thanks for the love, but I’m starving.” Just like us after a long winter, your soil’s nutrients are running on fumes by spring. All those veggies, flowers, and perennials you want to grow? They’re hungry. And if you don’t feed them, they’ll limp along looking sad, stringy, and won’t be very productive.
Why It Matters
Fertilizing gives your plants the macro and micronutrients they need to thrive—think of it as their morning smoothie packed with protein, greens, and a little something extra for flowering and fruiting. Even if you’ve added compost (which you should), that doesn’t always cover all the bases. Compost is a great soil conditioner, but sometimes it’s more filler than feast. Fertilizer picks up where compost leaves off, especially for heavy feeders like tomatoes, corn, and strawberries.
What Fertilizer to Use
You don’t need a chemistry degree. Stick to balanced organic fertilizers in early spring—something like a balanced 20 20 20 fertilizer mix works just fine for general garden beds. Want to get fancy? Tailor the feed:
- High nitrogen for leafy greens.
- More phosphorus for flowers and fruit.
- Potassium for strong roots and stress resistance.
I’ve looked at fancy ones, like more phosphorus for the flower blooms and honestly the selection isn’t great. I would recommend sticking with a normal balanced fertilizer. Granular, liquid, slow-release—it doesn’t matter. Just read the label and don’t overdo it. More isn’t better; it’s just more, and it’ll burn your plants faster than a July sun with no water or mulch.
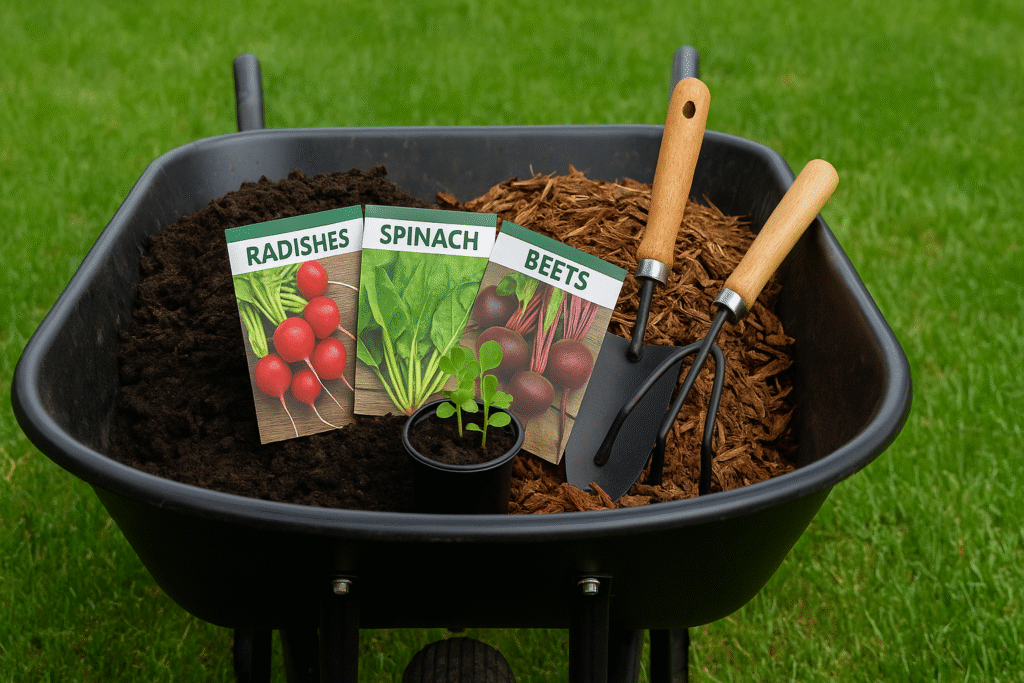
Early Spring Crops For Your Prepped Garden Beds
Let’s be honest—after a long, cold winter, we’re all itching to see something green and edible sprouting in our gardens. If you’re like me, patience isn’t exactly a virtue when it comes to fresh produce. So, here are some early spring crops that satisfy that need for speed:
If you’re wondering when different crops should be planted throughout the season, our Zone 5b planting schedule walks through what to plant and focus on from early spring through fall.
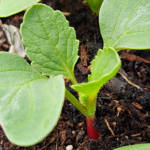
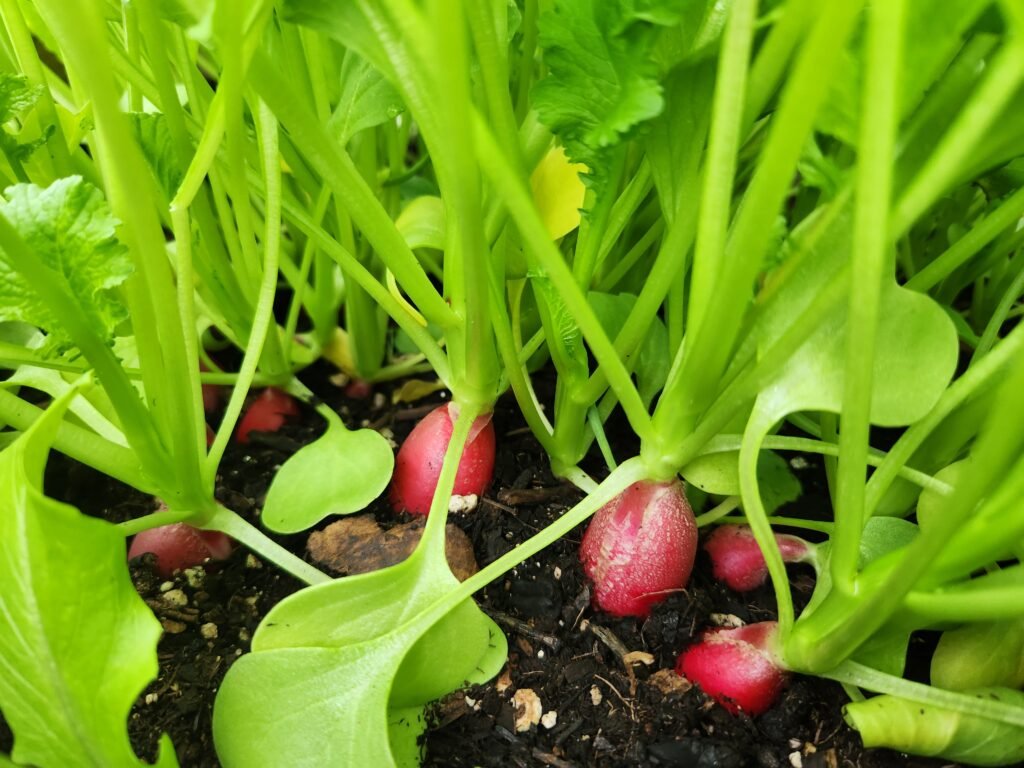
Radishes: The Overachievers
Radishes are the sprinters of the vegetable world. Plant them directly into the soil as soon as it can be worked, and you’ll be harvesting crisp, peppery roots in just 25 to 40 days. We have a whole growing guide for radishes here and then a seed-saving guide for radishes too! Not to mention, radish seed pods are a delicious snack!
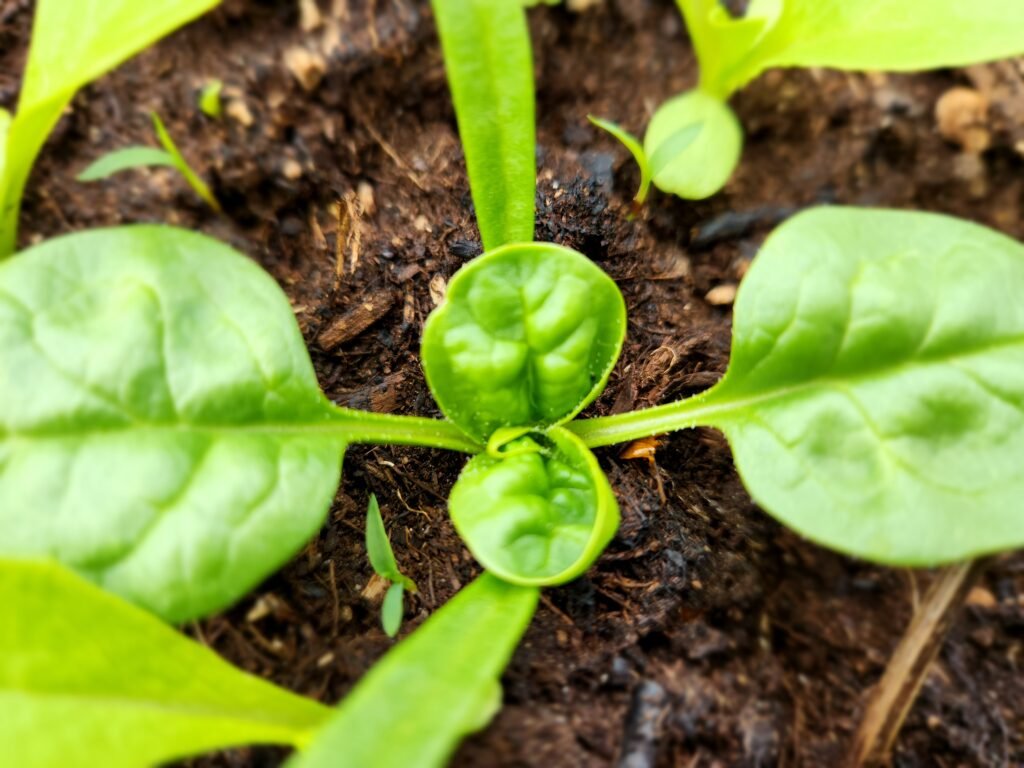
Spinach: The Cold-Weather Champ
Spinach thrives in cool temperatures. Sow the seeds 5 to 7 weeks before your last frost date, and you’ll have tender leaves ready for salads and sautés in about 45 to 60 days. Learn everything about growing spinach plants from seed here, and if you want to save those spinach seeds yourself this summer, we also have a comprehensive guide on that too.
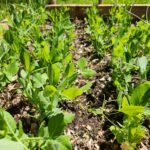
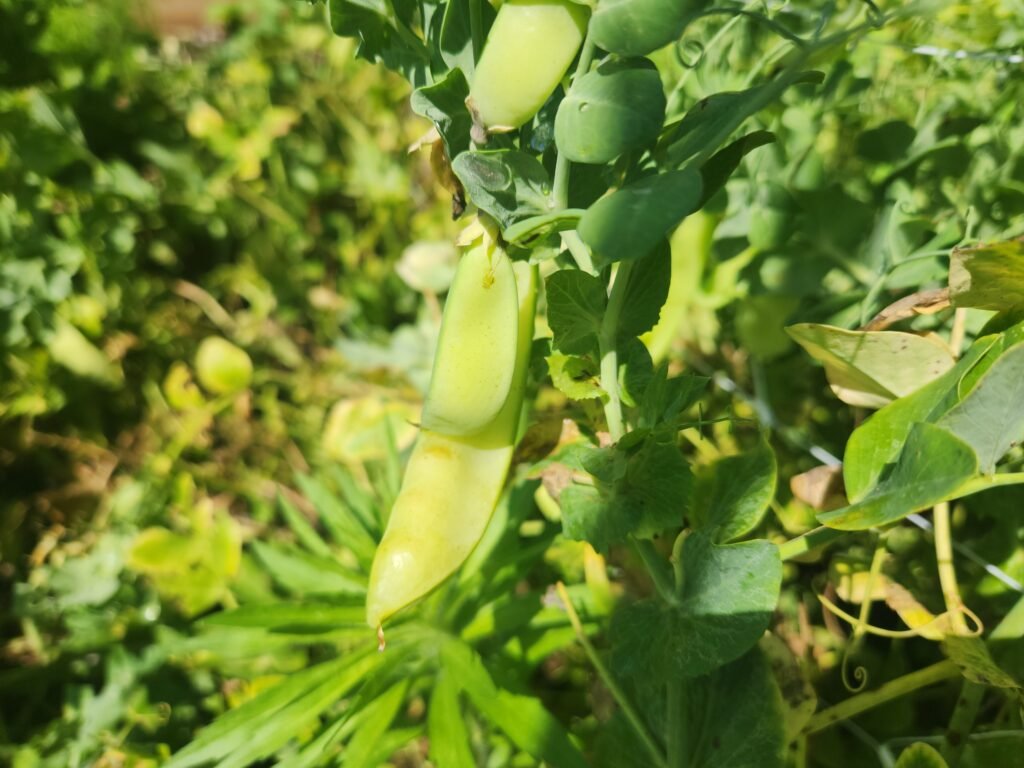
Peas: The Early Risers
Peas are eager to get going. Plant them as soon as the soil is workable, and they’ll reward you with sweet pods in 55 to 85 days. Find our complete growing guide on peas here and our detailed pea seed saving guide here too!
These crops not only provide early harvests but also help you shake off the winter blues and get back into the gardening groove. Depending on your gardening zone be weary, these crops really don’t like the heat and sometimes in our Zone 5B we have short springs and these crops don’t always perform their best. Also be very aware of pests: bunnies, chipmucks, squirrels, birds, etc, they love these tender plants when there’s little growth for them in the wild this time of year. Be sure to have a fence around your gardens to protect from pests!
In Conclusion
I hope you enjoyed this article on how to prep your garden beds for spring. If you did make sure you check out the other growing guides, seed saving guides and our recipes. We are growing our website with more articles all the time, and we invite you to grow with us. If you have any questions about spring garden bed preparing or would like to share some of your knowledge with us please leave a comment below. Happy Gardening!