Apple cider vinegar is a fun – yet sometimes difficult recipe to master. When you make it for the first time it feels almost magical watching the process work. Instead of throwing away apple peels and cores, you can turn them into a naturally fermented vinegar that can be used in cooking, homemade dressings, cleaning, natural remedies, and more.
The best part is that homemade apple cider vinegar is simple to make – just make sure you actually read through and follow the steps. All you need are apples, water, sugar, and a little patience.
We usually make apple cider vinegar during apple season when the kitchen is overflowing with peels from applesauce, apple crumble, and other easy apple recipes. It is a great way to reduce food waste while creating something useful at the same time.
In this guide, we’ll show you exactly how to make apple cider vinegar from scratch, how long it takes to ferment, common mistakes to avoid, and how to know when it is ready.
This post may contain affiliate links. If you use these links to buy something we may earn a commission. Thanks.
Quick Answer: How to Make Apple Cider Vinegar
To make apple cider vinegar, combine apple scraps, sugar, and water in a clean glass jar and allow the mixture to ferment for several weeks. The apples first ferment into alcohol, then beneficial bacteria turn the alcohol into vinegar over time.
What Is Apple Cider Vinegar?
Apple cider vinegar is a fermented vinegar made from apples. During fermentation, natural yeasts convert sugars into alcohol. Then beneficial bacteria convert the alcohol into acetic acid, which gives vinegar its sour smell and taste.
Homemade apple cider vinegar is often made using:
- apple peels
- apple cores
- bruised apples
- extra apples from baking or preserving
It is a good beginner-friendly fermentation project because it requires very little equipment and if you mess up, you can try again with your next batch of apple peels or cores.
Why Make Homemade Apple Cider Vinegar?
There are several reasons we like making homemade apple cider vinegar any time of the year:
- helps reduce food waste
- uses leftover apple scraps
- inexpensive to make
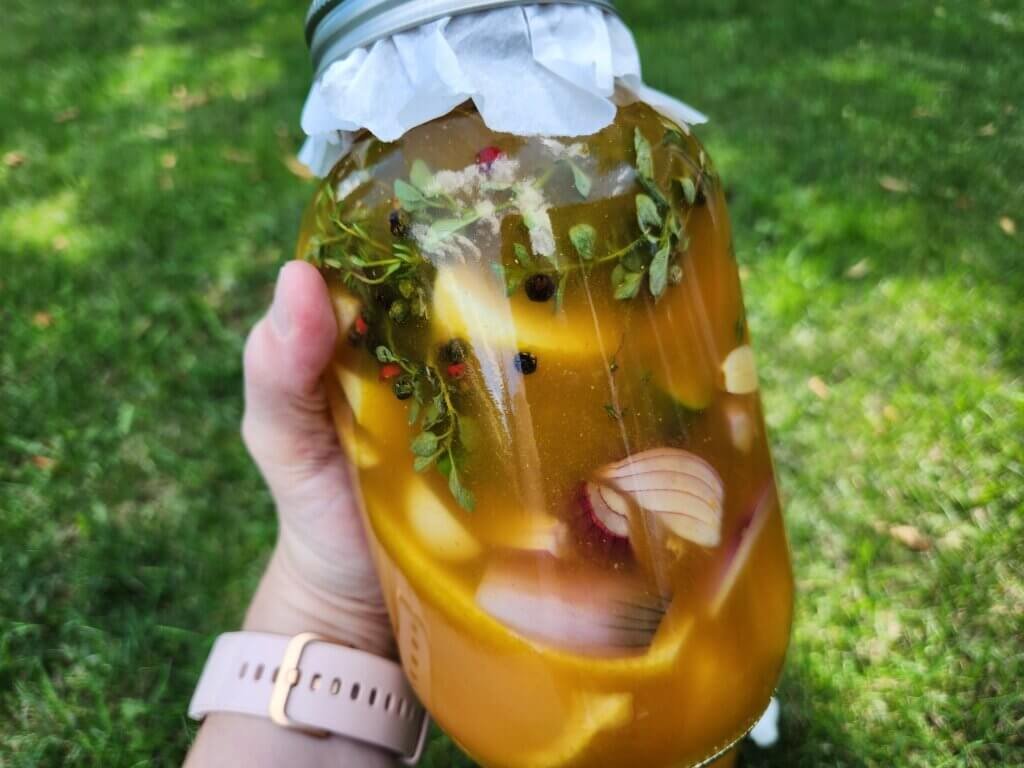
- use it for herbal remedies like Fire Cider or Amish Advil.
- simple beginner fermentation project
- useful for cooking and homemade cleaners
- great homestead skill to learn
Homemade apple cider vinegar also feels especially rewarding during apple season when fresh apples are everywhere.
What You Need To Make Apple Cider Vinegar
My favourite part about homemade apple cider vinegar is truly how easy it is to get started. You really don’t need much – it’s a 5 minute set up.
Ingredients
- apple scraps or chopped apples
- filtered water
- sugar
Supplies
- large glass mason jar
- spoon
- cheesecloth, coffee filter, or breathable cloth
- rubber band
- fermentation weight
Avoid using metal containers for long-term fermentation because vinegar is acidic and can react with certain metals.
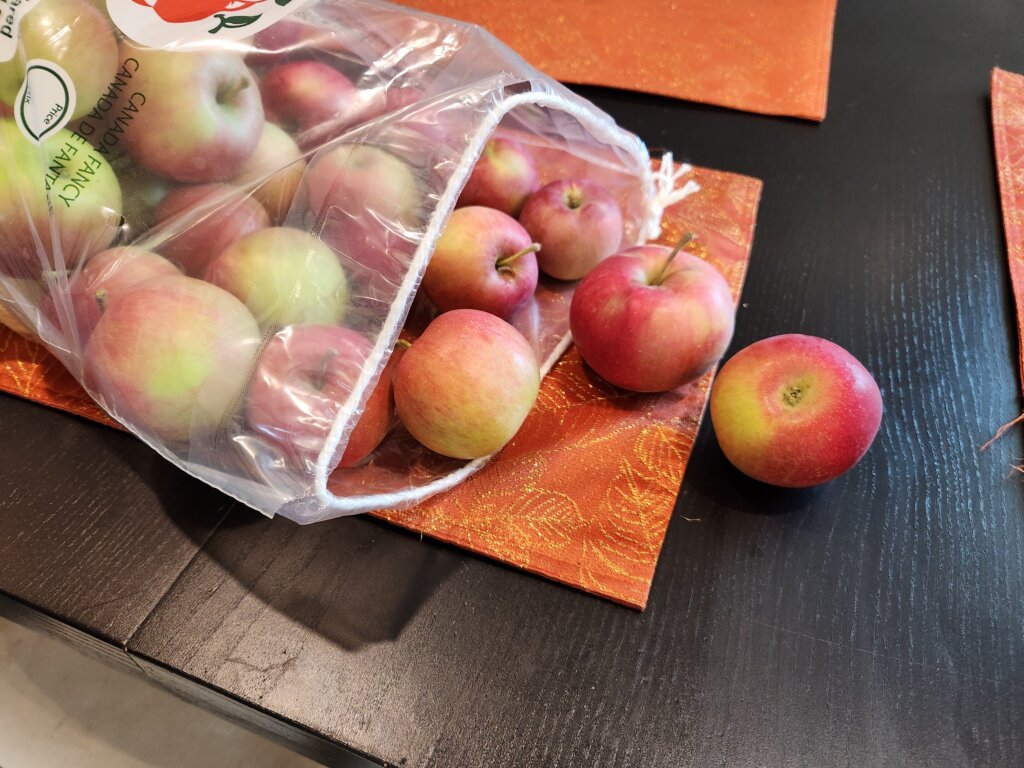
Best Apples For Homemade Apple Cider Vinegar
Almost any apple can work for homemade apple cider vinegar.
Sweeter apples often ferment a little faster because they contain more natural sugars, but mixing different apple varieties usually creates the best flavor. You can even combine tart and sweet apples together.
Good choices include:
- Gala
- Honeycrisp
- Fuji
- McIntosh
- Cortland
For me personally, I just use whatever we have. My goal is to have it for herbal remedies and for it’s overall health benefits.
How To Make Apple Cider Vinegar
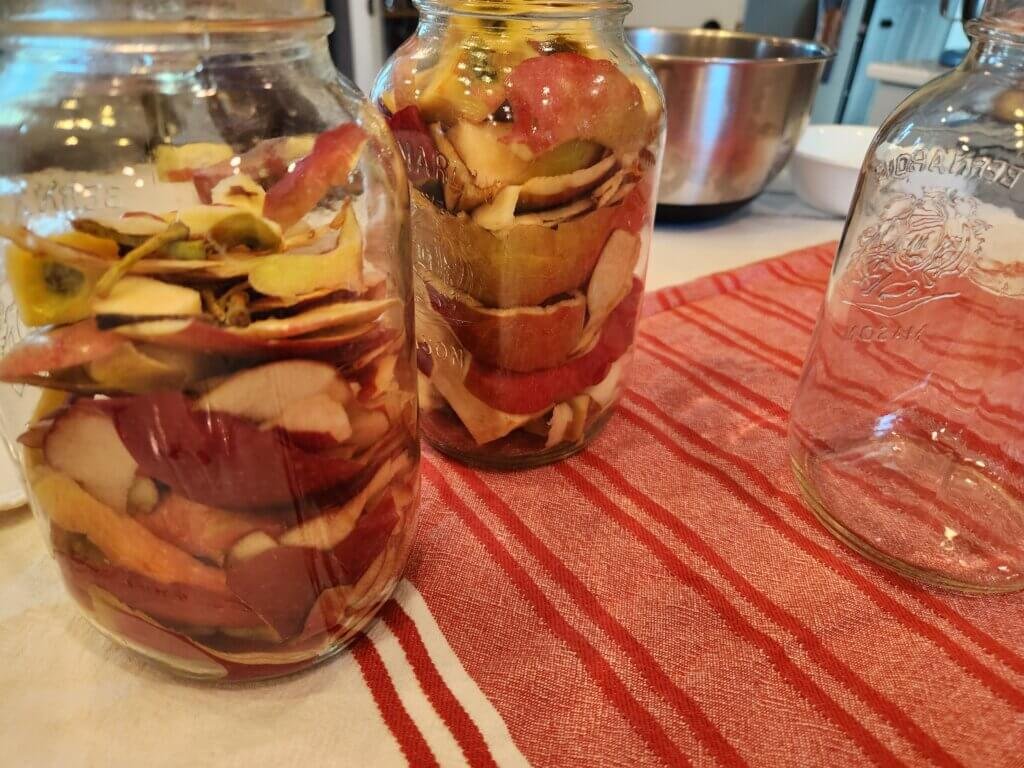
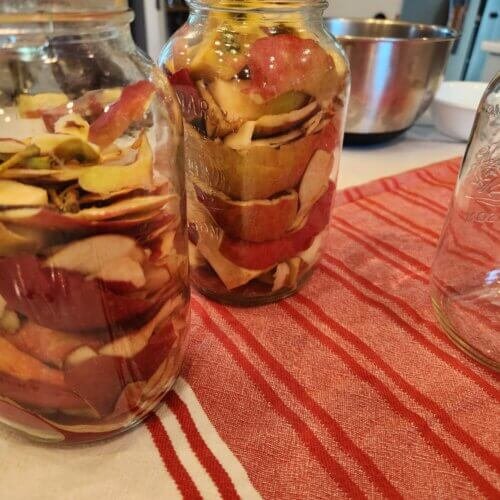
Step 1: Fill A Jar With Apple Scraps
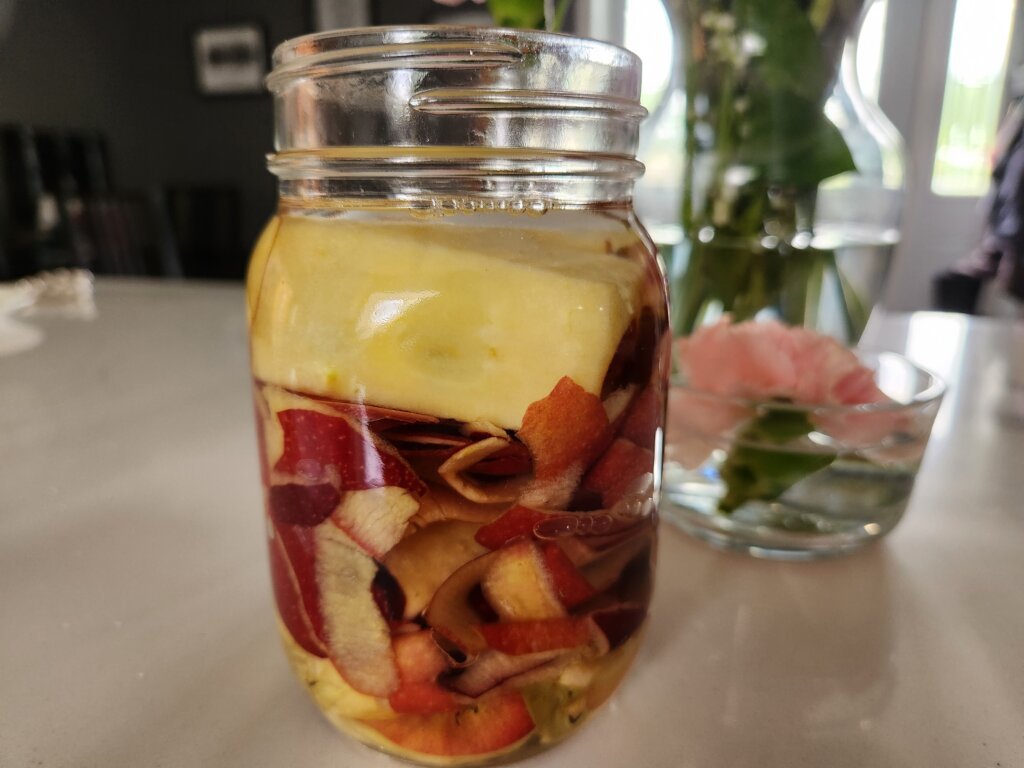
Place apple peels, cores, or chopped apples into a clean glass jar until it is about ¾ full.
Do not pack the apples too tightly. The liquid needs room to circulate around the fruit.
Step 2: Add Sugar Water
Mix:
- 1 tablespoon sugar per 1 cup of water (pint sized mason jar).
Pour the sugar water over the apples until they are completely submerged. The sugar helps feed the fermentation process in the early stages.
Depending on how big your apple scraps are, you might need more liquid, don’t be afraid to add a bit more water to ensure the apples are fully submerged.
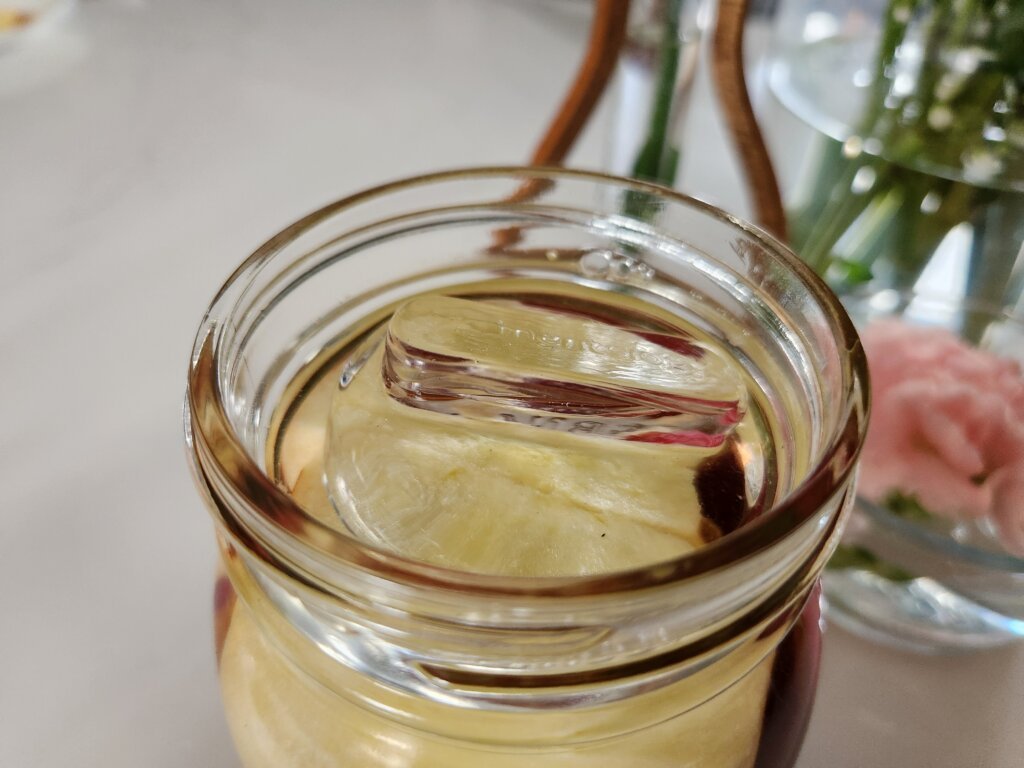
Step 3: Keep The Apples Submerged
This is VERY important.
Any apple pieces exposed to air can grow mold. Be sure to keep them submerged using:
- a fermentation weight
- a clean cabbage leaf
The other important thing is putting the larger core pieces on top to help keep the scraps and peels in the water.
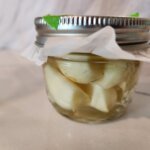
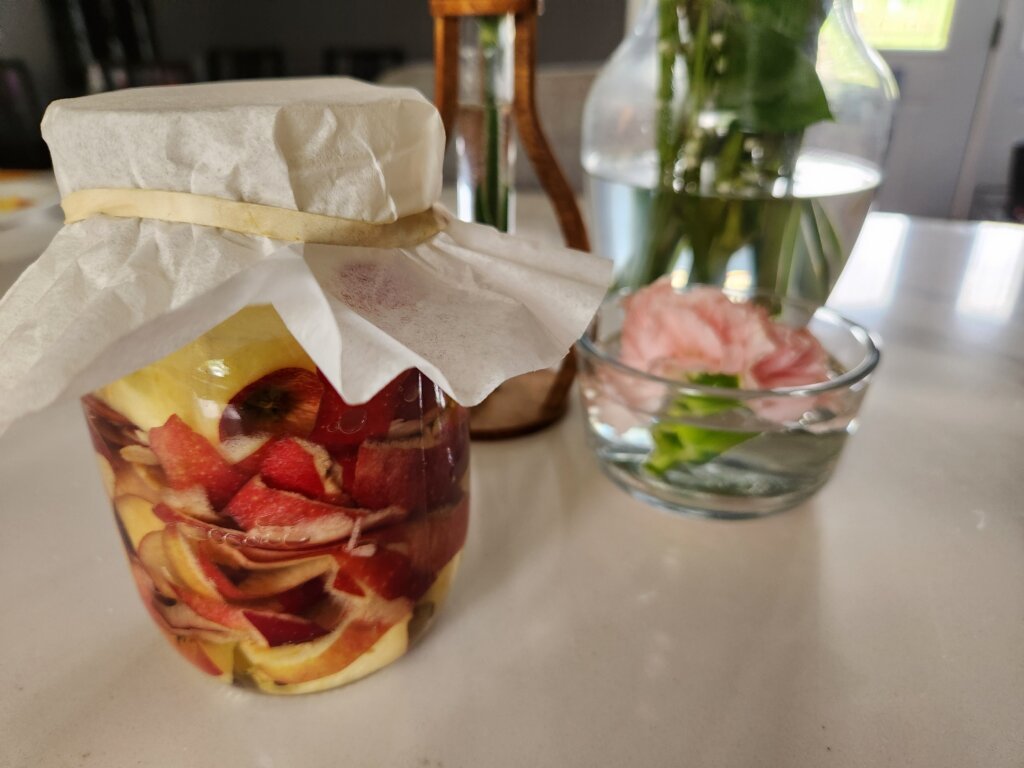
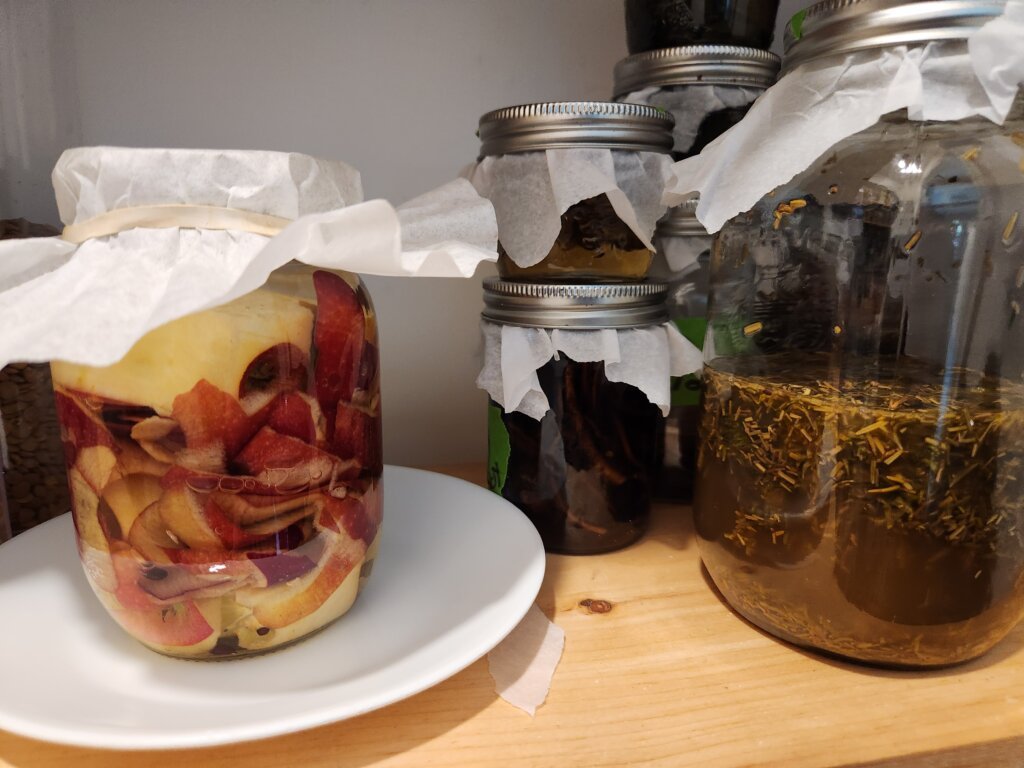
Step 4: Cover The Jar
Cover the jar with a breathable cloth (I use a coffee filter) and secure it with a rubber band. This allows airflow while helping keep fruit flies out.
Do NOT seal the jar with a tight lid during active fermentation.
Step 5: Let It Ferment
Place the jar somewhere, dark, at room temperature and away from direct sunlight. Stir once daily for the first 1 to 2 weeks
After a few days, you will notice some things that are completely normal: bubbles, a slightly sweet smell, and cloudy liquid.
Step 6: Strain The Apples
After 2 weeks, strain out the apple scraps and return the liquid to the jar. At this point, the liquid will continue fermenting into vinegar.
Step 7: Continue Fermenting
Allow the liquid to ferment for another 2 weeks.
As it ferments:
- the smell becomes more sour
- the sweetness fades
- the vinegar flavor develops
Taste it occasionally until it reaches a flavor you like.
Note: If it still has a noticeable alcoholic flavor or smells like hard cider, the second fermentation isn’t complete yet. Waiting another week or two will usually result in a more balanced vinegar
When The Second Fermentation Is Done
Once your apple cider vinegar has reached the flavour you like, strain it again (just incase there are any apple materials remaining) and transfer it to clean bottles or jars with a lid.
We store ours in a cool, dark pantry. Although the vinegar may continue to mature slowly over time, the fermentation process has largely finished, and the vinegar will keep well without refrigeration. You may notice a new mother forming or some sediment developing, which is completely normal.
If you want to store it in the refrigerator that’s fine too.
How Long Does Homemade Apple Cider Vinegar Take?
Homemade apple cider vinegar usually takes 4 to 6 weeks in total. Things like temperature can affect the fermentation speed.
Warmer rooms often ferment faster than cooler rooms. Just like sourdough.
What Is “The Mother” In Apple Cider Vinegar?
During fermentation, you may notice a cloudy blob or film forming in the vinegar.
This is called “the mother.”
It is a collection of beneficial bacteria created during fermentation and is completely normal – frankly, this is what you truly want in your ACV.
Common Apple Cider Vinegar Mistakes
Using Chlorinated Water
Chlorine can interfere with fermentation. Filtered water is usually best to use.
Letting Apples Float Above The Liquid
Floating apples are one of the most common causes of mold, as I mentioned above.
Always keep the apples submerged – this is why I use a fermentation weight now.
I’ve learned that lesson once or twice…
Sealing The Jar Too Early
The fermentation produces gases, it’s imperative that the jar has airflow during the process to properly ferment.
Confusing Kahm Yeast With Mold
A thin white film can sometimes form on top during fermentation.
This is often kahm yeast and is usually harmless.
Fuzzy mold that is blue, green, black, or pink is NOT normal and should be discarded.
If you’re truly concerned – throw it out and try again! It’s just apple scraps, water and sugar.
How To Store Homemade Apple Cider Vinegar
Once the vinegar tastes ready to you. Strain it again if needed to ensure there is no apple residue. Transfer the ACV to clean jars, you can use mason jar, or mason jars with snap lid
Homemade apple cider vinegar can last a very long time when stored properly. Many people keep it in the pantry, a cool cupboard or the refrigerator. It’s truly up to you.
Ways To Use Homemade Apple Cider Vinegar
You have your homemade apple cider vinegar – hooray! Now what?
Homemade apple cider vinegar can be used in so many things:
- natural home remedies:
- Fire Cider
- Amish Advil
- non-alcoholic tinctures
- salad dressings
- marinades
- homemade cleaning solutions
- pickling recipes
- baking
We especially love making it during apple season because it helps us use every part of the apples instead of wasting the scraps.
If your kitchen is overflowing with apples in the fall, you can also use them to make homemade applesauce, apple chips, apple crumble, and apple fritter bread.
Frequently Asked Questions About ACV
Not really. Sugar helps start fermentation, so it is generally recommended. Most of the sugar gets consumed during the fermentation process.
Yes. Whole chopped apples work well if you do not have enough scraps available.
Fermentation naturally creates strong smells. Sour, yeasty, or slightly funky smells are normal. Fuzzy colorful mold is not.
When made properly and free from mold contamination, homemade apple cider vinegar is generally considered safe for use.
Other Preserving Articles
- How to Make Fire Cider Recipe: Immune-Boosting Tonic for Cold and Flu Season
- How To Make Fermented Cayenne Pepper Hot Sauce At Home
- Garlic Tinctures 101: How to Make Them, Benefits, and Safe Dosage
- How to Harvest Red Clover Flower (and Dry It Properly at Home)
Final Thoughts
Making homemade apple cider vinegar is one of the easiest ways to use leftover apples during the fall season. It is simple, practical, and a great beginner-friendly fermentation project for anyone interested in homesteading or reducing kitchen waste.
Once you start saving apple scraps for vinegar, it becomes hard to throw them away again.
If you’re on a gardening preserving journey at home, you can explore all of our hands-on advice in our Garden Based Preserving, based on what actually works here on our homestead.
We are growing our website with more articles all the time, and we invite you to grow with us. If you have any questions about apple cider vinegar or would like to share some of your knowledge with us please leave a comment below. Happy Gardening!
Homemade Apple Cider Vinegar from Apple Scraps
Equipment
- 1 Mason Jar
- 1 coffee filter or cheesecloth
- 1 rubber band
- 1 Fine Mesh Strainer
- 1 fermentation weight
Ingredients
- apple scraps or whole apples
- 1 cup filtered water
- 1 tbsp white sugar
Instructions
- Add apple scraps/whole apple pieces to a mason jar, filling it 3/4 of the way full. Leave space for the liquid to enter between the pieces.
- Mix 1 cup of water with the sugar until it dissolves. Add that to your jar. If you need more liquid, top up with water until apples are completely submerged.
- Add a fermentation weight to the top of your jar to ensure apples stay submerged.
- Cover the jar opening with a coffee filter and secure with a rubber band. Place in a cool, dark place.
- Check your apple cider vinegar daily. I switch out the fermentation weight every few days. Using a wooden spoon or silicone spatula, move the apples around.
- After 2 weeks, strain the apple scraps through a cheesecloth or coffee filter and a fine mesh strainer.
- Put the strained apple cider vinegar into a new clean jar, cover the same way with a coffee filter and rubber band. Let sit in a cool, dark location for another 2 weeks.
- During the 2 week wait, taste your ACV until it reaches the taste you desire.
- Once the second fermentation is completed, strain the liquid again and store in a new, clean jar with a lid. Place in a cool, dark location and use within a 6-9 months. You can also store it in the refrigerator if you'd prefer.