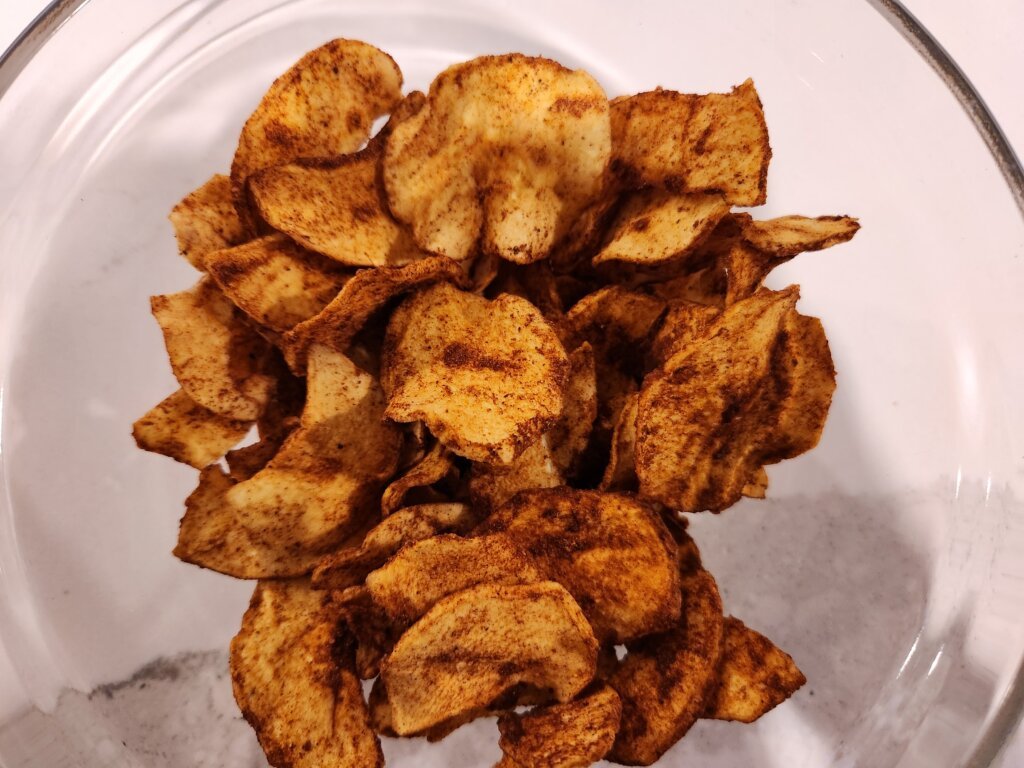
Apple season is the best. We have so many go-to things that we do with apples, and we’ve barely scratched the surface. But something that’s always an easy win with children is my dehydrator apple chips.
If you’ve read some of our other content, you know how much I love my dehydrator. It sits out the entire summer season between drying herbs (like dill and thyme) or making fruit leather.
These apple chips are an easy way to preserve your apple abundance using only pantry staples.
In this article, I’ll show you my recipe and share tips I’d recommend using for these dehydrator apple chips and if you still have an abundance of fresh apples, check out our complete guide on What to Do with Apples.
This post may contain affiliate links. If you use these links to buy something we may earn a commission. Thanks.
Quick Answer: How to Make Dehydrator Apple Chips
To make apple chips in a dehydrator, thinly slice apples, cover them in the spices, and dehydrate at 145°F until dry and crisp. Most apple chips take 6 to 12 hours depending on slice thickness, apple variety, and your dehydrator.
Why We Make Apple Chips
Don’t get me wrong, we love a crisp, fresh apple. But a nice sweetly-tart crunchy apple chip is a perfect thing to bring to work, eat as a car snack or even pack in a children’s lunch bag.
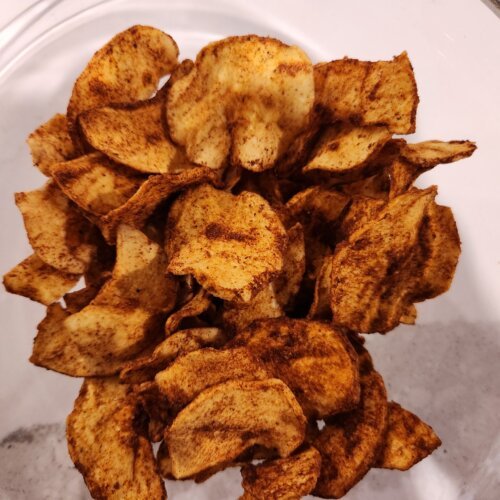
Usually our apple chips don’t last more than a few days – but if they did, they store well in a glass jar with a vacuum sealed lid so we could use them into the colder, winter months.
Outside of that – this recipe is just using things you already have in your pantry to spice it up. Plus this is a fun baking activity to do with children of all ages.
At two and four, my children can use the mandolin (with supervision) to slice the apples to the same size, add the spices to the bowl, mix everything up, and place them on a dehydrator tray. Then of course, take them out and place into our storage container.
The process only takes a few hours, so it could be done in the same day – or over two days. Simple, easy and tasty.
Ingredients
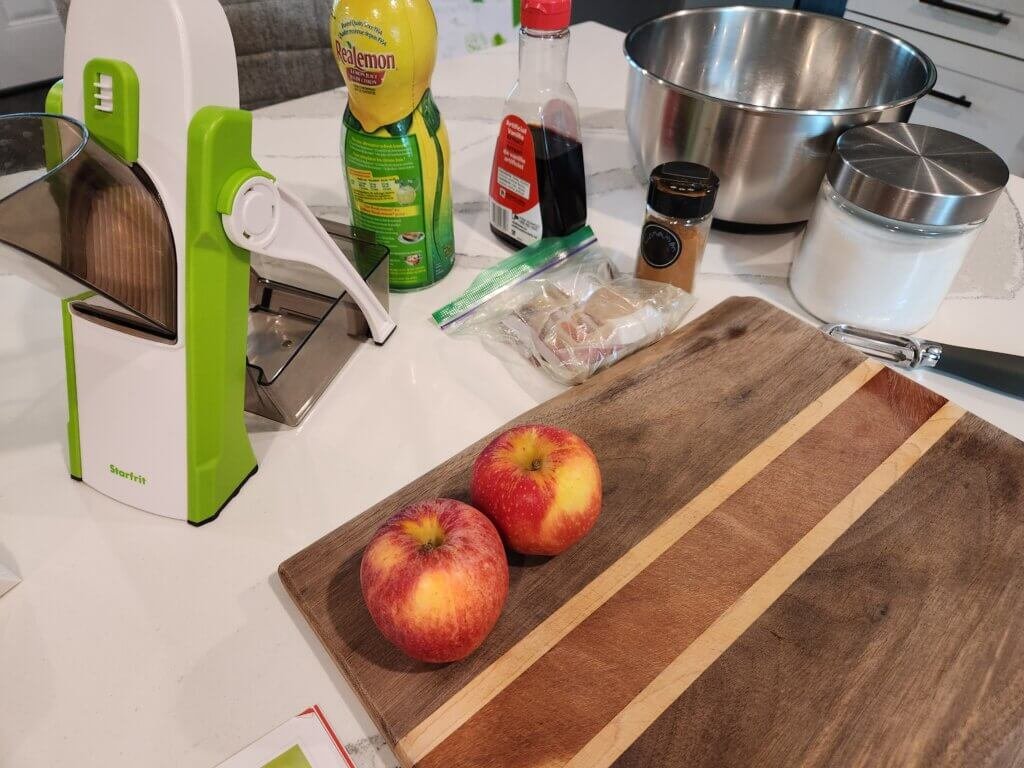
I love making recipes that use what I have in the pantry. Everyone should already have these basic pantry staples for this recipe.
- apples of your choice
- ground cinnamon
- lemon juice
- ground nutmeg
- vanilla extract
- white sugar
Equipment Needed
For this specific recipe, you will need more tools than just the dehydrator.
I usually try to keep my recipes simple enough that you should have all the tools already in your home. However, due to the nature of chips needing to be the same thickness for even dehydrating time. You will need:
- dehydrator
- sharp knife or mandolin
- cutting board
- large bowl
Best Apples for Apple Chips
People always ask me what are the best apples to use for this or that recipe. I know lots of people find that useful – me? I just like to use whatever it is I have on hand. Whatever is available at the orchard when we go picking or whatever organic bag we get from the store. But here’s some recommended flavours:
Sweet Apples
- Honeycrisp
- Gala
- Fuji
Tart Apples
- Cortland
- McIntosh
- Granny Smith
How to Make Apple Chips in a Dehydrator
Step 1: Wash and Slice the Apples
Wash apples well. Then peal the skin and if they are organic, use them to make your own Apple Cider Vinegar.
Once pealed, we cut our apples in half so that we can take the core out. We don’t own an apple corer and I have no interest in buying one.
With your apple halves, place them in your mandolin and slice at your desired thickness.
Thinner slices give your crisper apple chips and thicker slickes will give you chewier chips.
Step 2: Add All Ingredients Into The Bowl
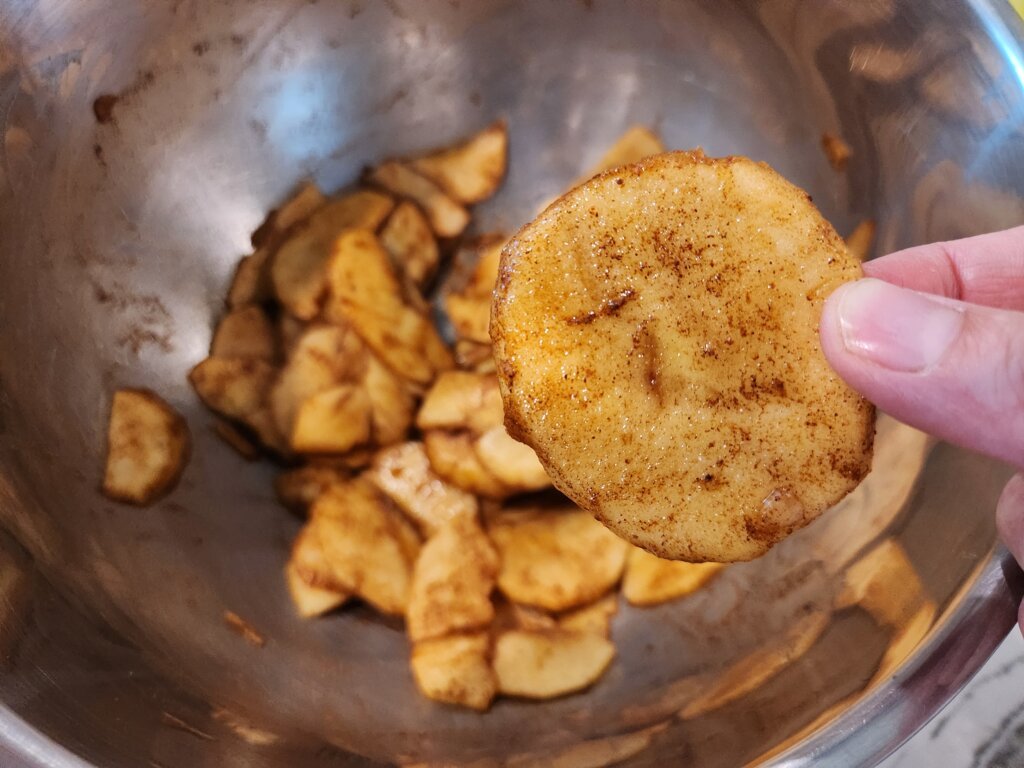
Now add your apple slices into the bowl and add your ingredients (sugar, lemon juice, cinnamon, nutmeg, vanilla extract). Mix the apple slices well so they are all evenly coated in the delicious spices.
Step 3: Add to Dehydrator
The next step is to add them to the dehydrator. Take one apple slice out at a time and lay out over the dehydrator tray so no slices overlap. This will affect the quality of your chip.
Step 4: Dehydrate Until Dry
Once your trays are full and the bowl is empty, turn on your dehydrator to 145°F and run it for 6–12 hours.
I would personally do it at 6 hours to start, then check them when it finishes and see if that is dehydrated enough for your liking. Remember:
- Thicker slices = more time they need to dehydrate and will be chewier.
- Thinner slices = crisp up faster and will be more brittle.
Step 5: Cool Before Storing
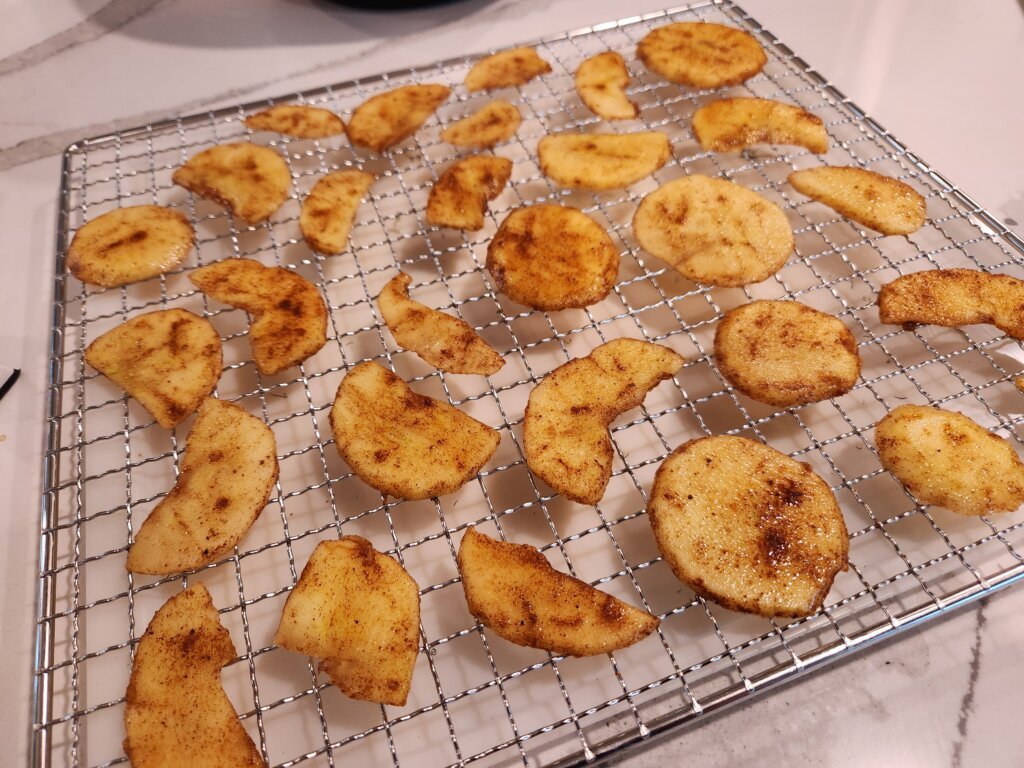
Once your apple chips are to your liking, leave them to cool on the racks before storing.
Again, if you’re looking for crispier chips, take the dehydrator trays out and lay the apple chips on the trays on your counter to cool.
How Do You Know When Apple Chips Are Done?
Even though people prefer different levels of dryness for their apple chips, there’s a few key things that will remain the same no matter what thickness and variety you use.
- they are dry to the touch
- no visible moisture – no lemon juice or apple juice should remain
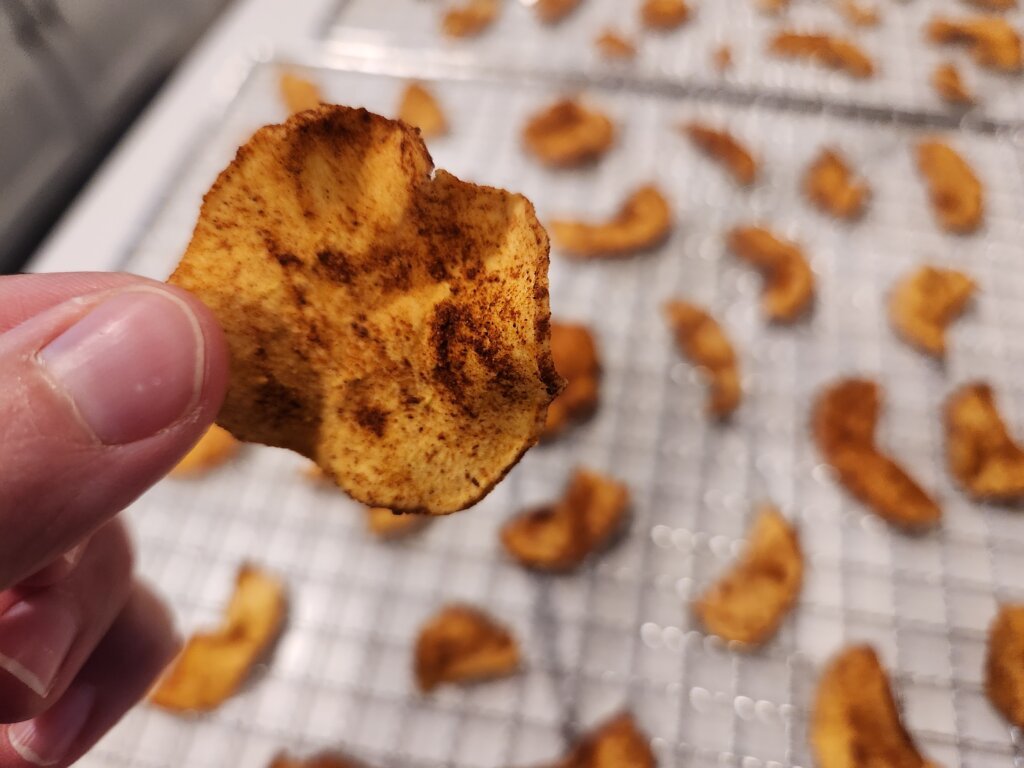
- once they have cooled, they are crisp
Some varieties remain slightly chewy even after this process, but if you’re ever unsure, just store in the fridge.
How to Store Homemade Apple Chips
There are lots of ways to store your homemade apple chips! The easiest ones for long term storage are: mason jar and airtight containers (mason jar with a vacuum sealer). Both should be kept in the pantry (cool, dark location).
You can also store them in ziploc baggies in the fridge, airtight glass containers on the counter. If I’m being honest – these are my main methods because those apple chips are gone within a a week. We don’t worry about long-term storage.
Apple Chip Shapes
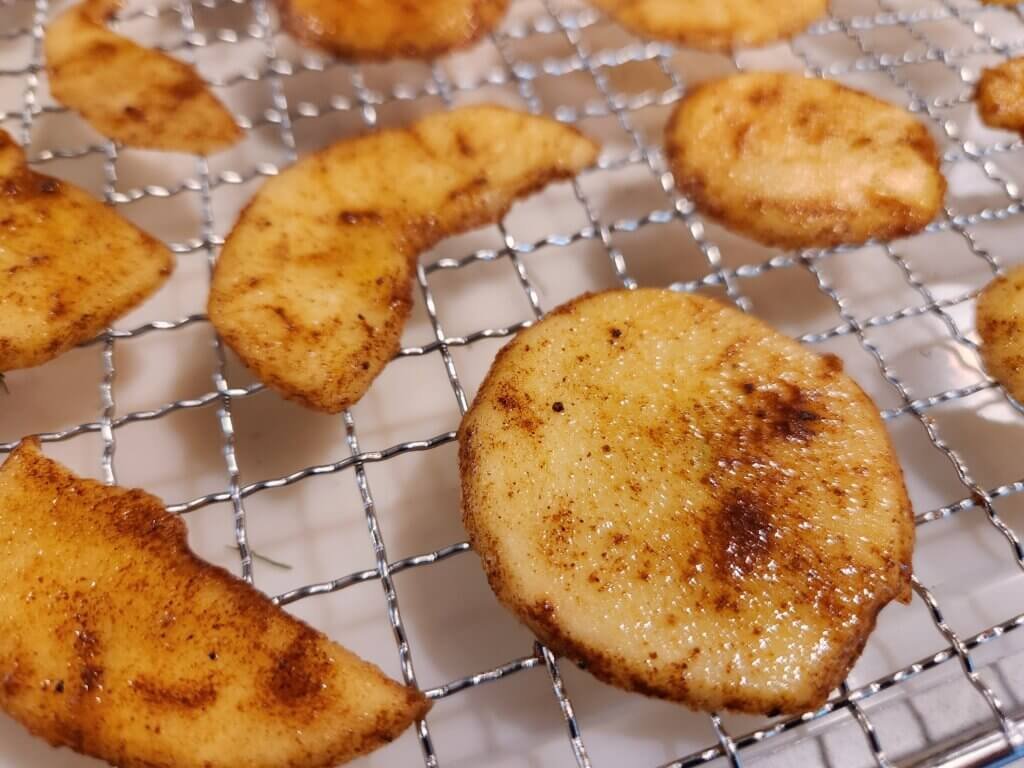
Like me – you probably don’t have an apple corer. I have no interest in buying one, so when I make apple chips I cut the apple in half, then cut out the core. Sometimes I even halve the halve, so I have apple quarters.
I want to stress that this is no way shape or form affects the taste of the apple chips. It might be aesthetic or pinterest-worthy. But it’s real.
Common Mistakes When Making Apple Chips
I’ve already covered a few mistakes people make when making apple chips in the dehydrator, but I’ll review them again for those that didn’t read the top part of the article.
Slicing Too Thick
The thicker your slices, the longer they apple chips will take to dehydrate. You want to cut them thin as possible.
Overcrowding Trays
If your trays are overly crowded, or there’s no good airflow between the apple chips, or they are overlapping on the trays. This WILL affect the way they dehydrate and the timing.
Always give enough space between chips for proper dehydration.
Storing Before Fully Cooled
While 145°F is not very hot – you can take the trays out with your bare hands – the chips need to cool to fully complete the process.
Not Drying Long Enough
Depending on the thickness of your chips, they need more drying time. I always urge my friends to be overly cautious when it comes to properly dried items. Even with drying herbs in the dehydrator like dill or thyme.
My moto: If you’re unsure if it’s dry – put it back in for a few more hours. This won’t ruin your chips. But having half-dried chips will mold the entire stored container.
Ways to Use Apple Chips
Now you have 4 jars of dehydrator apple chips stored – awesome! Now what?
You can use them for a plethora of things:
- lunchboxes
- work snacks
- road trips
- charcuterie boards
- oatmeal topping (break up into crumbly bits)
- yogurt topping (break up into crumbly bits)
They also make a simple homemade food gift. Package the apple chips in a glass jar, add a ribbon or gift tag, and they’re ready to give. If you’re looking for more ideas like this, I’ve put together a full list of my favourite homemade food gifts for Christmas using things we grow, preserve and make at home.
Frequently Asked Questions on Dehydrator Apple Chips
You don’t NEED too, but it’s recommended.
145°F.
If stored in an airtight glass container or the fridge, they can last a few weeks.
More Ways to Use Apples
If you’re looking for more ways to use apples this season, try our homemade applesauce, apple cider vinegar, apple crisp, and apple fritter bread recipes.
To Conclude on Apple Chips in a Dehydrator
Apples can be used in so many ways outside of just raw whole apples. When you have an abundance of apples this season, try out apple chips in the dehydrator. You won’t regret trying something new – it might become a new family tradition.
If you’re on a gardening preserving journey at home, you can explore all of our hands-on advice in our Garden Based Preserving, based on what actually works here on our homestead.
We are growing our website with more articles all the time, and we invite you to grow with us. If you have any questions about dehydrator apple chips or would like to share some of your knowledge with us please leave a comment below. Happy Gardening!

Apple Chips Dehydrator
Ingredients
- 4 apples
- 2 tbsp white sugar
- 2 tsp ground cinnamon
- 2 tbsp 1/2 tsp lemon juice
- 1/2 tsp ground nutmeg
- 1 1/2 tsp vanilla extract
Instructions
- wash and peel apples, then chop in half to remove the cores.
- Add apple halves to a mandolin so all chips are the same size.
- Add apples and all other ingredients into a bowl, mix well until apples are evenly coated.
- Place all apple slices onto the dehydrator try. Ensure there is good airflow between the chips and no overlapping slices.
- Dry at 145°F for 6-12 hours, depending on your apple chip thickness.
- Once finished in the dehydrator, take out the apple chips to cool completely before storing.